CP Executive train in Albany

CP Executive train in Albany

Wednesday, November 18, 2020

Planning Scenery in North Menands

Even though my "to do" list on my layout keeps growing I decided to turn the corner (literally) and start working on my next layout section based on North Menands. That is a great thing about this hobby... I can work on what I like when I want. So, while backdrops and trees and detailing still await their turn I can focus on something new.

I could write again what I wanted my area to look like but I already did that five years ago! So, I will only add that this is going to be one of my favorite areas of the layout. From a model building perspective, I will need to scratchbuild or kitbash at least four different buildings or parts of buildings, including a warehouse, an Agway, and a quonset hut. It should be a lot of fun. Additionally, there is a small hill (on the very right portion of the above picture) on one side of the tracks, and a tree line with a cemetery on the other side of the tracks. It is a lot to squeeze in seven linear feet, and a lot of compression will be required. A little of the track remains if you look hard enough, but most is gone.  

On the plus side, all three industries still received rail service in 1984 and this area will be the primary switching area for my layout. It will be a fun winter to build it.

Monday, November 16, 2020

Railfanning: Steamtown in 2019

Last summer I visited my childhood best friend who lives in Montrose, a small Pennsylvania town just south of Binghamton. While there, he suggested we visit Steamtown (he was a train fan too) and having never been there before I jumped at the idea. Being 2019, it was 150 years since the completion of the transcontinental railroad and there was a large indoor exhibit focusing on that. Must of the museum was well done, though like all museums they have too much stuff and not enough time/money/indoor space/insert other stuff here.

They did have a fully restored, and operating, roundhouse and turntable which was neat to see. And, they had many large and impressive steam locomotives including Big Boy #4012. However, that wasn't my favorite engine in their exhibit. 

Here are some pictures I took during the trip, which included a ride in a coach behind their shop steam engine. 


For lunch, we walked over to the Steamtown mall via a large trestle that crossed over the yard. That is how I was able to obtain the overhead shots above. Inside the mall was a Delorean, my favorite car! Naturally, I had to get my picture with it!

Friday, November 13, 2020

MMR Civil and Cars - Picture for banquet

As I have mentioned on my blog, for much of the past year I have been working on my Master Builder - Cars certificate as part of the Master Model Railroader program run by the NMRA. I had my cars judged over the summer by several MMR judges and each car was found to be worthy of at least 87.5 points, enough for a merit award on its own.  Also, about a year ago, I was also awarded the Model Railroad Engineer - Civil certificate. Due to Covid, I haven't been able to receive the certificates yet in person. But, there will be a virtual recognition of the awards at the Northeastern Region's Virtual Convention. 

I was asked to submit a couple of pictures... one of me and one showing some of the work I did as part of the certificates. I will spare you the headshot, but below is one I took showing trackwork (Civil) and rolling stack (Cars) that I built for the two certificates. 

My wife is holding the just-received backdrop which I mounted on the Gatorfoam, and because it is so light it was easy to switch to the other side (inside) of the layout for this shot. The first, blurry car is an O scale caboose, the second car is my On2 boxcar, and the rest are mostly HO scale (an OO scale cattle wagon is also pictured). Someday I will learn how to make all parts of a picture sharp, but for now this is the best I could do. 

Seeing them all together really brings home how much enjoyment I had building them. It was a lot of work, but I learned a great deal and had a blast in the process. Each car took about 20 hours to do, and the increased modeling time was one of the few benefits of Covid.

EDIT: link to the video of the virtual banquet presentation (I am at 1:15:10). I have no idea why the picture above wasn't used, but there is a picture of me.


Tuesday, November 10, 2020

Favorite Engines - Conrail SD80MACs

There are some engines that you just see and go "wow." I remember visiting the Steamtown museum last year with my friend and seeing Big Boy #4012 and thinking that. It was just huge. I respect that. There are other engines though that jump out at me because they have striking contours, or flashy paint jobs. The first example that I can recall personally coming in contact with were the Conrail SD80MAC engines. While most modern EMD and GE locomotives are big... especially compared with older first generation, four-axle engines... these not only seemed huge but very boxy and brutish. Here is an interesting website about them.

December 25, 1998


They were special for a couple of reasons. They were Conrail's first alternating-current (AC) traction engines, the first 5,000 horse power units, sported 20 cylinders instead of the typical 16, and featured EMD's radial truck design. And, Conrail was the only railroad to order them (though CSX and NS eventually inherited them) with a roster of 30 total. All nice, but when I saw them for the first time I didn't know or care about any of that. What I did see was a striking paint scheme of blue with a "white face." Conrail had designed a special livery just for them (which I asked about on Railroad.net) to signify their uniqueness and it worked.

June 22, 1996


They weren't frequent visitors on the Conrail mainline that cut through Rochester, but I definitely saw them a couple of times. I always wanted a model of one, and in 2002 Kato released an HO scale engine that I quickly pounced on. I had trouble installing a DCC decoder in it, so I drove across town to the NCE factory and they let me walk in and after we toured the place they personally installed a decoder for me. Now that is service.

Postcard of six (!) SD80MACs in Chatham, NY


I tried to run the engine on the college model railroad club's layout I belonged to but it always derailed in one place because they chose to run the mainline through the curved leg of a switch instead of the straight leg. Never, ever do that! Eventually, when I migrated to N scale I sold it. But now Athearn has announced that they are releasing them again in HO scale. And they are super detailed with DCC and sound! Yes, I know they are 12 years too late for my layout, are for the wrong railroad, and never operated on the territory I am modeling. And yup, I am going to get one. I mean... just WOW!


Saturday, November 7, 2020

Blue skies on the horizon

After struggling to select a shade of blue that I really liked, I bit the bullet and ordered a section to test it out full size. Bill at LARC Products printed it pretty quick and within a week or so it was in my hands ready to install. I went with the vinyl, as opposed to the cloth, because the color saturation on the vinyl was a bit brighter. From most viewing angles you don't get a glare on the sky from the overhead lights. Those problematic points are at the very top of the sky, and when you look at it from the end... neither of which is in my primary sight lines. I used our laundry table to layout it out and attached it per Bill's instructions of taping it along the top to maintain alignment and then slowly peeling it back and pressing it on. The wrinkles went away when I did that.

Once it was installed, I trimmed a slight overhang along the top and then set it up in my U-brackets that I described building earlier.

It is only 60" long, but again it makes a tremendous improvement over what was previously in area of sight... basement steps, storage shelves, and utilities. 

The joints between the Gatorfoam sections are currently held together with small clips I made by gluing up styrene pieces into a U-shape. I may paint them blue in the future.

Wednesday, November 4, 2020

Greenery for Cut Corner

Like my previous section, I added static grass to this area too. I purchased a longer type (12mm) and chose a straw yellow color. I wanted something besides all of the green I was using, and I was hoping it would look like reeds and tall weeds that can be found in ditches and such. However, it was a bit too long for my HO scale layout and some of the strands bent over in curved profiles instead of standing up straight. So, I spent a bit of time ripping them out. In the picture you can see the backside of the rear hill and the smaller foreground hill where I added some foam but didn't spend a lot of time adding static grass. Those areas can't be seen once the backdrop is up.

Speaking of which, I also added a three-piece backdrop to Cut Corner formed from three pieces of Gatorfoam which I glued together and reinforced in the rear with gussets cut from more Gatorfoam. The blue tape is temporarily holding it all together while the adhesive dries.

To add the blue sky graphics I plan to cut a piece of long styrene and curve it around the inside of this shape. However, until then I have a white, segmented sky. 

I ordered a tree starter set from Scenic Express, which will be the next step for the hills. The light green I used is also very light green and sort of looks like toxic waste oozing up! I hope that the trees, and some more muted colors of grass, will tame it a bit.

Sunday, November 1, 2020

Experimenting with Ground Goop

I like Dave Frary's scenery methods, own several of his books, and have met him a couple of times at Springfield. If you are a model railroader, you likely can say nearly the same things yourself. His techniques work. Still, I have been intrigued by Lou Sassi and his "Ground Goop" method of laying scenery materials over a spreadable sub-layer. How it differs from Sculptamold, which others love, I cannot say. All I know is that I wanted to try it myself. Lou was originally a member of the same NMRA Division that I am now in, but sadly he moved away just around the time I got involved so I never met him personally.

Lou's recipe for Ground Goop is:
- 1 part Celluclay
- 1 part Vermiculite
- 1 part brown latex paint
- 2/3 or 3/4 part Elmers glue ("Glue All", not "School Glue")
- shot of Lysol liquid concentrate.
* add water to desired consistency (like oatmeal)

Celluclay is essentially paper mache material, which I remembered not enjoying very much as a kid. I hated getting my hands dirty then, and still do today. Due to the pandemic when I was collecting materials, I had to order this online as hobby stores weren't considered "essential" and therefore not open. 

Vermiculite is used for gardening and lawn care, so I wandered into Lowes (they were still open) and assumed I could just purchase a bag and be on my way. Instead, what I discovered was a really rocky substance that didn't match Lou's pictures at all. As it turns out, vermiculite comes in several grades, ranging from fine (Grade 1) to super course (Grade 4). Oddly, I don't recall ever seeing this mentioned in any of his articles, or a recommendation on the correct size to buy, but I assumed it is important to get the fine stuff. My local stores didn't carry anything but the course stuff, so I ordered it through Amazon (my wife gets free shipping). 

The brown paint was easy, sort of. Wanting to follow in Lou Sassi's footsteps, I sought out the Pittsburgh Paint brand "Tobacco Brown" color that he always called for. However, the local dealer was 90 minutes away and they hadn't even heard of the color. So I went with Sherwin Williams brand "Turkish Coffee" which turned out to be too dark for the layout. It was good to seal the benchwork and remove the raw wood color, but it didn't look right for my area's local dirt. As I laid and ballasted the track, I then switched to Olympic brand "Cocoa Delight" (OL728.5) paint which worked really well. But then I ran out, and due to the Pandemic the paint department at Lowes was extremely slow. So, I took the paint sample card to the local Ace Hardware and they made up a custom mix that matched it. So, in some places I have three different shades of brown. I guess that is how the real world is!

The glue is regular Elmer's "Glue All" glue. I didn't even realize until recently that there was a "School Glue" formulation and don't know what the difference is. I just assumed it was all the same. Lou Sassi's "Basic Scenery for Model Railroaders" first edition book calls for 1/2 part of glue, where as his second edition calls for 2/3 part. I have also seen recipes using 3/4 part, so who knows? I went with 2/3 as that was in his latest book.

Next, I tried to get some of the Lysol concentrate but due to Covid it is not available. I am not sure if it will ever be available. As such, I only made small batches so that I could use it up before it goes bad or gets moldy. I can confirm that it lasted at least 3 weeks without turning into a chia pet. 

So, one night I decided to make up a batch and work on some scenery. I had purchased a large flexible plastic bowl and spatula from the dollar store, and away I went. The amount I made was about 8-10 cups total, and I assumed it would be enough. It was thick and sticky and not easy to work with at all. It certainly didn't like to stick to the green florist foam I had used as the base of the hills. So, I took the bowl to the sink and added more water, and mixed it in by hand. Once I had a looser textured "batter" it worked better. 
However, it was pretty messy and I am glad that I had covered the tracks with blue tape to protect them. My North Albany yard section was hiding under a large contractor's black plastic garbage bag, and that was also a smart move. My hands turned a weird color of brown, and bits and pieces fell all over the place and looked like a stray dog had been there... if you know what I mean. I have never used Sculptamold before but I see it featured in lots of model train magazines, so perhaps it is easier. Once I figured out the quirks with this stuff it was fine.
After I let it sit overnight I remembered that I could add additional scenery material without having to wait for it to dry. So, I sprinkled on real dirt, ground foam, and other scenic materials here and there. I even dug out some small rocks from the backyard and embedded them in the terrain where I thought they looked good. Then, everything was misted with rubbing alcohol and more of my matte medium was applied. Some of the dirt sloughed down the hill and landed where it would in real life, which was a neat trick. 
And that was where I left it to cure for a couple of days. I had spread it heavy, so I gave it time to fully set up. Then, it was ready for static grass and trees.

Saturday, October 31, 2020

Happy Halloween!

Tonight my wife decided that we should watch Ghostbusters on Halloween. Who am I to argue with that? It IS MY FAVORITE MOVIE after all! I mean, if you could hang out with a bunch of guys and goof off for a bit, destroy stuff with laser guns, and then get paid for it, wouldn't you? 

And for those who believe that the movie doesn't offer a lot of important life lessons, here are some I found in an article online:

1.) Believe Your Own Hype: When Gozer asks Dr. Ray Stantz "Are you a God?" he responds in the negative, despite a nod from Dr. Peter Venkman. That lack of confidence nearly marked the end of the supernatural exterminators. "Ray, when someone asks you if you're a god, you say 'yes,'" scolded Winston Zeddemore. In short? Believe in the best version of yourself.

2.) Live By Your Own Rules: Dr. Egon Spengler warned the Ghostbusters not to cross the streams, but in the end, that was their only option to defeat Mr. Stay Puft. "There's definitely a very slim chance we'll survive," he said. "I love this plan! I'm excited to be a part of it!" responded Venkman. It worked. Sometimes, rules are meant to be broken.

3.) Spare No Details: The Ghostbusters tried to warn the mayor that the city was "headed for a disaster of biblical proportions." What finally drove home their point? A more complete description: "Fire and brimstone coming down from the skies! Rivers and seas boiling! Forty years of darkness! Earthquakes, volcanoes, the dead rising from the grave! Human sacrifice, dogs and cats living together! Mass hysteria!"

4.) Expect the Unexpected: What ended up terrorizing New York City? Mr. Stay Puft, an overgrown marshmallow. "I tried to think of the most harmless thing. Something I loved from my childhood. Something that could never ever possibly destroy us," Dr. Stantz explained, as the giant treat wandered the streets menacingly. "Mr. Stay Puft!"

5.) Know Your Worth: After trapping "a focused, non-terminal, repeating phantasm," the Ghostbusters demanded $5,000 from a hotel manager. When he refused to pay, Dr. Venkman simply responded, "Well that's all right, we can just put it right back in there." He relented, saying he'd pay "anything." Know what you're worth, and don't accept anything less.

6.) First Impressions Can Be Incorrect (But They Matter): Zeddemore thought Gozer was a man. Dr. Stantz declared her to be a woman. "Well, whatever it is," Dr. Venkman noted, "It's gotta get by us." Don't get hung up on first impressions. It's not always what matters most. (Still, Dr. Venkman did encourage his cohorts to "suck in the guts," so hey, make an effort.)

7.) Stay Optimistic: After they were fired from their university jobs, Dr. Venkman refused to get down on himself. "For whatever reasons, Ray, call it fate, call it luck, call it karma, I believe that everything happens for a reason. I believe that we were destined to get thrown out of this dump," he said. "To go into business for ourselves." They did, and it worked out pretty well.

8.) Be Open-Minded: "We're ready to believe you," was the team's motto. It worked. Be open-minded. You never know what you could discover.

9.) It's Cool to Be Smart: And if you try your hardest, you could save your city.


Monday, October 26, 2020

Foam hills for Cut Corner

The prototype terrain here was built up significantly which in part allowed for the state highway to cross the railroad tracks. However, I didn’t want to build the area up too much as I wasn’t going to construct the road and I didn’t want to substitute a non-prototypical tunnel. Some gently rolling hills, covered in greenery and trees, would do nicely. But first, I had to fix a troublesome track joint that worked 99% of the time but occasionally derailed my scale-length heavyweight passenger cars. I decided to fix it now before the scenery went it... always a smart choice.

In the past I have used metal screen wire and plaster, cardboard strips and paper mache, and cloth glueshell scenery methods, but here I decided to try green florist foam as something new. One of the main advantages is that it is easy to stick trees in because you can just shove them down. And, it is easy to cut with a knife and can be even mashed around with your fingers. It sounded promising, so I went to the craft store and looked at their selection of green florist foam. It came in pieces that were 1.5" thick, so that formed the basis of my hill's overall height. 

While it is possible to use a steak knife or a rasp to shape it, I decided to use my small bench-top belt sander. To avoid an explosion of green dust everywhere, I did it outside. And it worked pretty well. Not only could I use the belt's abrasive surface to round things over, by pushing the foam into it at an angle the belt would engage and slice through it like a hot wire tool. Yes, it wasn't precise, but real landscaping isn't either. Though it wasn't dangerous, I am not sure I would recommend it to others. A hot wire tool would be a lot easier, and perhaps cheaper too. And it wouldn't leave your belt sander looking like a giant green furry monster!

The only downside from working 100 feet and a flight of steps away is that I made at least a dozen trips to bring it down to the layout to set it in place and see how I liked it. It was tiring by the end, and I had five different pieces to do. Once I was satisfied with how it all looked, I glued them in place with some Loctite construction adhesive that was safe for foam.

One other thing to point out: along this section of the layout I plan to have a curved backdrop. To give me clearance room between the hill and the backdrop, I drew a curved line that will match the radius of the backdrop. I don't need to carry the scenery exactly to that edge, as a gap will be acceptable. But, just the same when forming the hills I made sure there was a 1/4" or so margin all around the back.
I also wanted a foreground hill which would help hide the entrance to the yard. Also, without it there wouldn't be much of a cut at all and I would need to rename the area. There were a lot of gaps in the foam, and some of the transitions were too steep. I needed to smooth things over, fill in the openings, and blend everything together. Taking a page out of Lou Sassi's books (literally), I turned to "Ground Goop."

Friday, October 23, 2020

Planning scenery in Cut Corner


As my North Albany section was finishing up (backdrops are all that remain for "basic details") I looked towards the next section of the layout, the approach tracks into the yard. My layout consists of four “main sections” and any further layout growth may mean rearranging them with additional modules. The four corners are temporary and do not represent specific areas of the D&H’s Colonie Main. However, I did want the scenery on them to be plausible. The two LDEs that straddle this corner were divided in part by a large embankment and an interstate highway that crossed on a bridge. 

Because of the amount of space available and the odd shape of it (my wife asked me to cut off the rear corner to increase access space to the laundry area behind it) I didn’t want to attempt to model a highway that would be 4-lanes wide, only about 24” deep, and end abruptly at a backdrop. Additionally, there is a small public park that I spent a lot of time at studying for law school and I might model it but couldn't do it justice on this corner. IT is just visible in the upper left picture above. So, instead I modeled the embankments on either side with the railroad tracks (including a curved switch that leads into North Albany yard) passing through in a generic scenic cut. Because of these reasons, I decided to call it "Cut Corner." The below picture shows it facing south in March of 1984. 

There were a couple of considerations in planning the hills. First, I needed a scenic transition from the abandoned yard (North Albany) on the left and the more suburban, commercial scenes on the right (Colonie). I also wanted to hide the curved switch from view as it didn’t fit with the scene. There aren’t many areas of the layout that will be covered with expansive trees and grass and such as most will be detailed to represent track-served industries. I wanted to take advantage of this section to give the eyes some rest from buildings and enjoy New York trees and scenery. Also, the Colonie section has a hill or berm along the back and the terrain on the corner had to visually mate up with them. Finally, I decided to curve the backdrop here instead of having it come together at a 90-degree angle in the back.

So, it shouldn't be a difficult section to build but there are enough new things involved that it will be a learning process. Thankfully, if it turns out bad I can probably just take a putty knife and scrape it all off and start again. And there are no structures to build!

Wednesday, October 21, 2020

Announcement: Athearn ex-Reading patched D&H GP39-2

Athearn has really been helping the D&H modelers recently. In the past couple of years they have released blue-dipped GP39-2 engines and lightning stripe GP38-2 engines, and now they are putting out a few more in the lightning stripe scheme and the ex-Reading patched scheme.

Here is the official Athearn announcement. The lightning stripe engines are too modern for my layout. I already own a couple of blue box Athearn GP38-2 engines in different blue dip schemes, but the green and yellow #7412 is just perfect and would help break up the mostly blue roster I have. Atlas offers it too, but this is supposed to be a better model. 

Monday, October 19, 2020

Looking for Provo Craft scrapbooking scissors for trees

Bill Brown of LARC Products, who is making my custom printed backdrops, recommended these scissors for cutting out the outlines of trees so that they don't have straight edges. These scissors, which his wife found, have a random jagged edge that is great for this sort of thing. The brand is Provo Craft and an online search reveals that they seemingly have dozens of styles of scissors. I looked for this color combination, which I assumed was specific to this cutting edge, but sadly it was not. 

I bought another pair that has a different random edge but would love to get my hands on one of these. If you have any links or ideas, please reach out to me! Thanks.


Thursday, October 15, 2020

Railbiking in North Creek

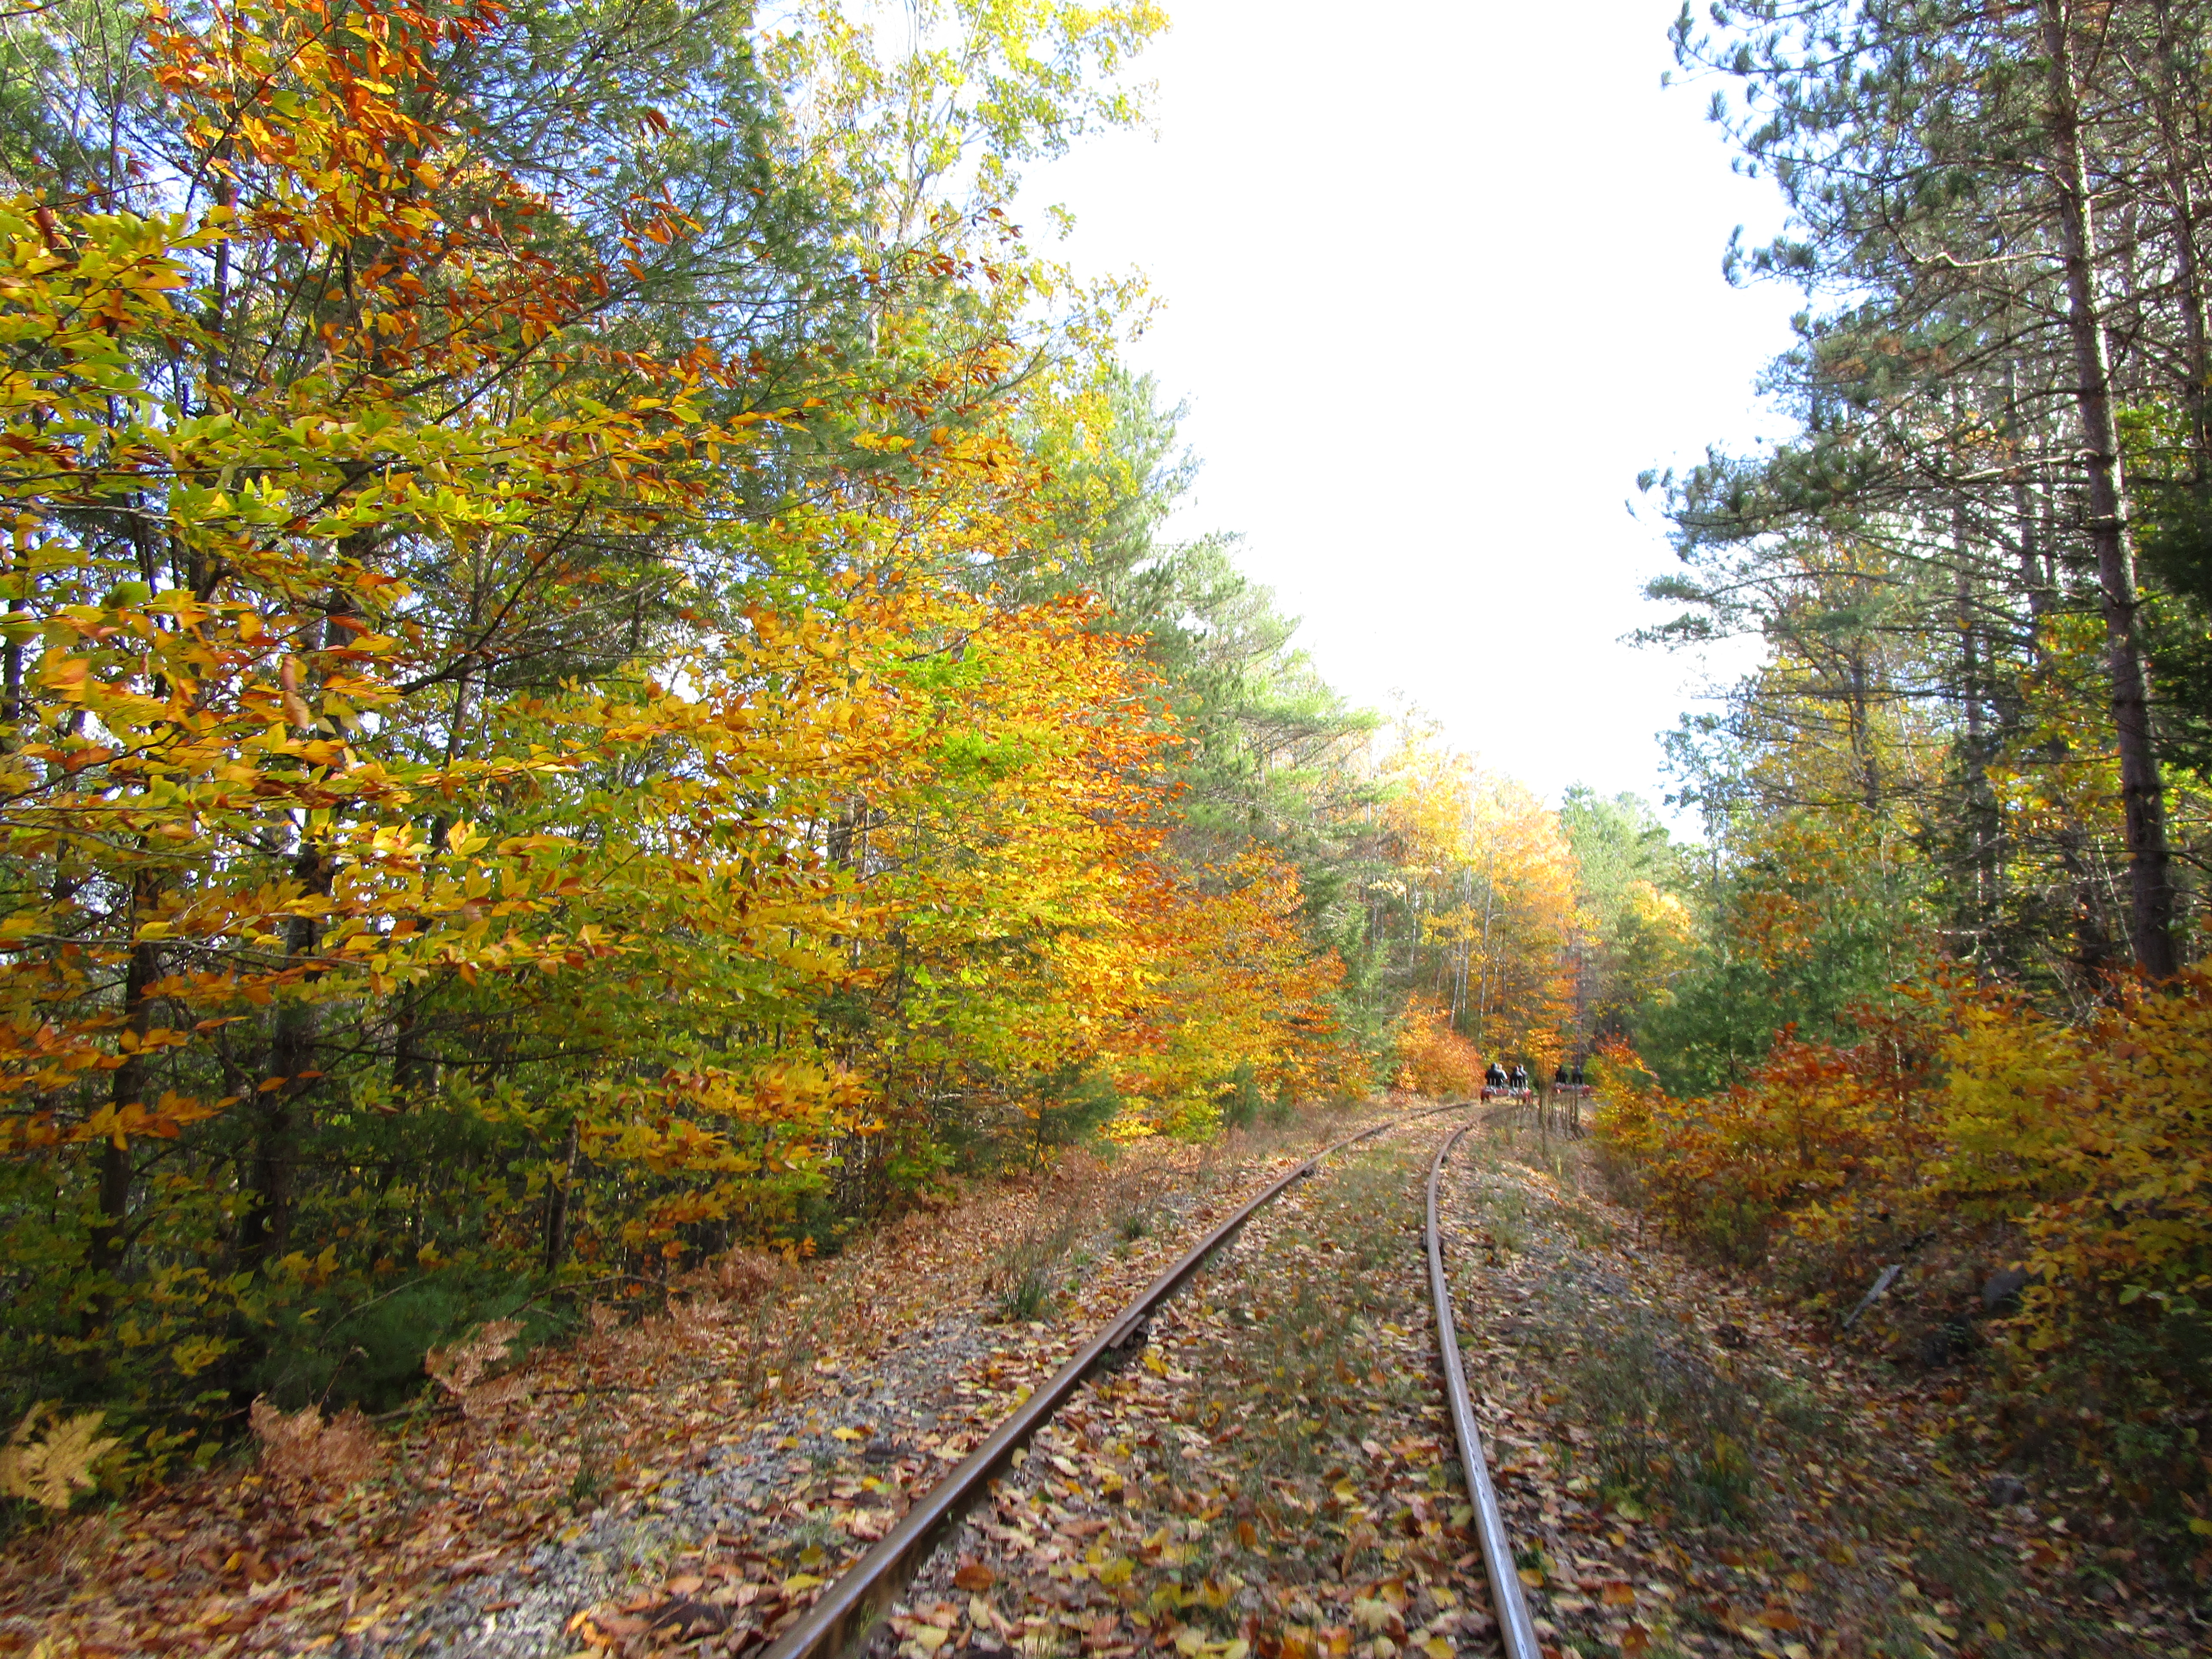
Last week I was on vacation, and so my wife planned a rail biking adventure up to North Creek to railbike. The program is run by Revolution Rail Company. I had only heard about these companies recently from another friend, and the idea sounded interesting. Apparently, two or four-seat vehicles are set on old railroad tracks and people propel themselves down the line in a parade fashion. At the "end," the cars are turned on a turntable of sorts and then the group returns. It is a great way to view scenery on old tracks, but at least in New York several are located on recently-used scenic railroad right-of-ways. I would much rather take the train.

These things are popular and we could only get a time slot for early in the morning (8:30AM) and North Creek is about 90 minutes from our house. Thus, it was just like getting up for work. To make matters worse, the temperature was a chilly 45 degrees and the faster you propelled yourself the more cold air rushed on you. But, we bundled up and made the best of it.

The scenery was great. It ran along the Hudson River and threw the woods on told D&H line to Tahawus. For some history of the branch line, click here. We went about 3-4 miles south of North Creek, and the mile posts left over from the D&H were marked 89-92 so I imagine that is how many miles we were from Albany. 

The carts themselves were mostly made from lightweight aluminum with composite plastic wheels and were easy to get up to speeds around 10mph. A small bicycle brake on one wheel slowed it all down. The end spot was barely a clearing in the woods with a couple of picnic tables and a (scary) descent down a trail to the river for those more bold than I. Instead, I stayed by the tracks and watched them spin the carts on a small, temporary turntable. 


I enjoyed spotting old D&H remnants like flanger warning signs, whistle posts, mile posts, and evidence of tough trains laden with titanium from the Tahawus mine at the end of the line. The rails were pitted, had slipping wheel burn marks, and the joints bumped.  


The trip took about 2 hours, and the sun came out later on and allowed for some pretty shots along the river. Also, the trees were mid-transition from green to orange and some color was still to be found.


In the end, however, I wish I could have taken the train along these tracks. This is the third time I have travelled along this section of track. I first rode the Upper Hudson River Railroad in 2009 on this portion of the line, and a few years later rode again on the Saratoga and North Creek Railroad. Both are gone, and issues involving politics, taxes, freight revenue, rail trails, and snowmobiles make the return of trains questionable.

Still, I would rather be on a railbike than walking along a paved rail trail... and if enough people don't support things like this that is what will happen. But, I will wait until it is warmer next time!

Monday, October 12, 2020

Blue sky for the backdrops

Here is an issue that has troubled me for the past few months now... what color to make the backdrops. I initially planned to use custom printed ones by LARC Products, who have an extensive selection online. I have met the owner Bill Brown on several occasions and found him extremely helpful to work with. For this project, I feel that he went above and beyond the call of duty. The problem I have is that I want a nice, bright blue sky without many clouds. There are couple of reasons for my preferences. 

First, I am modeling May and at that time of year in the northeast the sky is nice a well lit. Second, I would rather model a pleasant sunny afternoon than a cloudy or gray one. And, whilst I do like clouds in the sky (I am a card carrying member of the Bob Ross fan club!) I find clouds on a backdrop generally distracting. When they look realistic they draw your attention away from the models, and when they look awful... they look awful. The trouble has been getting a blue printed that looks good on the computer screen, good in person on the layout, and good in pictures.

Above are some samples of skies that Bill produced based on my requests (ignore the clouds in them). Some appear nice on my computer screen but severely faded in person. Some appear a bit grayish or purplish in person but again on the computer look great. The two paint splotches on the top are actually the color of my basement walls and they are a vibrant blue. I would like that for my backdrops, but even in the picture above they appear washed out. 

I really don't want to paint backdrops myself, and if I do they will only be plain blue. I would like a few clouds on them, and I don't want to attempt that. I am also building my layout in sections and want the backdrops to match, but they will be purchased over a span of time, so I think having them printed is the best way for consistency. But I don't know.

So, my backdrops are currently white... perfect for a stark winter scene, but not much else.

Friday, October 9, 2020

Backdrops from Gatorfoam

In my 30+ years of building train layouts, only one or two have ever had backdrops. These were usually just blue painted pieces of wood running down the middle of tiny N scale portable layouts, and honestly they were more to divide the layout into multiple scenes than to convey the impression of a sky. They were caricatures, in a way, of the sky. For this layout, I wanted to do better. Even though my basement walls are painted blue, there is no hiding the fact that they are cinder blocks. Further, any pictures I take show the laundry area, storage shelves, steps, and other accoutrements that normally accompany a basement. 

I considered tempered hardboard or plywood but after talking with Dave from Gatorfoam.net at the Springfield train show I decided that gatorfoam, or gatorboard, might work. Per his website: 

Gatorfoam is a unique, strong laminated panel with a core of extruded polystyrene and a face made from impregnated wood fiber veneer commonly known as Luxell.... it can be cut with a variety of woodworking tools, Xacto or matt knife. It accepts all types of paints, stains, and adhesives."

It sounded like just what I wanted. I dabbled it in a little when I bought a smaller piece for my T-trak module in January and though I haven't been to any shows to display my module, it seems plenty strong and lightweight. 

Because the layout is set about 50" above the ground, I only wanted the backdrop to rise another 16" or so. Any taller and it might lean, and there really wasn't a need to go up to the ceiling. My layout's benchwork is built from 1x4" lumber, so I figured if the backdrop pieces were 20" tall I could have them extend down to the lower edges of the benchwork and I could clamp them with spring clamps. The bottom 4" of the backdrop would be hidden by the benchwork, and 16" would stick up. Ordering from Dave was easy, except that except shipping pieces 20" x 5-7' long would be expensive. Thankfully, he only lives about 3.5 hours away, so a car ride in the fall would be pleasant. He even offered to meet me half-way, but I picked a workday to drive up during a vacation. 

While the trip through Vermont was picturesque, and there were several notable things I passed by (such as the Ben and Jerry's ice cream plant), I really cared about meeting up with Dave. He took me into his workshop and we quickly had my order sorted out. He also showed me his layout, of which I instantly drew comparisons to the Franklin and South Manchester. Dave seemed a humble man but he is very accomplished. He demonstrated how many of his buildings and urban areas were on lift-out sections of Gatorfoam, and I never would have noticed the seams at all as they were already part of the landscape (road edges, bridge edges, etc.) It is a very nifty trick. For gluing Gatorfoam together, he recommended the adhesive Phenoseal.

After getting my gatorfoam home I used a pair of colorful (and cheap!) clamps from Harbor Freight to hold it in position. A package of 20 clamps cost $5. Dave was concerned the springing pressure of the clamps might deform the gatorfoam and if I were to use stronger clamps I would insert an extra piece of foam or perhaps a thin piece of wood (like a paint stirrer) in between. The clamps held the board pretty firmly but there is a chance it might get bumped or perhaps sag over time. So, I used some 1" metal L-brackets, screwed from inside the layout, to support the bottom. They stick out just enough to catch the board, and yet are easily removed if necessary. They, combined with the clamps, make for an easy to mount, easy to remove, completely reversible backdrop mounting system. And I thought I was in the clear...

Unfortunately, not all of my benchwork has the rear 1x4 so easily exposed. In fact, most have one of the L-girders holding up the layout sections directly below the 1x4. So, I needed another method to mount the rest. In the process, I re-did the first backdrop too. So, I put on my thinking cap and came up with the idea for aluminum U-channels. The inside width of the "U" portion is 1", which is just right for my 1x4's thickness (3/4" thick) and the gatorfoam (3/16" thick). There is just enough slack (about 1/16" to slide the board in easily from the top, and the U-bracket is tall enough to keep the foam vertical. 

I had my metal store cut me 20 that are 2" long, and I cleaned up the edges on my belt sander. Then, I drilled them with holes on one side for mounting screws. 


I slipped them under the bottom of the 1x4 and screwed them to the back of it from the inside. They stuck out with the gap on the back, and the foam dropped in. I might need a small clip to put on the tops of joining pieces to keep them aligned, but that shouldn't be tough.

And wow do I love what they did! They are very tall and very white, but that will change. Now, when I step into the center of the layout I feel like I am in the middle of my own little world. I can't see the stairs, or the treadmill, or the laundry machine. It is such a great feeling of isolation. And, if I ever need to remove them for maintenance or whatnot they just lift right off.