
For the past couple of weeks I have been working on a pair of Train Troll WW&F flatcar kits, and I decided to build them both at the same time to economize my efforts.

They are laser cut wood kits, a first for me, but they seemed simple enough. Both kits are basically the same, but one includes some boards to convert one car into a low-sided gondola.

The frame was built up from several pieces that glued onto each other, and as each new part was added I applied weight to prevent anything from warping. Honestly, I don't know if that is required with a laser cut wood kit but it was easy to do now and I figured it would be hard to fix later.

T

The prototype defunct WW&F had similar flatcars, but I wanted to build and decorate my models so that they looked like two flatcars currently at the WW&F museum in Alna, Maine. Those cars are slightly (2 scale feet) longer then the kit's dimensions, and the graphics are different. Still, these cars were better options than trying to rework Bachmann On30 cars. Unfortunately, one glaring detail in the kits that doesn't match the current museum cars is the number of stake pockets on the sides. The kit has 6 per side, whereas the prototype has 8 and the 2 middle ones are close together. Because fixing this would have meant sourcing more stake pocket castings, filing the holes pre-burned into the sides, and then drilling new holes... too much work... I left it as is.

The ends of the cars have extra nut/bolt/washer castings where the tie-rods would come through. These rods, as well as some other details, were actually included in the kit. Installing the n/b/w casting was an exercise in frustration because they were so small and most of the shaft had to be cut off, leaving little to actually fit into the hole.

The decks on the cars are a single piece of plain, scribed wood. I colored them with multiple different washes of India ink (some black, some brown) and alcohol. I didn't try weathering them at this time, and instead was just attempting to make the wood boards look like individual planks of various types of wood.

Trucks are a combination of Grandt Line and San Juan Model Company's castings (the later acquired the former), with wheels from Reebox. I had two pairs of trucks already in my stash, so I only had to purchase another two pair to get all four cars that I purchased operational.

The truck sideframes were painted flat black, and then I drybrushed them with brown paint.
The wheels were painted in an old styrene jig I made up years ago. I painted four wheels a much brighter shade of orange than the rest so that the car I mount them in will look like it has newer wheel assemblies.

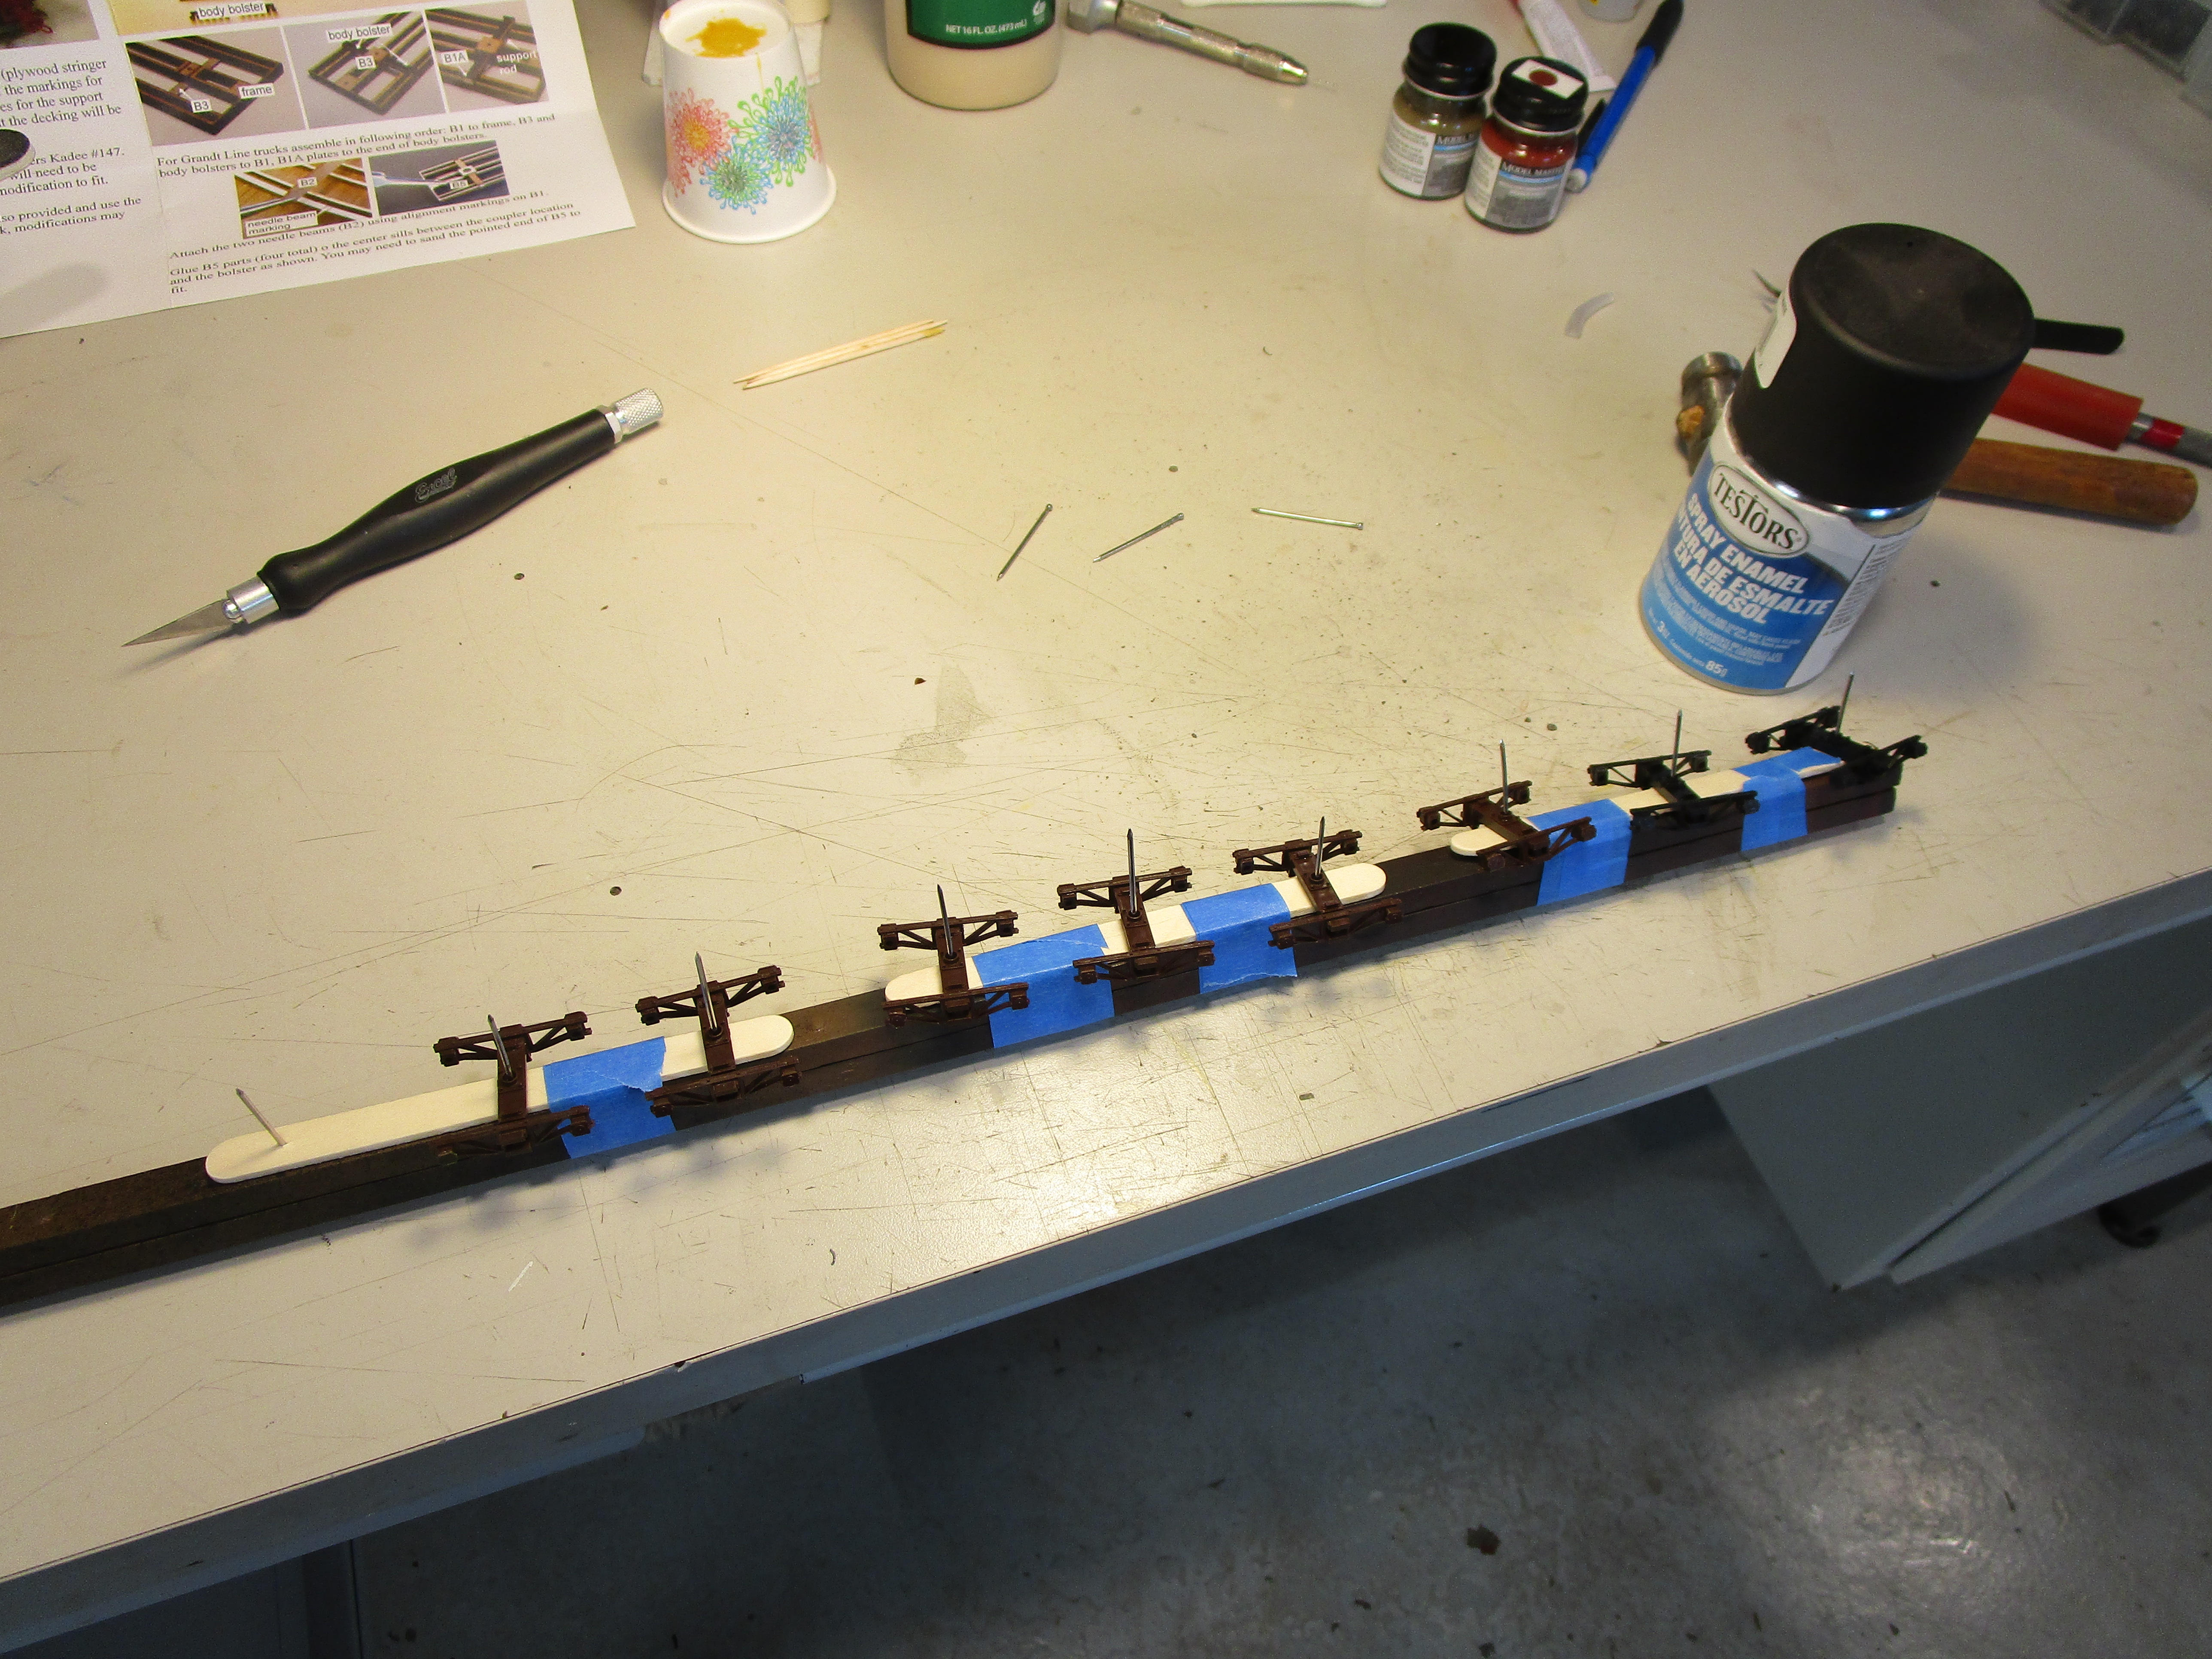
The frames have additional pieces of wood added to make up bolsters and coupler pocket support braces. I masked the truck bolster surfaces before painting so that the trucks would rotate cleanly.

The frames were spray painted with Ace brand red paint. Ace uses nice paint nozzles and the spray comes out even and smooth.

I later discovered that the trucks needed shims, and not having any Kadee fiber ones lying around I made my own from 0.005 thick clear styrene. Drill a hole in it, then punch around the hole with a paper punch. Easy, and cheap. Any size can be made if you vary the thickness of the styrene.

Then, the trucks and couplers were installed. You can also see my primitive efforts at bending and installing the truss rods. Additionala pieces of wire were included in the kit to simulate crossbraces but I omitted them for sanity's sake. This isn't a contest model.

Castings were included for the brake wheel and the mounting bracket, which consisted of a white metal casting. Though the instructions didn't say to, I drilled out one hole where a molded bolt was included and then installed the casting with a shortened track nail and superglue. This gave the assembly a little extra strength.

Decals were made for me by Precision Design Company. His prices are great, he was a pleasure to work with, and the turnaround time for this project was a day. Bill suggested using a font size and weight that matched drawings of the current cars, but I had him adjust it slightly so that the graphics looked better on the models I actually built (those two missing stake pockets really threw it all off). I am very happy with the results.

Then, I decided for kicks to weigh the near-finished model and discovered it was under 1 ounce per car! Now, I don't think the NMRA has recommended practices for On30 cars but an HO scale car of this length would be at least 4.5 ounces and this wasn't even close. I could add a load, but didn't want to be forced to.

I talked to Train Troll and they recommended sheet lead, something that is hard to find nowadays. I bought some from Ebay and slipped strips of it underneath one car. Then, I flooded the gaps with Arleens' tacky glue, chosen over superglue because I didn't want the wood deck or sides to the glue and discolor. Even with the lead, it was only 2.2 ounces.. not even half of what it should be.

For the other car, I glued small wooden pieces to the underside of the deck between the frame pieces to make dams and then poured in lead shot. I then again flooded it with tacky glue. I made sure no round shot was visible from the sides and let it all cure up.

Once I was confident I wouldn't need to flip the cars over again, I added the brake wheels and shafts, along with the ratchet castings. They are now pretty delicate cars.

The kits came with wooden brake shoes and hanger parts, which I added to the one truck nearest the brake wheel (per the prototype). However, I couldn't get them to hang properly without being so low as to catch on trackwork details.

There must be a trick to it, but adjusting them led to me mangling one set of brakes (seen between the cars) and I later removed the other set from the second car. I don't blame Train Troll for this... I blame my lack of skill in assembling them. So look out, these car's can't stop!

Flatcar #126 had the stake pockets painted black to match pictures I saw online. I also chiseled off the tiny n/b/w castings on the end of the car and replaced them with larger ones from my stash to better match prototype photos. If I had more on hand I would have done the other car. Oh well, I like the difference between the two flatcars.

The cars aren't finished yet. I still need to weather them and add some loads, but I don't know what I want to do with them. So, for right now they will sit in my display case.
No comments:
Post a Comment