
Model railroad trees have come a long way from the Life Like and Bachmann brand blobs on plastic poles that I used to put on my layouts as a kid. One of the more popular options now are the Scenic Express "SuperTrees" kits. During my vacation last fall I purchased a starter kit (#EX0220), which was reasonably priced and included enough armatures for 14-18 HO scale sized trees, glue adhesive, various small packages of green flocking, a bottle, tweezers, storage trays, instructions, and a "carrying case" (why would anyone need a carrying case?).

There was a lot of stuff in the box including various colors of turf to model spring, summer, or fall trees. I discovered one of the green bags of leaf material had ripped somewhere along the way and my box already had the look of a forest carpet. It was easy enough to gather up though.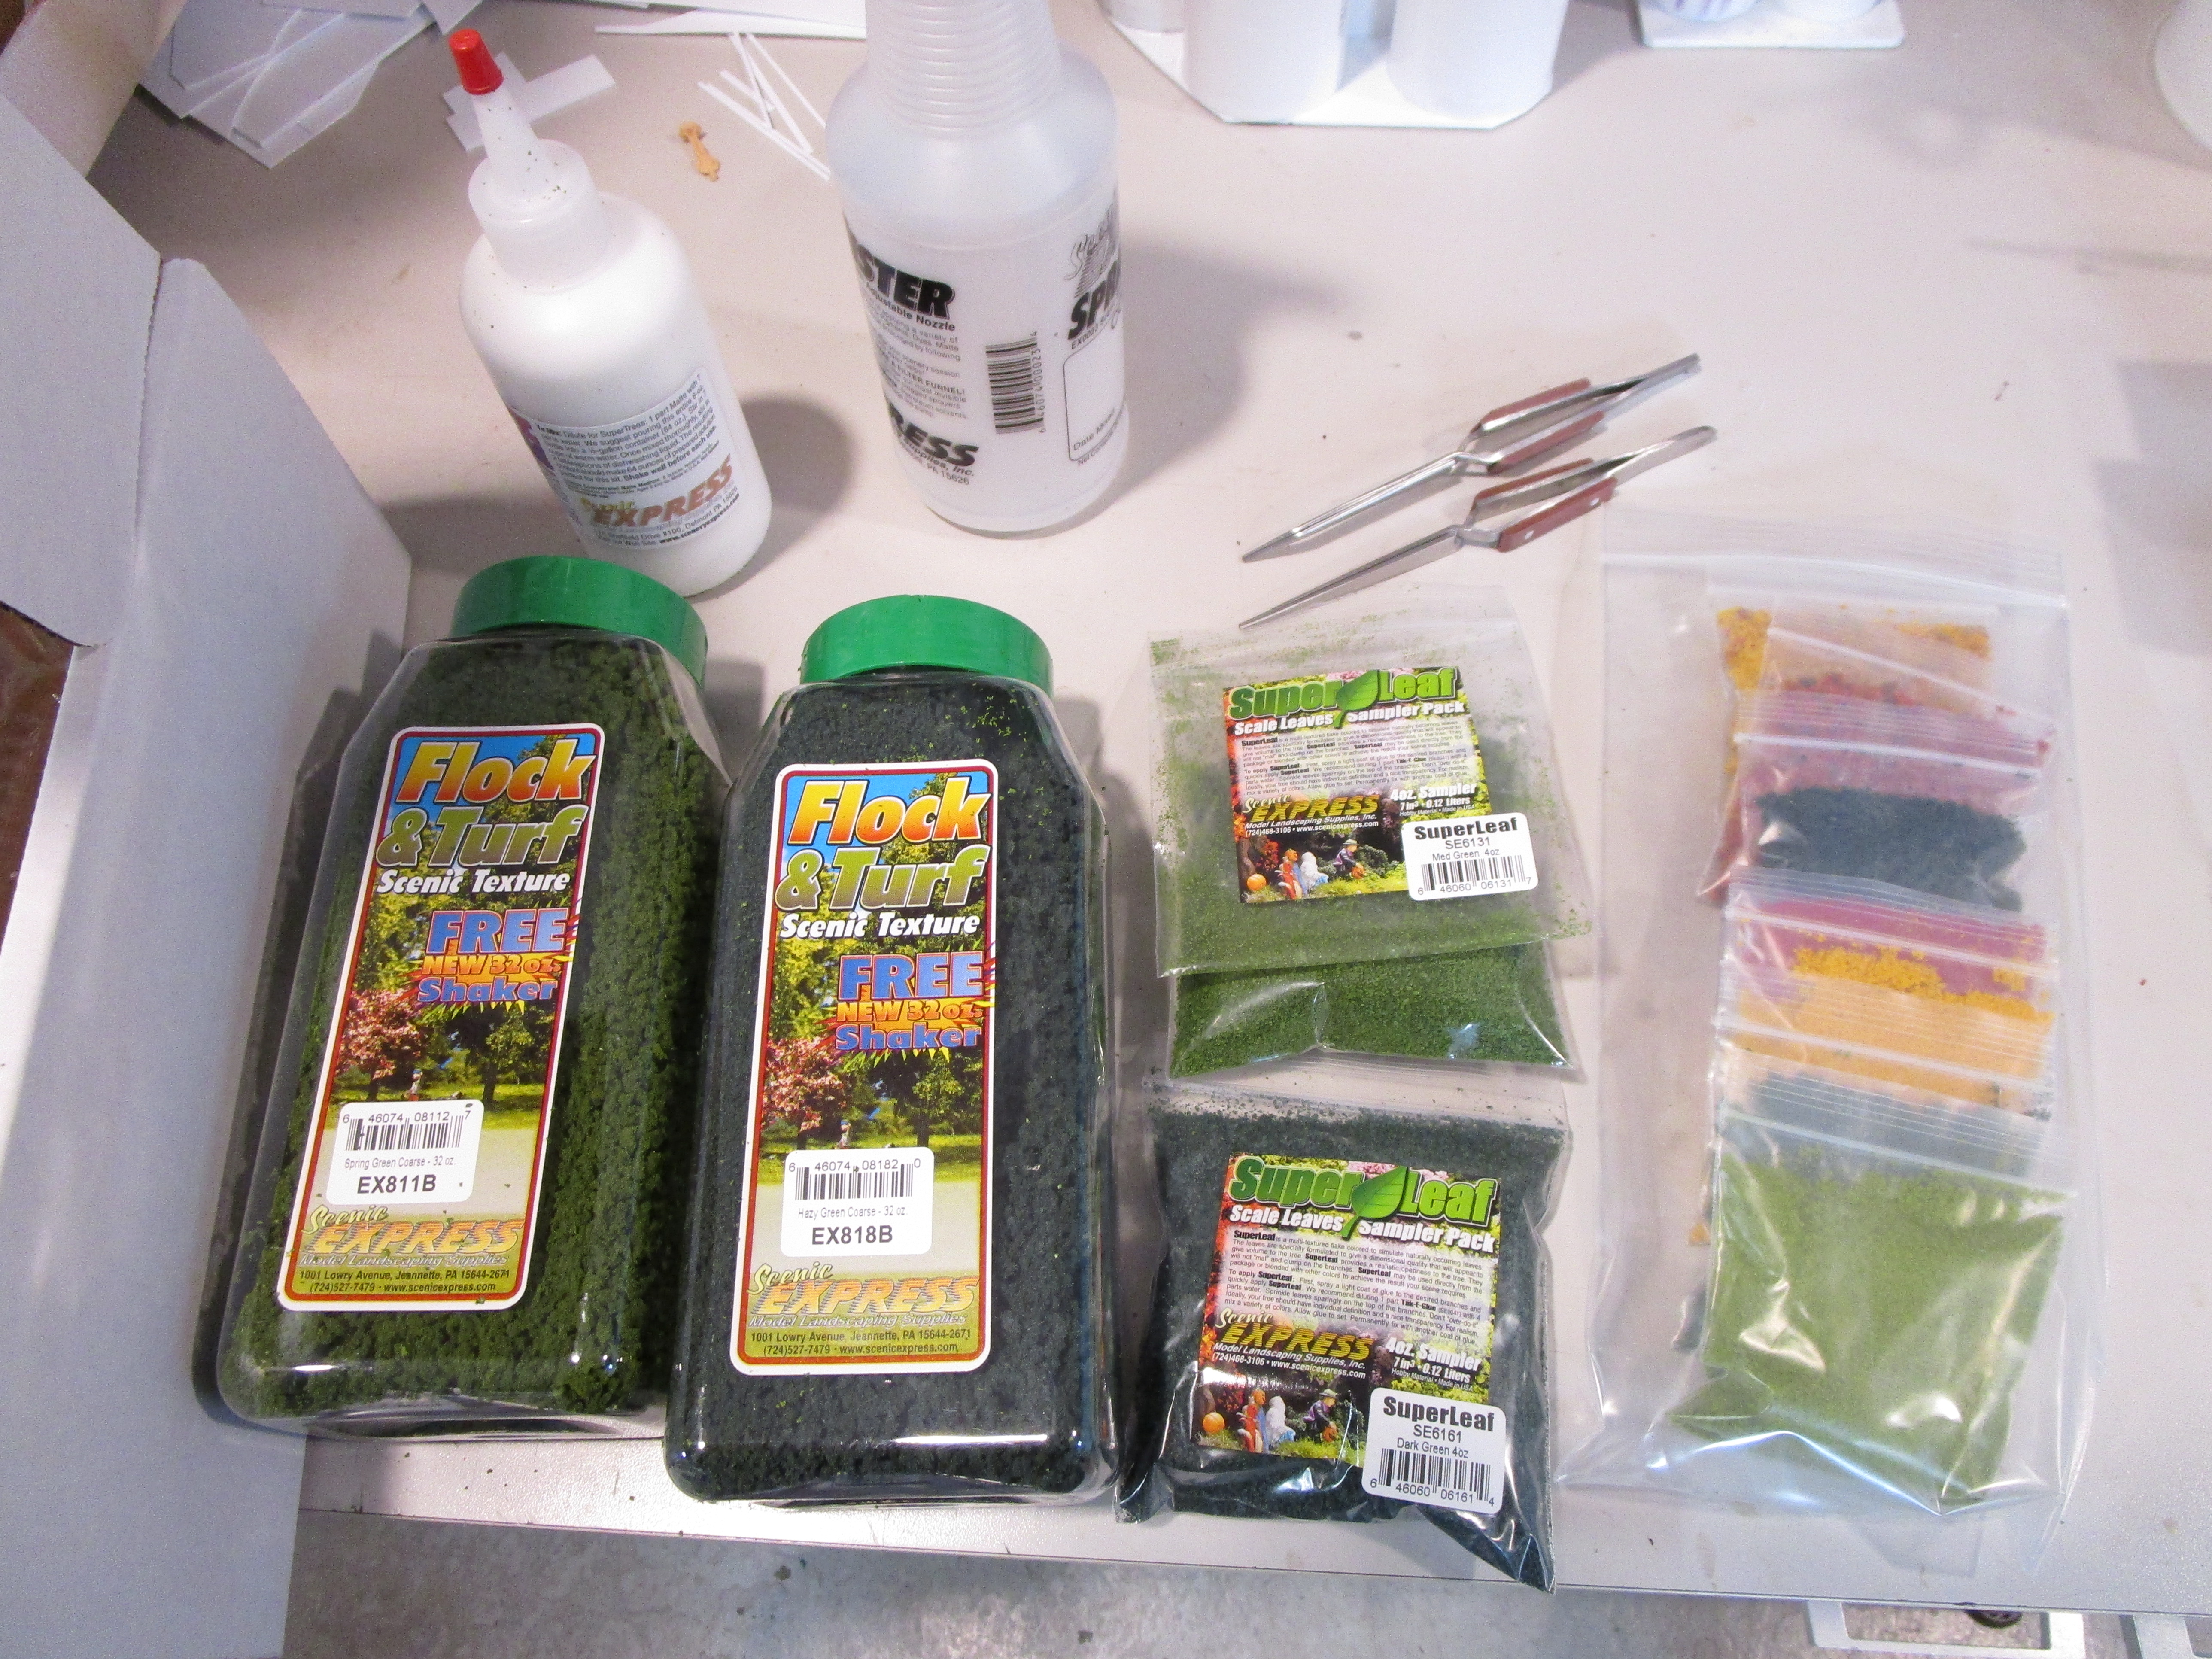
After doing a lot of forum reading, I came across these two videos which proved pretty helpful. This one by Scott Mason, shows how to build a tree quickly. It is pretty basic, but that is fine. However, I also came across some posts from people who found the tree branches were unrealistically bent out of the box (they were natural plants, after all). One method of straightening them is to touch a hot soldering iron to the trunk. Another is to soak them in a matte medium and water solution and hang them to dry upside down, as shown in this Model Railroad Hobbyist magazine video. This link also shows how to paint the trunks and leaf material in different colors for a more realistic effect.

However, I decided to try an unusual boiling method as described here. I first had to purchase a suitable boiling pot, knowing full well that using one of my wife's cooking pots would be a bad idea. I tried Walmart, the Dollar Store, and an Asian import store but nothing was large enough and cheap enough. On a whim I then went to the Salvation Army and snagged this one for a couple of bucks.
I then got involved with other projects and let this sit for three months. When I finally got back into it I first made some "tree service clothespins." These were nothing more than regular wooden sprung clothes that I marked by painting part of the handle green, and then glued wood squares from my parts bin to the handle of half of them. After that, I epoxied on some surplus metal bolts to the wood and suddenly I had my custom tree service clothespins. The metal weights will help straighten some really bent trees. Some metal links from a surplus chain that I bent and attached to the clothespins finished them off. All of this was probably unnecessary, by the way, but it was a slow day and fun to do.
I decided to take some pictures of the actual tree branches / stems as they came from the box. I did this first over my layout, then on top of a nice white piece of styrene destined to become my backdrop, and finally over my wife's laundry table. The branches shed dirt and leaves, and lots of black bits that reminded me of poppy seeds. I now can name three places off the top of my head where you should NOT do this! Take it outside.

I sorted out 5 or 6 good pieces to use for trees, and then used the supplied tweezers to remove oversize leaves. I also trimmed the trunks a bit in length, and sometimes shortened the height of the tree. They are extremely delicate, and just looking at them wrong will cause them to snap and break.

When done, I still had a large pile to go through for the next batch of "second-status" trees. And lots of little pieces for background trees and brush.

The stems I picked were then put in a pot of water and boiled for 30 minutes. After that, I hung them on the clothespins to dry for about 24 hours.

Next, I sprayed the trees with cheap gray primer spray paint so that the trunks wouldn't look red and yellow, the natural color of whatever weeds these started as. Scenic Express recommended soaking the trees in matte medium (which they provided) to seal the plants and help them stay flexible but I skipped this step. I may try it on the next batch as an experiment.

I then sprayed the trees all over with 3M spray adhesive and sprinkled on the green "SuperLeaf" material that they recommend for HO and O scale trees. It is larger and flatter than regular ground foam and I thought it looked pretty good. Though I tried to sprinkle the trees only from the top (so that the trunks wouldn't turn green and fluffy) some got on them anyway. Oh well.

For a couple of the trees, I sprayed the trunks with dark flat brown paint and used the dark green SuperLeaf material on them. Some variety is nice. On a few, I sprinkled more of the lighter green leaves over the dark green to add shading.
An awl was used to poke a hole in my hard scenery shell, and then tacky glue was squirted into the hole. I avoided a drill as I didn't want small bits of foam and stuff thrown around the finished layout scene.

Finally the tree was set in place, and sometimes propped up temporarily with a clamp to keep it upright until the glue set.

On the foreground hill, I installed several large trees and a couple of smaller ones. For the back ridge along the backdrop (which is on order) I intentionally chose smaller trees to give the impression of forced perspective. I still mixed up the sizes, but I didn't use any of the large trees. I wouldn't say any of the trees are perfect but I am happy with them. And if down the road I want to switch them out with better ones it is easy to cut them down or pull them out. I am not modeling a completely forested hill and don't want a lot of trees on it... just enough to look good.

Upon reflection I like the SuperTrees and the starter kit was nice, but there were things in it I didn't need and tools were included that while helpful I already had. In the future, I will only order their branches and perhaps the leaves themselves. Or, maybe I will forage in the wilderness for my own tree limbs. We shall see. Once the blue background is in place I may also go and apply some photographic images of trees behind the modeled ones just to add more depth. But I need to wait for that.
Looked good last week, now your hill is even better!
ReplyDeleteJim @ JSSX