
 In June 2017 my wife and I visited Maine to ride the two-foot gauge trains. It had been on my railroad bucket list for a long time. The stop on our first day was the Wiscasset, Waterville and Farmington Railway Museum (WW&F). Not only have they restored several trains that you can ride on, but they also have a small collection of cars that are either displayed or being restored. The whole Maine two-foot gauge collection is a real mess with various railroads' equipment all over the place, but one of the cars that we saw there that day was refridgerated boxcar #65 lettered for the Turner Centre Dairying Association. A bit of information about this car can be found at the WW&F webpage devoted to it.
 |
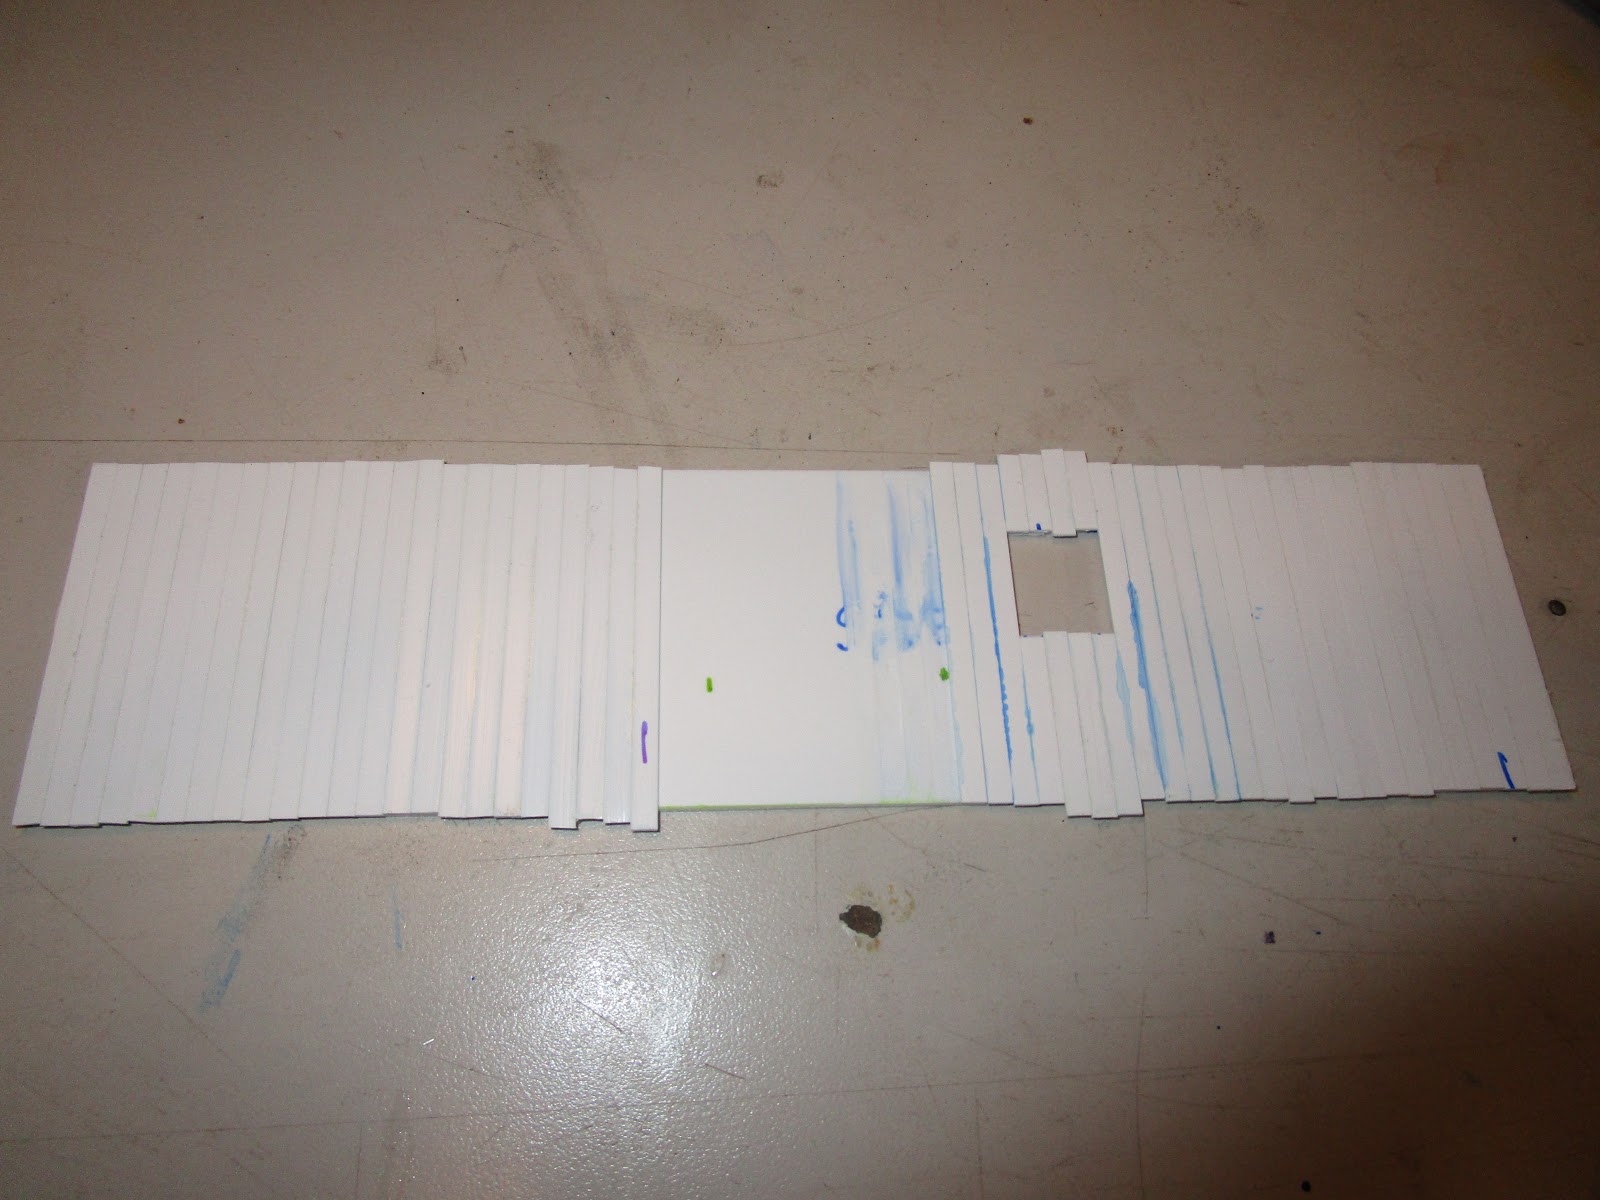
| If you squint, it is the farthest car in the back. |
 Regarding the windows on the side, the scrapped car actually had the windows too though they weren't original. According to this website, there was a dispute between the WW&F RR and the Creamery over whether the dairy attendant riding the car would need to pay or ride for free. The railroad added the windows to the sides so that the attendant could see out, and I assume that meant the railroad then got to charge a ticket for the passenger. Riding was somewhat comfortable, because in Maine it is actually warmer inside the boxcar than outside. They installed a stove for the colder months, and in the warmer months they had to ice the car to keep the milk cold.
During our visit in 2017, the boxcar hadn't been moved to Wiscasset yet and was safely stored inside the shed. Like all such projects of mine, I didn't take enough good pictures because I wasn't sure if I was going to build a model of it. But now I am, so I am in a bit of a bind. I also just realized that this is my third straight milk car build in a row (the other will be featured in future posts)! I guess milk does a body good!
 After finishing four scratchbuilt cars I wanted something simple and fun to work on, and this car seemed perfect. Even though I could probably draw up my own plans based on the pictures, I was sure that plans were out there for this car so I turned to noted expert and author of all things two-foot gauge: Chris McChesney. Actually, I used the back-door approach and reached out to his father (a member of my NMRA Division) and asked him for help. They both came through, as well as another gentleman I know who offered kits for the cars in On2 years ago. Because two-foot gauge cars are so small, I will build this in O scale. In reality, it will be close to an HO scale car anyway in size.
I am planning on building it in On2, though swapping out the trucks for On30 trucks would be simple and allow it to run on my layout. However, I don't really have plans for that at the moment. I wanted the car to look tall and lanky and really have some overhang on the track so On2 trucks were what I picked. I reached out to San Juan Details and the recommended their (#3075-01) which are based on SR&RL RR trucks but compare favorably to pictures. The wheels are NWSL On2 wheels (#37851-4) and their cost ($25) was more than the rest of the car put together!
 After taking the plans and photocopying them to the proper size for O scale (1:48), I then pulled out some 0.060" thick styrene and cut out a pair of sides. Some quick measurements showed where the windows were to go, and they were drilled and then "nibbled" out using a tool. I won't file them to finished dimensions until later. Next, after looking at my styrene strip collection I decided that Evergreen's #126 stuff (.020" thick, 0.125" wide) was as good as I was going to get. I took each "board" and ran it between some folded up sandpaper to give it a bit of wood grain, and then cut them to the height of the sides, plus a little extra just in case. Then, using my machinist's square at the end of the side with the window, I started to glue the boards down. Overhanging was okay, as they would all be trimmed at the end.
 My styrene "boards" are 0.125" wide, which scales out to 6" wide. The real one might have used 4" wide boards (scales down to 0.083" wide), but if you don't include a prototypical gap between them at the joints you end up with too many boards on the sides, which doesn't look right either. When I ran out of them I had to order more online. I bought a lot more, just in case. In the meantime, I then worked on the ends of the cars. My drawing was a bit faded but I could see enough of the angles to determine the height and pitch of the roof. As for the width of the car, I deviated a little from the prototype. I widened it slightly so that I would have an even number of boards across the width without having to insert a narrow board somewhere.
 |
 I plan to build this car with the roof attached first, which would prevent any possible future issues of getting a good roof/body joint. However, once the roof is attached there is no easy way to attach the floor attachment brackets, so I decided to add them now. It is important that they are mounted at the same height all around the car's interior- the exact height doesn't matter, and the floor can be shimmed around. But, they must be consistent. Normally I would measure up from the bottom and draw a line and hope to glue the pieces at that line, but here I took some wood dowel and set the pieces on top of that, and then applied glue. Wood was used because MEK won't stick it to plastic.
 The roof will have an underlying layer of styrene. It had to be supported along the full length or I am sure it would sag, so adding styrene braces from the underside seemed the easiest method to accomplish this. The method I used was to take a flat piece of aluminum bar that I keep on my workbench (mostly as a knife cutting guide) and held it along the roof line angle with my left hand. My right had then slid some pieces of styrene into place until they were firm against the aluminum, and then I flooded the joints with MEK. Since By doing it this way, every crossbrace had its roof supports at exactly the correct angle to hold the roof.
 I was able to then move back to the body, which I had to temporarily stop working on as I ran out of the styrene strips I was using The ends were done in exactly the same way except that even with my careful measurement I had a slight gap in the boards where the final one was going to be a little bit narrower than the others. Some people like to hide this board on an end, and others try and disguise it in the middle. I chose the latter, and it is only about a 1/64" narrower I doubt anyone will notice it. Once the MEK had cured, I trimmed off the tops and the bottoms. The scraps were kept, as they proved useful for when it came time to panel around the doors.
 The boxcar originally had sliding doors but when the WW&F converted it to handle cold goods they replaced it with a plug door. Intentional or otherwise, it looks like the door they built was slightly larger than the space they had planned to install it so they had to cut away portions of the boards on the right and left edges to get it to fit. So, I added this detail myself. I scribed where I wanted the door lines to go and then used a metal straightedge to scribe those lines. I then used my favorite chisel blade to remove the material and clean up the corners. I then added small pieces of boards above and below the door area to make it look like the side continued around the door.
Good evening.
ReplyDeleteI was reading one of your past blog and you mentioned the name of Dominic Bourgeois. Do you know im only by is books or it is one of your friend?
Great stuff, thank you. Where did you obtain the plans?
ReplyDeletePlans are in the "Narrow Gauge in the Sheepscot Valley" volume 4 book.
ReplyDeleteI do know Dom. Why?
ReplyDelete