
 A quick sketch was made to determine exactly how I should assemble the legs together, and then I compared it to the leg fixture I had glued up. They didn't match. Originally I was going to have my legs spaced about 20" apart with the L-girders on the inside of them. I changed my mind and moved the legs closer together so that the L-girders would be outside. Recessing the legs in a bit more (though admittedly not by much) may prevent accidental bumps to the layout. So, I modified my jig and began assembling things.
One of the main considerations I had when deciding on layout height was my wife's concern that if it were too high, she wouldn't be able to see it easily. I like my layouts high (48"-60") where as she prefers them lower, like what you would see at an N-trak exhibit (40"). However, when we were at the Springfield show recently Model Railroad Hobbyist e-magazine had a really nice booth set up, and featured in it was an HO scale switching layout. Not only did the modeling portion look great, but the physical construction details (layout height, fascia color and material, recessed toggle switches) made it look professional and clean. And, my wife liked the height. So much that we asked how tall it was and Joe Fugate (publisher of MRH) pulled out a tape measure and checked for us. 50". So, that became the height for my new layout.
 L-girder has a lot going for it but one problem is that it is really thick. The girders that are 3-5" tall, the cross joists on top are usually another 3-4" thick, and then you have risers, the track support plywood, cork roadbed, and actual track. It adds up and could be as much as 7-8" more above the girders.
My box-frame layout sections will be about 3.5" thick, with another half-inch of plywood on top, for a total of 4." I needed the L-girders to be about 44" tall so that when I added any cross supports, my open grid sections, and the leveling bolts on the bottom of the legs my layout would come up to about 50" tall. Which meant my legs needed to get shortened by about 4". No problem, I borrowed my uncle's chop saw which made nice clean ends perfect for accepting the 5/16" tee nuts that are necessary for the bolts for leveling the legs.
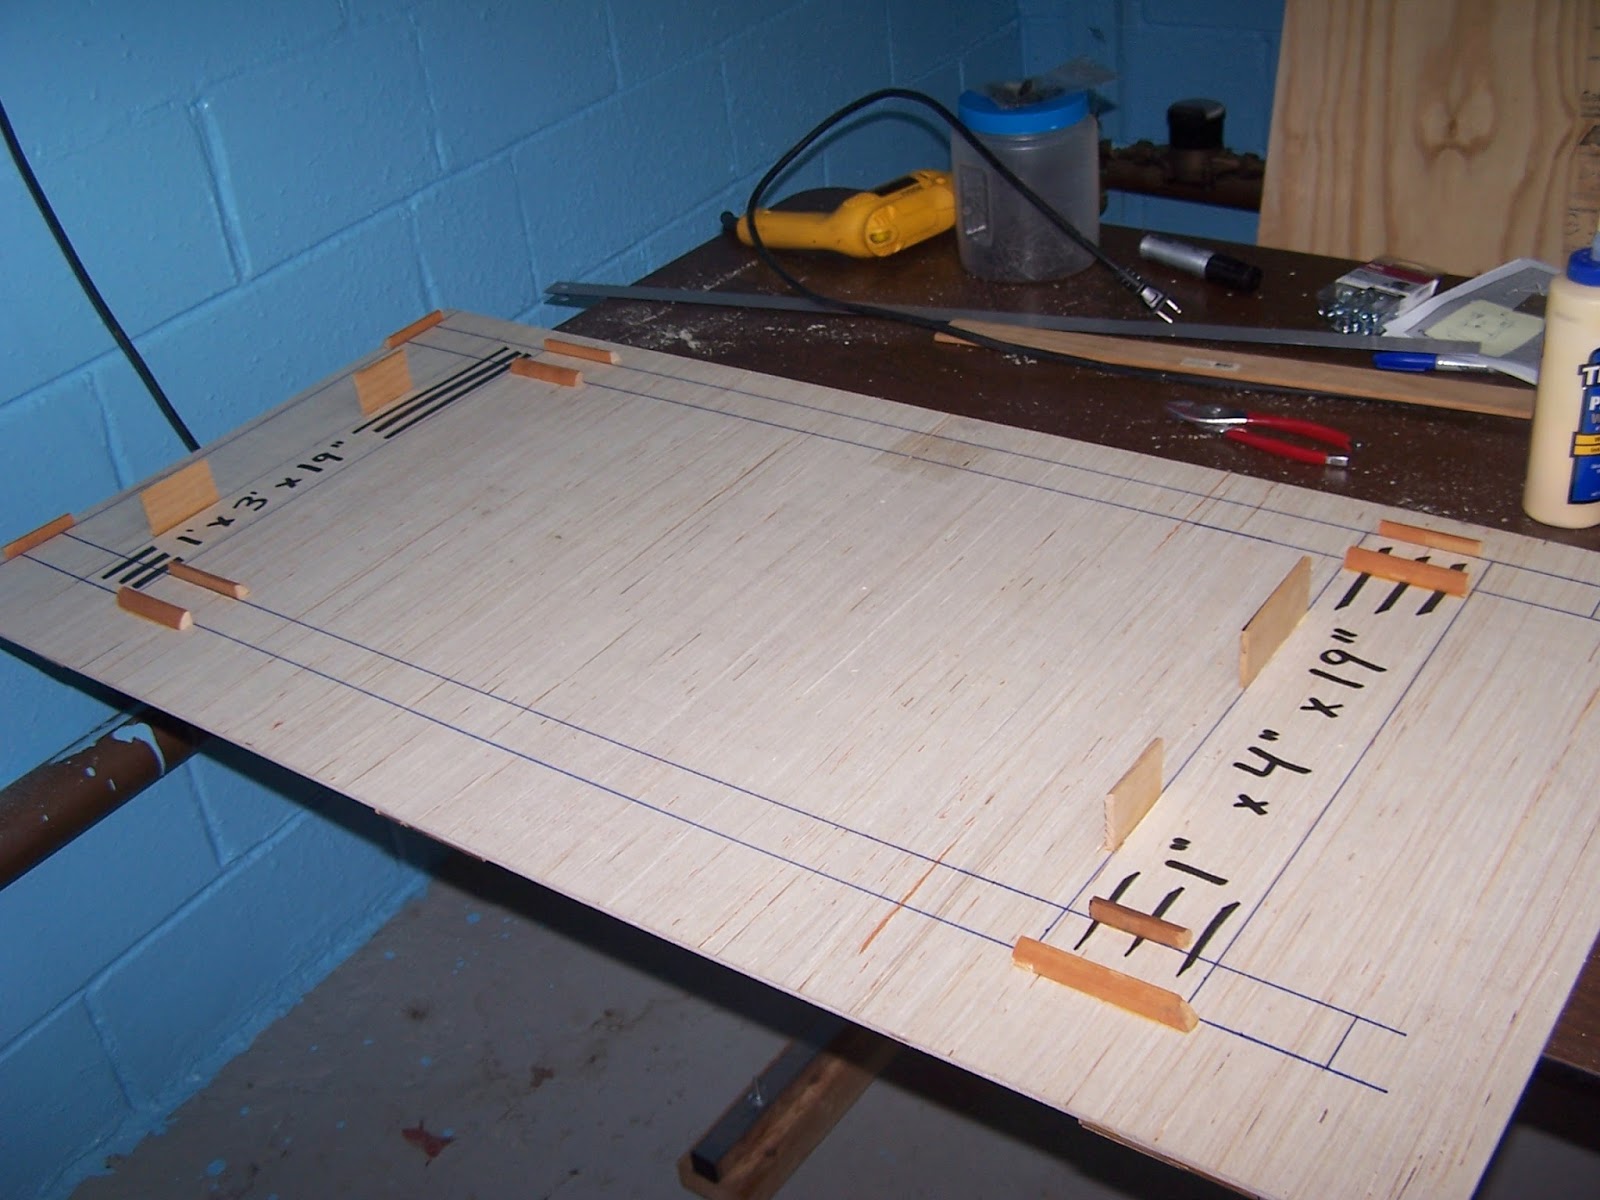
 Finally, each pair of legs was secured to some 1x3" and 1x4" stock that I cut to length and it all was glued and screwed together. I originally planned to go with diagonal cross braces but I have seen many people use perpendicular ones and they are much easier to cut if you have a chop saw. Also, some people specifically advocate not gluing anything else besides the L-girders together and instead just relying on the screws to hold it all in place. Because I wanted my leg assemblies to be rock solid, I glued and screwed it all together. Overkill? Perhaps, but one think I knew I would need to contend with was a the occasional bump from the dog (or me)!
No comments:
Post a Comment