Ever since I discovered I had compressed my building's height too much to reflect how it looked in 1984 I have been pretty bummed out. But there was no going back, and few people would really know except for me. Besides, I had another project I wanted to get to but I restrained myself from starting it until this one was done. So I pressed on.
The decals had arrived from Precision Design Company and they looked great, so the next step was to paint the building. I first gave it a good wash and after a week went to paint it with flat white paint. Turns out my spray can was nearly empty, and I had to run to the store to get more. I used that excuse to delay the project for another week. Finally, it was painted. Unlike most of my other buildings, the pictures I have of this make it appear to be white (not off-white or tan like some of my other structures) which was nice as it would stand out a little from the rest.
I then went and took some flat black paint and went all around the roof edges. I could have done it after I installed the roof, but I like to get into the hard areas now when there isn't any fear of damaging the roof treatment. This model had a lot of edges and to prevent hand fatigue I did it over the course of several nights. I painted some of the roof panels black, but it was mostly for fun as they would be completely covered with the roof treatment and it really wasn't necessary.

The prototype picture I have from the 1970s (shown here) have it appear as solid black, and I wonder if that image was colorized to make it look nice and new. I couldn't tell if it had shingles or a rolled roof. Current satellite pictures show it covered with something that could be tar paper or a rolled roof, and based on the coloring and wear patterns of the material it likely was done at different times.

Several buildings on my layout have this already, and for those I used blue painter's tape which works well. It has a nice texture to it and it sticks readily and takes paint nicely. But I wanted a slightly different roof texture for this model, so I went with masking tape. It has a finer grain and if nothing else it would at least appear to be from a different roofing company.

I cut it into pieces and installed it on the roof, starting at the edges and overlapping in parts to replicate the satellite image. It wasn't difficult work but it was a bit tedious and a sharp knife blade is a must. Different areas seemed to show larger and smaller sizes in the picture, so I replicated that. However, I wasn't a stickler to details.

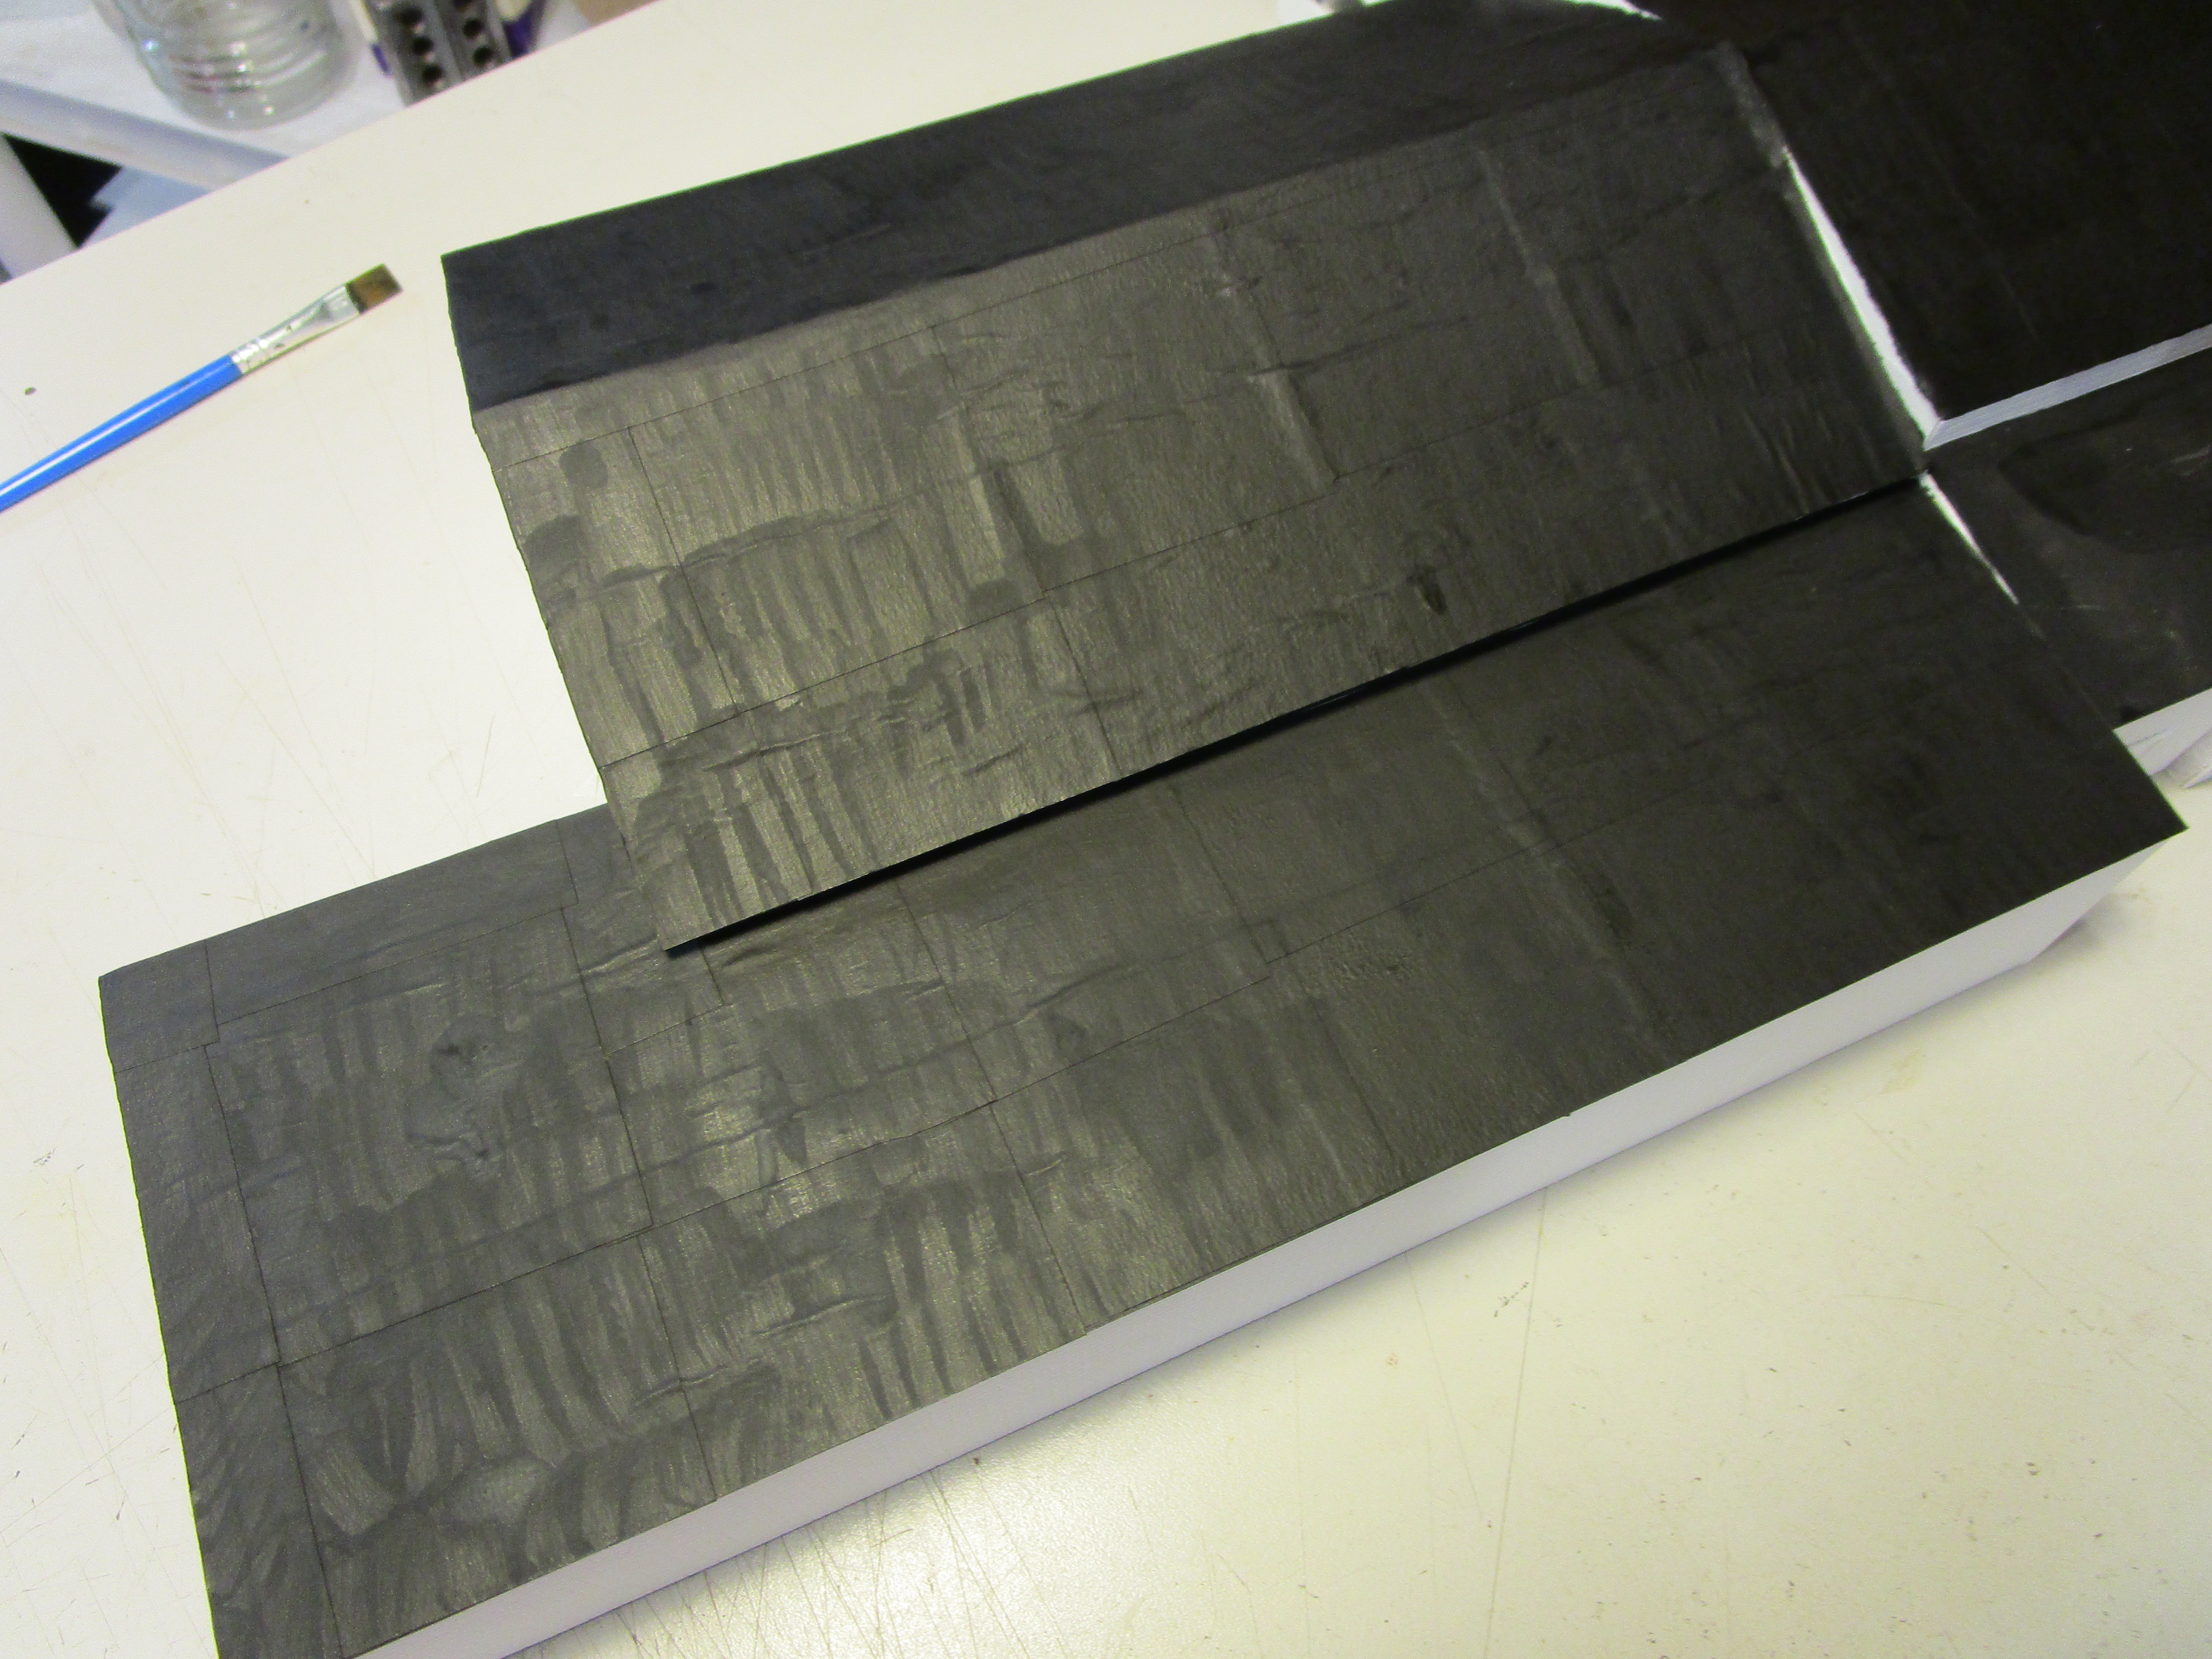
Then, I went and gave it two coats of flat black paint. After letting them dry for a couple of days I noticed something strange: the tape warped and bubbled in places. I bought name brand 3M tape and heavily burnished it down with a wooden toothpick all over but it still did it. Oddly, the blue painter's tape which is supposed to release easily from walls stuck nice and strong to my models but this stuff which is supposed to hold fast didn't. However, it did make the roof look older and "aged" (at least I hope that it what it looks like)! In the future, I think I will stick with blue painter's tape.

I went around the edges with flat black and flat white paint and touched up areas that got hit with the opposite color of paint.
Other areas of the roof received a similar treatment, which by now was getting pretty repetitive.

Also, I noticed that the black paint was easily nicked which left behind a white spot from the styrene. This mostly occurred along the edges of the building, but I had assumed that the paint would be more resilient to the occasional bump. However, not only is this Tamiya paint easy scraped off but when you go to apply another coat over a partially-wet first coat it will lift the first coat right off the plastic. I don't know if that is because it is thicker than other paints, or maybe the formula is different and it doesn't cure until felly set. It is very weird though. I just hurried through the roof process to get it all finished.

The area of the shed extension on the south end had what looked like corrugated metal roofing in the 1980s, and I modeled that with JTT Plastic Pattern Sheets (#97402). The real roof around the fireplace was actually black tar paper and the corrugated metal shed extension was a separate portion, but I had compressed the length of the building and in doing so moved the chimney to pop up in the middle of the metal shed. Using the roof material I had on hand required making the sheet metal parts in three pieces to go around the chimney. I intentionally arranged them here to show their gaps, but when glued on they will be seamless.

Then, I sprayed them with red primer and misted them with various gray and black spray paints. The colorized picture of the prototype shows it reddish-orange but I suspect that is actually the film discoloring due to age. Regardless, I liked how they stood out from the black roof everywhere else.

I couldn't find a suitable Tamiya color of paint that was close enough to brick red to use for my chimney. After purchasing two different bottles and discovering both were off (one was too red, one was too brown), I settled on a 50/50 blend of the two. They were measured using disposable pipettes, and then blended in a small paper cup. Once I painted the chimney, the excess was sucked up in a third pipette and a toothpick sealed the opening to prevent it from drying. I now had safely stored the excess for if/when a second coat on the chimney was required.

The paint went on okay, but after I went around chimney once I started looking for touch-up areas. My attempts to cover them with a second coat resulted in the first coat lifting off. So, I just left it alone. The next day, I applied another coat. This left a somewhat splotchy appearance which is exaggerated in the picture below.
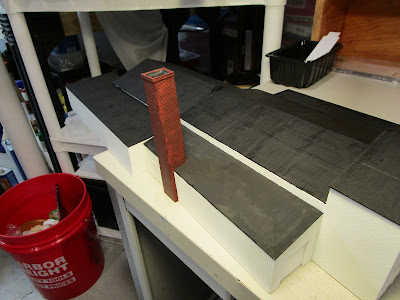
I also went around and painted the roof edges where the corrugated roofing panels will be applied.

The building uses multiple sizes of window and door castings, and to keep track of them all I kept them sorted by wall (each wall is labeled with a letter on the inside of the structure). The castings themselves were then taped to some cardboard and painted white.

Then, each window casting was mounted onto clear styrene with some canopy glue. This gave each casting a "ledge" around all four sides that I could use later on.

In places, I painted the surrounding glass ledge with white paint (as seen on the casting on the right) to help hide any gaps in the castings.

It was a slow process, as the building had to be tipped on its edges as the windows were installed. Gravity held the castings in place until the canopy glue set. I hated the process, especially since gaps were inevitable. I have come to the realization that the next building I construct will use regular windows and not masonry windows which must be inset!
That is where this building's progress currently stands. I still need to decal the end with the "Southworth" lettering, then weather everything. But it is getting closer to the finish line.