
With all of the windows installed, I went around and used very thin, tiny strips of styrene to fill in any gaps in the window frames. My sprung tweezers helped hold them in position while the glue set. They aren't perfect, though. If I installed the window frames before I added the clear glazing to the back, I could have used modeling putty to hide any seams. Since the window frames are the same white color as the walls, this was an option. But, I would have had two problems to overcome: (1) finding an easy way to secure the window frames into the walls without them falling out, and (2) installing all of the clear glazing in hard to reach areas. For this building I took the easier approach but had this been a model to be entered into a competition I would have gone the other route (I used the other method for the Albany Tomato Company building). Then, I painted all of that newly added trim white.

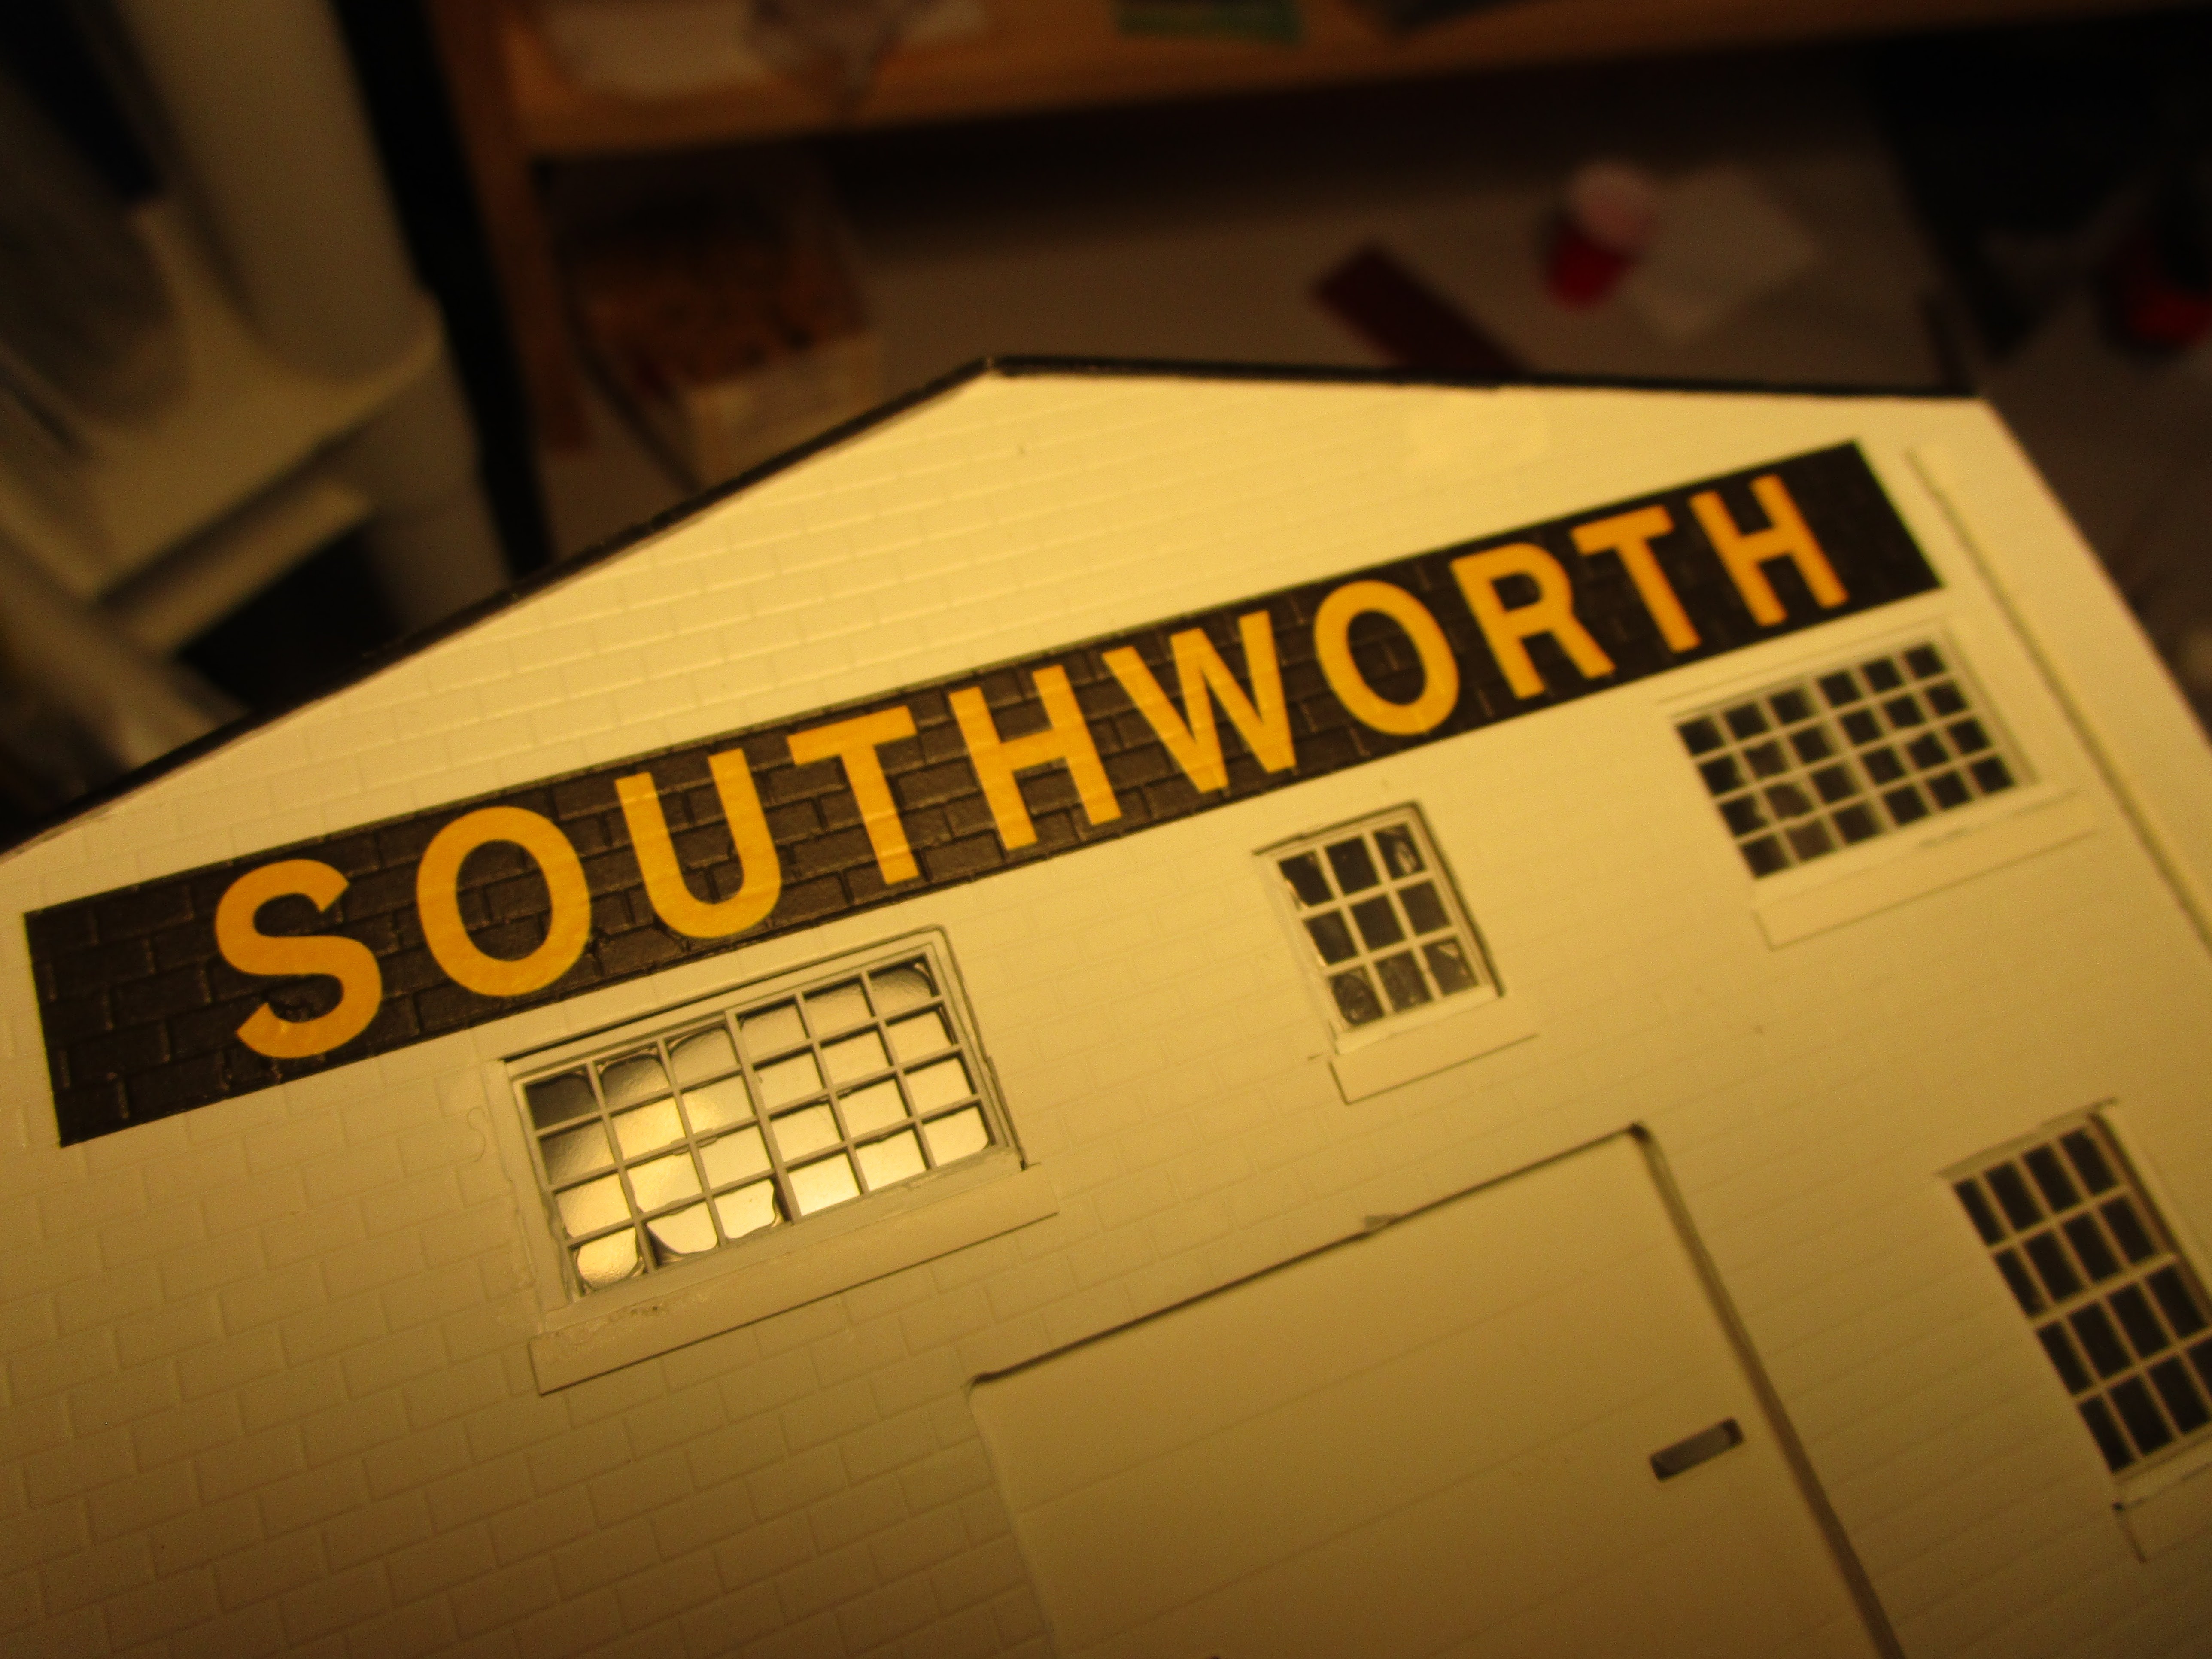
I next added the "Southworth" decal on the end of the building. This had been custom made for me by Bill Brillinger at Precision Design Company and he did a great job taking the poor partial image I had and extrapolating what the entire word would have looked like. I sprayed the area where the decal was going to be applied with clear gloss, having first roughly masked other parts of the building with some cardstock so that they wouldn't also turn shiny.

The decal went on perfectly on the first try, and after multiple applications of Microsol it snuggled down into the bricks. I don't know what magic Bill does, but his decals are awesome!
Next, I went around the roof and touched up any nicked edges or tape seams with flat black paint. The roof had a mottled black look, but that appeared prototypical. Then, I measured all of the windows and cut out pieces of blue painters' tape to mask them. I didn't have to make them perfect (I rounded to the nearest millimeter) and then I sprayed the building with Dullcote.

The building was then given a light wash of oil paint. I didn't want it to look old and decrepit, especially since it appeared to have been painted bright white less than a decade before. But, it was next to train tracks and did have trucks and cars driving by and around it.

The wash settled into the brick mortar joints, just like in real life, and added the appearance of time without looking neglected.

I then glued the three prepared corrugated roof panels on top of the extension. They wanted to slide off, so metal weights were used to keep them in place until the tacky glue cured.

For the three roof vents, I looked at the Walthers parts I had in my stash. I also looked at some castings online. In the end, I decided to just make them myself from some bits of styrene sheet, tube, and rod. The angle on the bottom which sits on the roof peak was first measured using strips of cardstock that I stapled together at the angle of the roof.

I then measured this with my compass and found it was 138-degrees. I marked a piece of 2"x4" wood with this angle and cut it on my bandsaw. I glued sandpaper over it and then used that to sand the bottoms of the styrene tubes using this fixture so that the angles formed on the bottom perfectly matched the roof. Once the styrene pieces were glued up, I painted them flat black to match the roof.

The roof vents were glued onto the building, making sure they didn't lean one way or the other. I used superglue gel to hold them because tacky glue would have taken too long to cure.

Then, I took some silver paint and went around to pick out the handles and hinges of some of the doors. Some black paint was drybrushed on the frames of the rolling doors and vents to show the effects of truck smoke as they went in and out of the factory. Finally, clear styrene was cut to size and glued to the inside of the main entryway door frame.

And with that, the building was finished! It was started on February 12, and it took nearly nine months to complete. Along the way, Harrison arrived that that directly impacted its schedule. But I am happy with the finished structure.

During the upcoming winter I can combine it with the other three buildings plus the loading ramp that make up this scene and add the scenery around them. What's more, this is the last structure needed for this side of the layout.

My next project has already been in the works for a couple of months now. I need one more structure model to earn a Merit award for my M.M.R. certificate, and that will be my next priority.
No comments:
Post a Comment