
 |
| May 23, 1983 |
 So I watched EBay and finally found an engine that fit the bill for $25. It is an Athearn Blue Box model, complete with metal handrails and other generic details. It is an EMD GP38-2, though the instructions that came in the box were for a GP-35. I mocked up the handrails on the body and they don't fit... they are indeed also for a GP35. A call to Athearn's customer service allowed me to order a set of their metal handrails (yes, they still have some in stock!) but the cost plus shipping (about $23 total) was nearly as much as the engine itself. I hate stuff like that. By the way, an excellent resource for old Athearn documentation is found here.
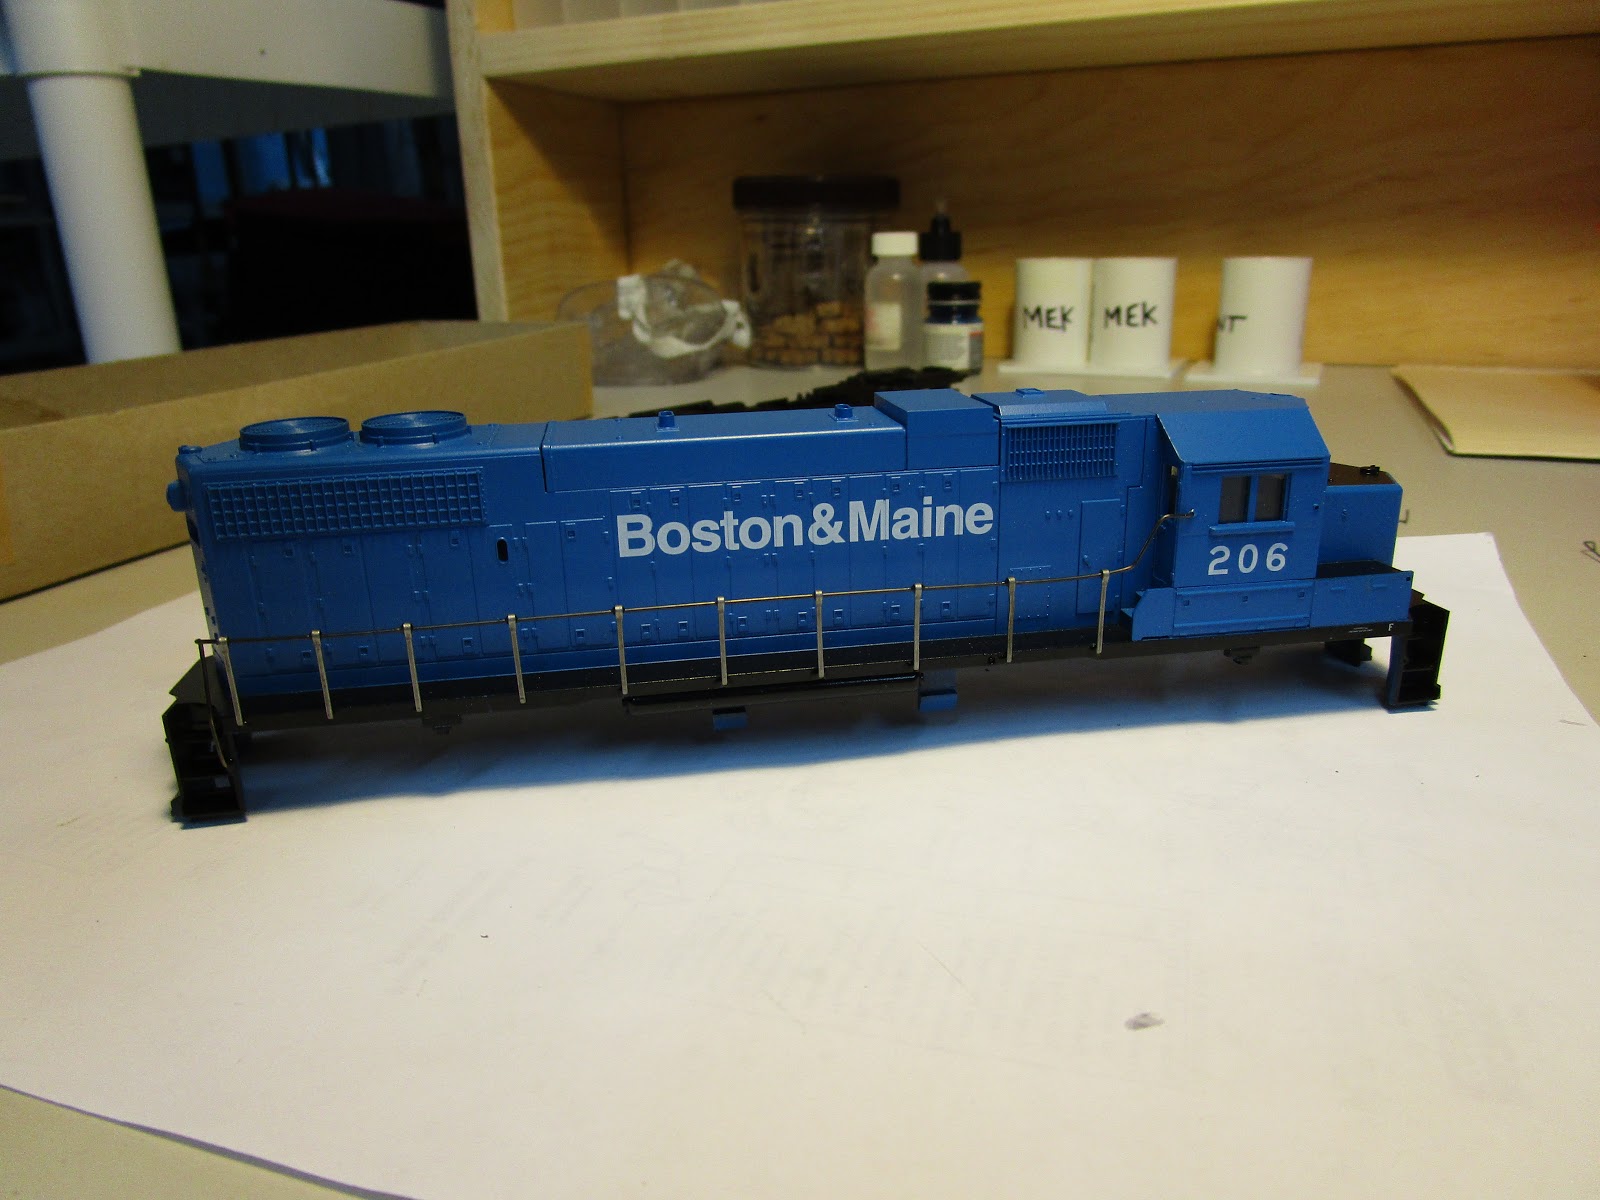 I love the fact that this is an old blue box model. As a kid, I enjoyed putting them together and even though the handrails sometimes caused problems (getting everything lined up, putting a tiny drop of superglue at the joint, then painting them in a matching color was tedious) they were a lot of fun to work on. I only later learned secrets like using needle-nose pliers, opening up the holes when necessary, and trimming the handrail portions that stick into the sides of the cab down in length. It only took about 20 minutes or so to get all the handrails in place on this engine, and that included only one stanchion threaded upside down which was easy to correct.
I had in my parts box a set of North West Short Line metal replacement wheels for Athearn diesels. They were designed to replace the sintered metal wheels which were standard on powered Athearn engines. I figured putting them on this engine wouldn't hurt, and they were just sitting around doing nothing already. In the process of trying to install them, I managed to break one sideframe from one truck (I forgot that I superglued them on when I bought the engine last summer) and even after that I discovered they won't work on dummy engines because the axle arrangement is different. So, I ordered replacement sideframes on EBay (another $9), which meant that my "cheap" engine wasn't so cheap anymore. But, I now have extra sideframes in my parts box.
 The handrails were first painted with blue paint that I matched at the local hobby store. But, the shop has poor lighting in the paint area, the color swatches on the display board are faded, and some of the paint never seems to match the samples anyway no matter how much you shake them. As a result, the handrails turned out darker than I wanted. So I repainted them with a blue craft paint I had on hand. I didn't have to get every speck of handrail like I had with the first color coat (to hide the steel), but I got most of it. Painting handrails with a microbrush was much easier than when I did it as a kid, using a cheap plastic bristled brush that would splatter paint everywhere if you pushed it too hard.
 I then mounted Kadee couplers. My first move was to drill a hole in the metal frame and then tap the hole for 2-56 screws, which worked well. However, I couldn't get the coupler height correct using regular #158 couplers (my defacto standard are #58 or #158 "scale" size) and hate using over or under-set shank couplers. I think they look stupid. So, instead I used my Dremel tool to cut off the metal tabs completely. To allow me a maximum amount of space to glue styrene inside the ends to build up a new coupler pad, I ground away more of the metal chassis than I probably needed to. Black paint hid the damage.
Finally, the corner railings were picked out in white.

Not bad for a
No comments:
Post a Comment