CP Executive train in Albany

CP Executive train in Albany

Wednesday, May 28, 2025

Visiting the Conway Scenic Railroad

When I was elected President of the NMRA Hudson Berkshire Division in late 2022 I was given a bucket of old files. One of them was the original certificate of incorporation for our Division which was granted and dated June 06, 1970 in North Conway, NH. (More information about that event can be found on page 5 here). That got me thinking that it might be fun to visit there for our 55th Anniversary. So I put it on my idea list.

Several years later, I switched my modeling focus to something more generic in New England and I started watching a lot of videos on the Boston & Maine Historical Society's Youtube site. While doing that, I came to the realization that the Conway Scenic Railroad was a great place to experience B&M, and New England, railroading.


Also, my birthday usually falls on or around Memorial Day weekend and I like to celebrate by doing something railroad related. By riding the CSR, I could achieve all three goals at once. What I didn't realize was that I was going to have as much fun trainspotting on the way up and the way back as I did while actually there. 

We used my GPS (remember those?) to get there. Oddly, at one point I got off at an exit to put gas in my car and my GPS never had me get back on the expressway to continue the route. Instead, it took us through the back woods including through the New Hampshire National Forest. Though the skies were overcast the views were breathtaking. 


We stopped several times to pull over and take shots. In a matter of moments the colors seemed to change. We even passed snow at the very top peaks.


What I found neat was that we passed through many of the small towns I had learned about on the B&M's Youtube page. So, when we randomly passed steam engines, scenic tourist trains, or other landmarks I got to say to myself "Hey, I remember watching something about that!" None of it was planned, though I probably should have. I just haven't explored New Hampshire very much.


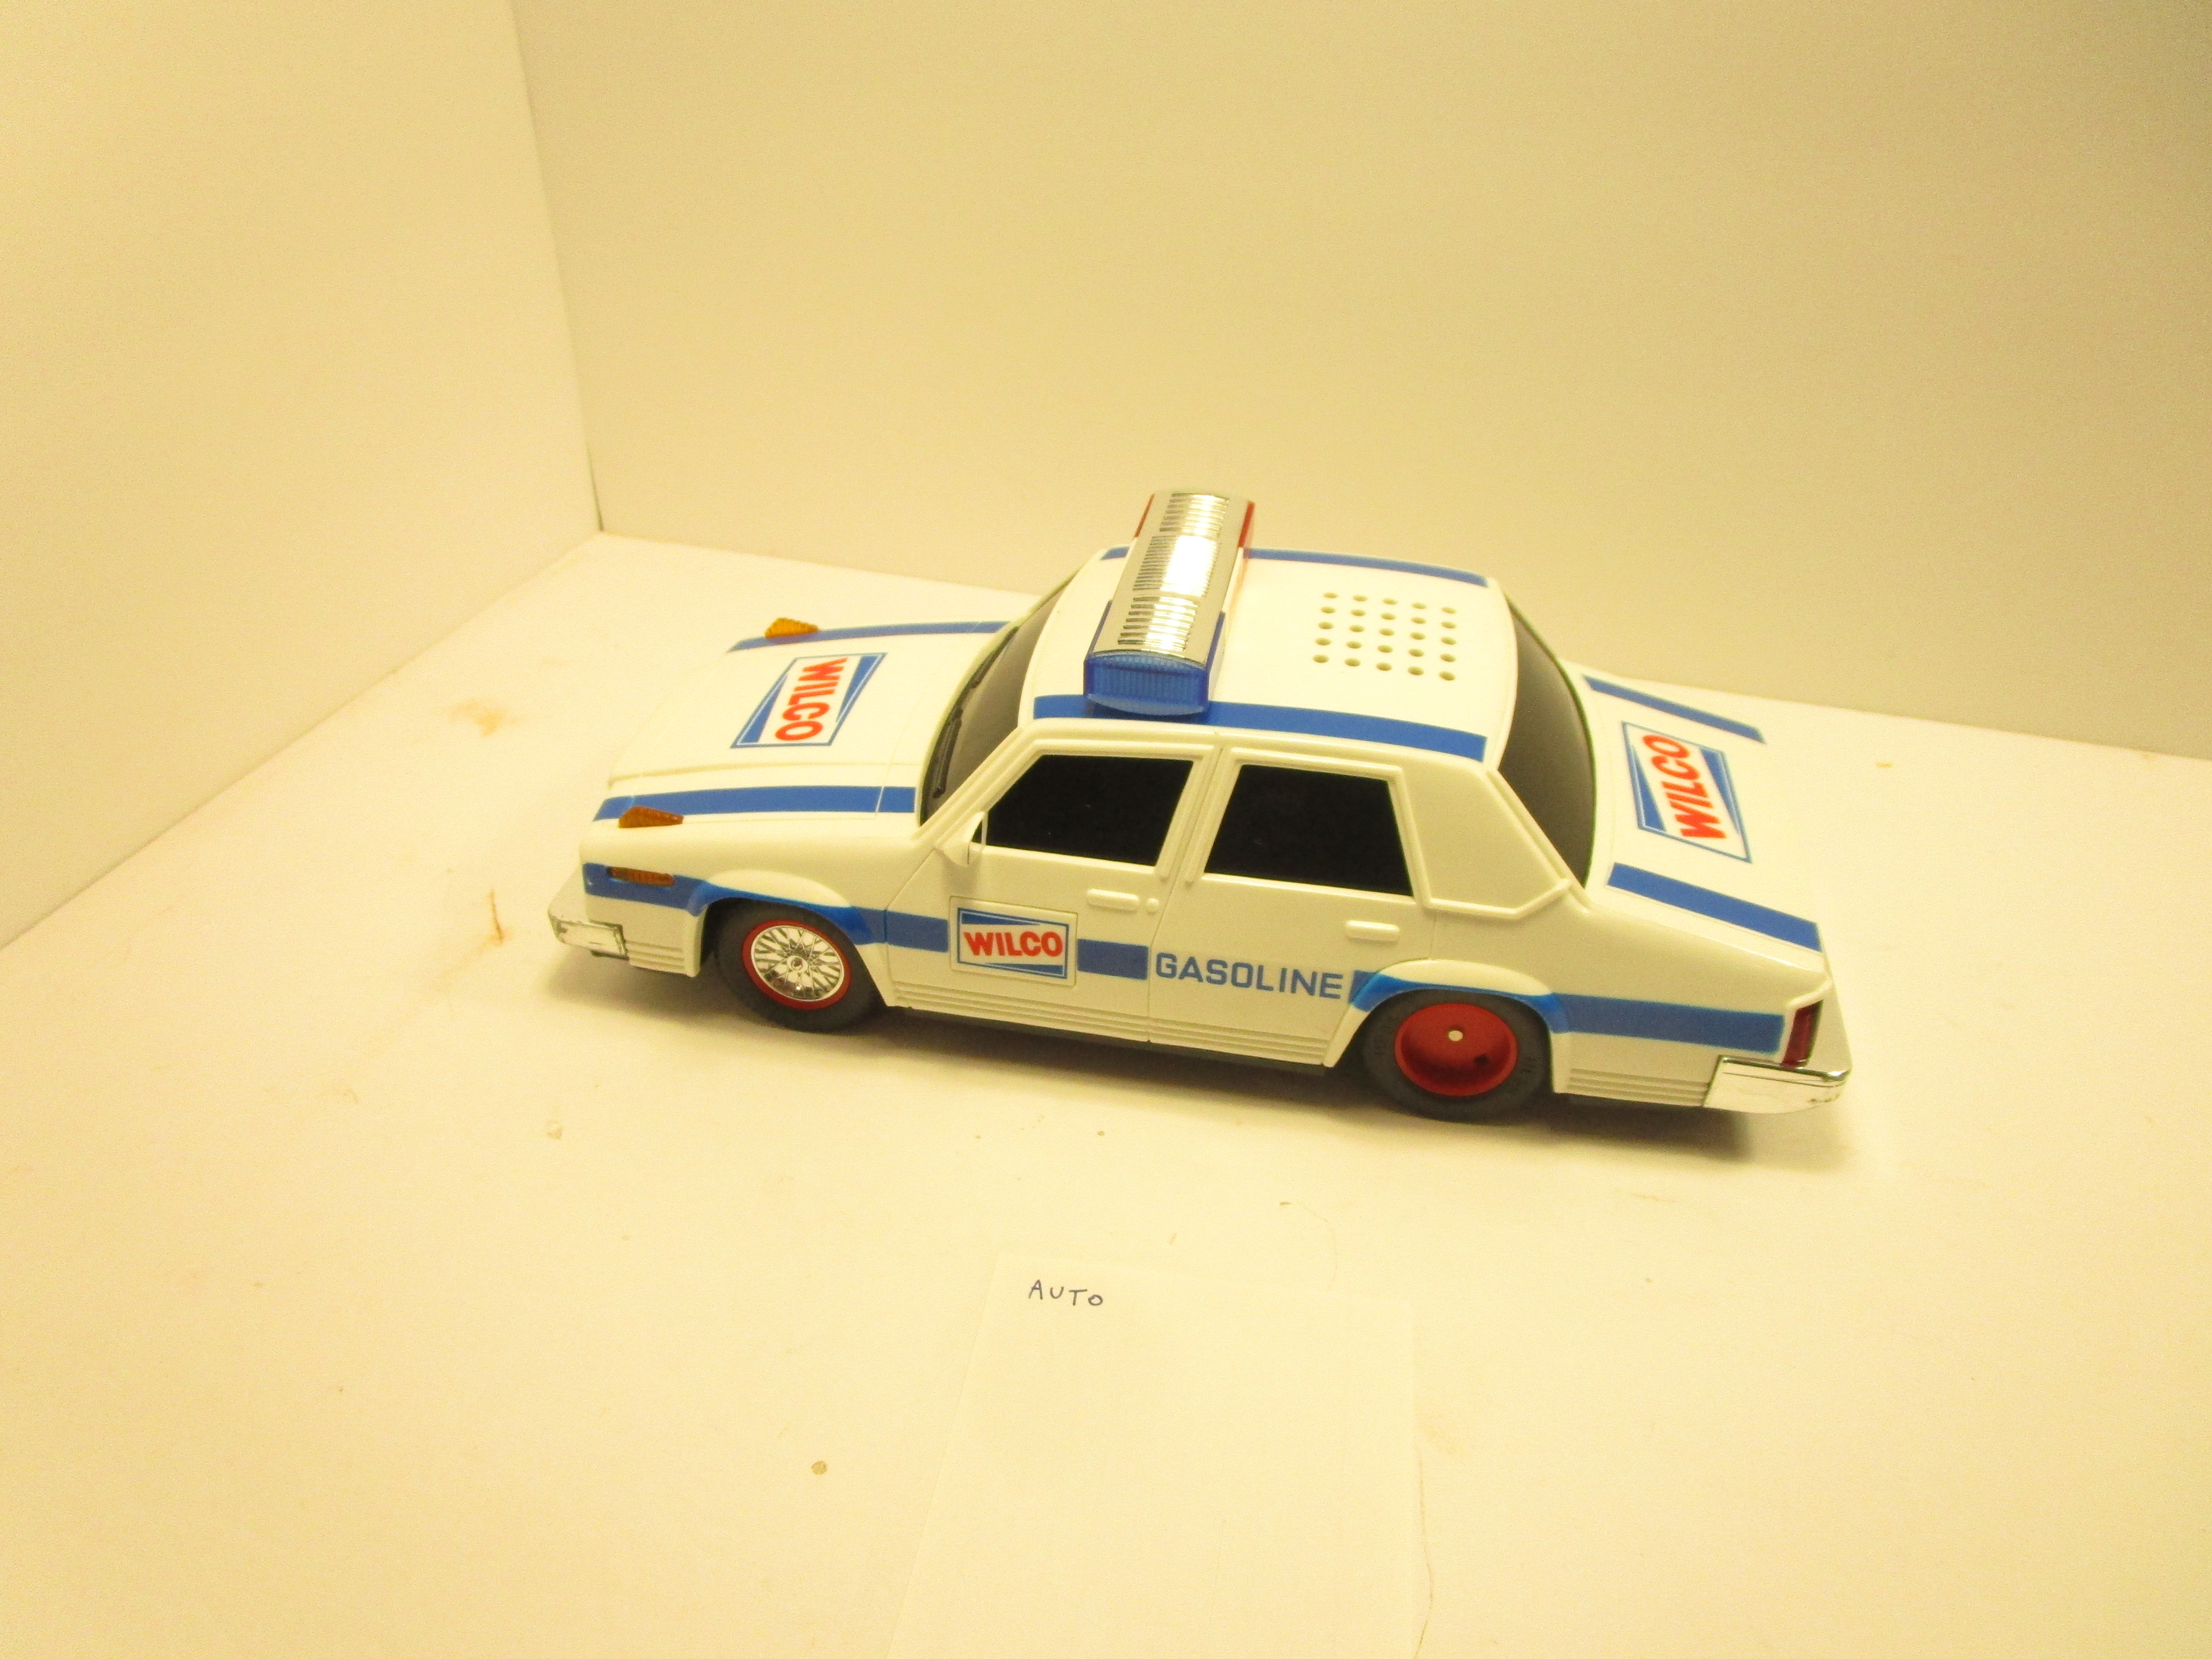
There were also some "tourist" moments where I said to Sarah that I needed to pull over and take a picture. These cars were at an antique auto museum we passed, and they were just sitting in the parking lot. They remind me of vehicles you would see in the Mr. Bean show.


We arrived at Conway and checked into our hotel, and then explored North Conway and the station. Though still overcast, I was able to take a lot of pictures without other people around. I was surprised how much of the town was built up around it. I assumed it would be in the middle of nowhere but there were dozens of restaurants, quaint shops, and the associated tourist industries. 


The next day we arrived early for our train, the "Valley Train Excursion", which is the shorter 1 hour trip to Conway and back. Having never ridden in a dome car before, I splurged for tickets in the best seat of the house. Many of the dome windows leaked water on the unsuspecting passengers below as the train rocked back and forth, but thankfully our window was sealed properly. Harrison loved the view.


I was extremely disappointed that our motive power was painted up for the NYC (in Conway Scenic lettering though). Being from New York, I have had my fill of NYC stuff. The CSRR have many engines in Maine Central yellow, Vermont Railway red, B&M maroon and gold and "Bluebird", and such, so do travel this far to sit behind a "local" (to me) engine was a bummer.


There is a golf course right next to the station, and you can even tee off OVER the tracks (though hopefully not when the train is going by!). Here, the motive power was stopped and the train crew were letting golf carts pass.


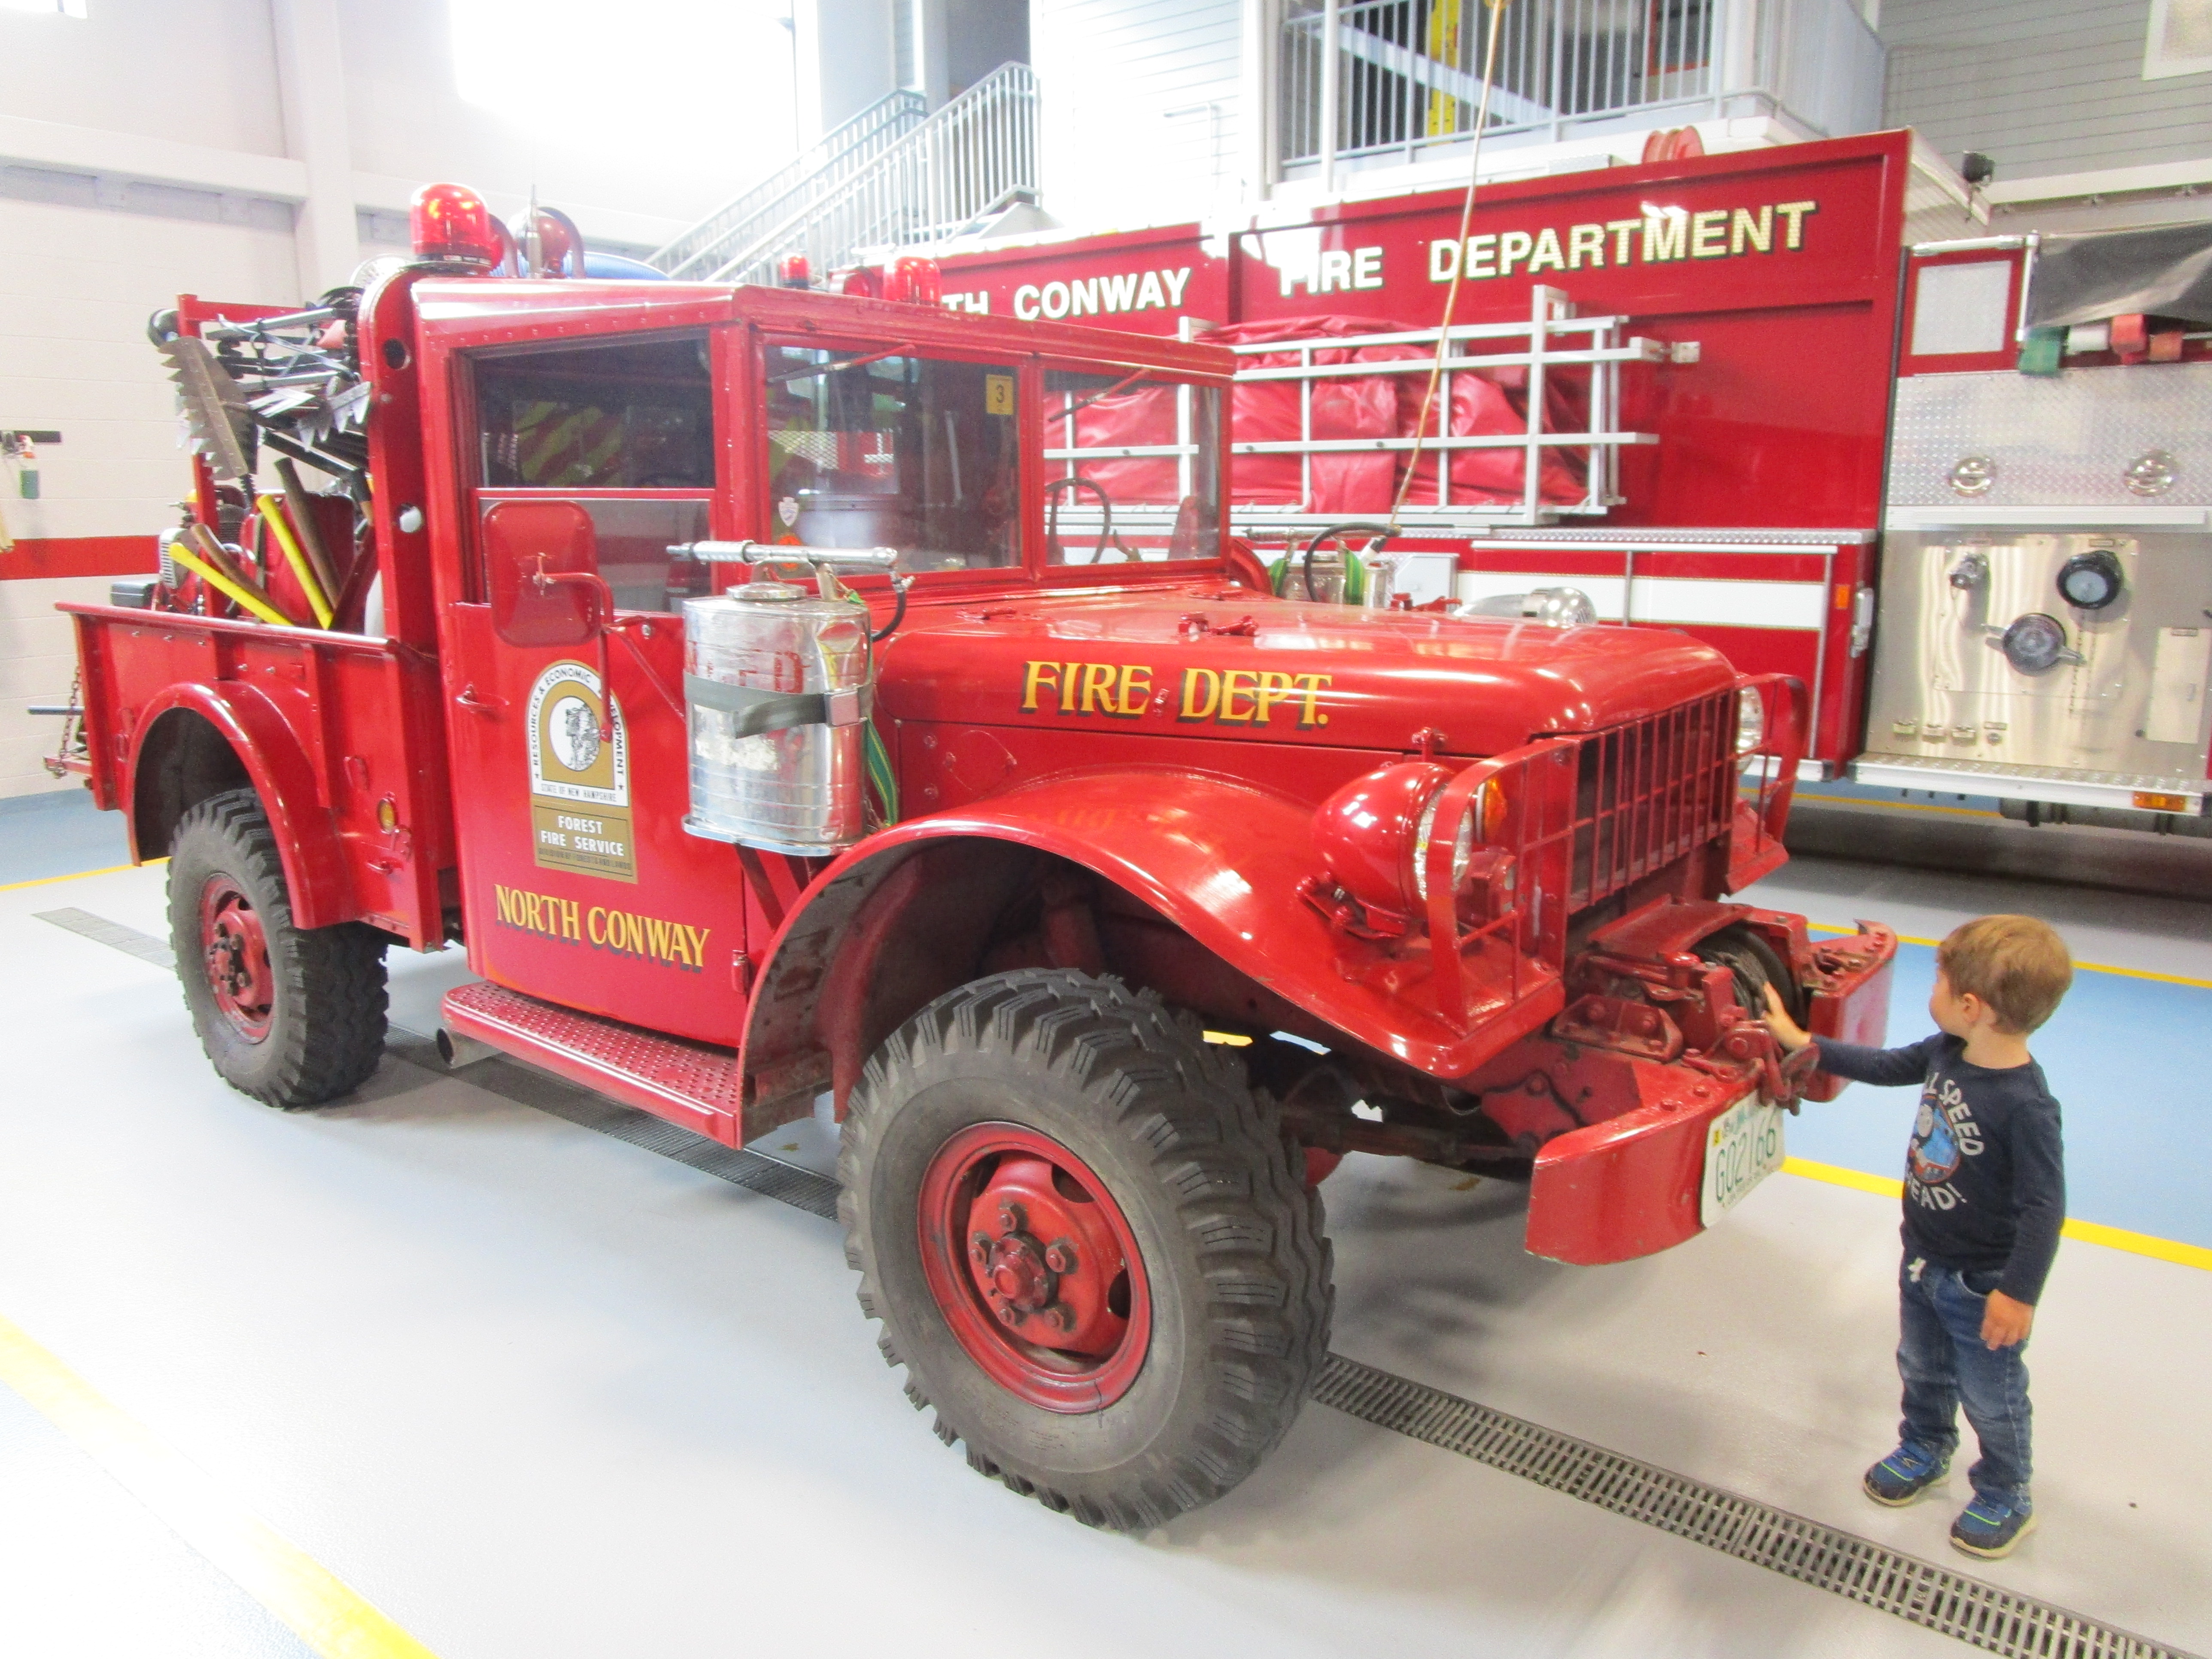
Also next to the station is a Fire Department, and they left their door open so we went in. They were gracious and let us walk around and look at all the fire trucks, which Harrison enjoyed. He said he liked this old one the best.


The next day we went back to the station again to take pictures of the trains in the yard. I took dozens of pictures as this was the only chance I got during the weekend when it wasn't raining. The F-units grabbed my attention but sadly weren't running that day. 


My favorite paint scheme, and what I hoped would have been pulling our train. 


We left and our GPS took us north, which seemed strange as we lived southwest of North Conway. But we followed the GPS. After about two hours we got to some really beautiful scenery where the tracks followed the road. I mad an offhand remark that we might actually see the "Mountaineer" train which left North Conway for Crawford Notch. Then, we turned a corner and there was the train hugging a cliff up ahead! It was as if God and our GPS had conspired to lead us to more trains. My wife took some shots on her phone as I drove. 


A mile later we arrived in Crawford Notch ourselves, just as the train was arriving. I couldn't have planned it better if I tried.


We said goodbye to the train and kept heading north as the GPS guided, and suddenly came to the Mt. Washington Cog Railway. We hadn't planned to visit because it was an hour from our hotel, and as it was later on a Sunday afternoon we could only drive by. 


Actually, my wife tried to talk me into buying tickets for it and I had to play bad cop and say "no". That was no fun, even if it was the right decision because we had at least four more hours to go. A couple of miles later and we passed another train advertising the cog railway.


As we drove home I needed to put gas in the car and Sarah suggested getting off at White River Junction because there was a McDonalds there. After eating, we went to a park nearby to let Harrison run around. It was located right near a pair of bridges crossing the water, and I realized how close we actually were to WRJ. When we left the park I drove to a gas station and deliberately headed towards the train station. And what did we find...


Viola. A restored B&M steamer and caboose. Harrison and I had fun looking it over and taking pictures. 


It was sad to leave, as we didn't see any more trains on the way home. But, in total we did pretty good and it was a great early birthday Memorial day weekend. (We went railfanning on Monday the next day and saw another nine trains in three hours).


Wednesday, May 21, 2025

End of the Line (May 21, 2015 - May 21, 2025)

Note: this post has been a log time coming. I actually wrote it in May 2024 but decided to wait a year before posting it in case I changed my mind. But I didn't...

I have been dissatisfied with my layout for several years, yet I struggled to find the strength (guts?) to tear it down completely. It isn't that I don't love the subject matter... I am still firmly in love with the Delaware & Hudson (though side research projects into the Boston & Maine, Maine Central, and Bangor & Aroostook have exposed many good things they offer a modeler). I think it was because my layout wasn't fun to operate, and I don't think it ever was.


I had several goals for my layout:

1.) I wanted to accurately model something to the best of my ability
I was well on my way to accomplishing that. Every detail on my layout matches the D&H Colonie Main to the best of my knowledge as it was in May of 1984. This proved to be a two-edged sword. I didn't have the hard decision making process of what to put where: the prototype already took care of that for me. But, if I didn't have a photograph of a certain area I was essentially "stuck" until I could figure it out, and the reality was I might never research the answer. 

Plus, I couldn't really freelance anything on my layout- whether it be naming a business after a family member, or running equipment out of my designated time frame, or building a structure that I wanted just for fun. I scratched that itch instead with my MMR structures. When talking with author Michael Tylick about this, he said "Of course you can build what you want and run what you want". True... but not if I want to stick to my vision.

In short, my striving to be as realistic as possible had trapped me. It wasn't all bad, but I wish I had more freedom. 


2.) I wanted a layout that would be fun to run AND prototypically operate
As it turns out, running trains in circles was just fine for me but I got tired off having to constantly clean the track and check the nine benchwork section joints (including a lift bridge) every time I wanted to run. It was frustrating at times, and it sucked the enjoyment out of the process. I know I made my layout more complicated than necessary to allow it to move, expand, and reconfigure, but in the process I introduced problems that wouldn't have occurred if I had built standard benchwork. In essence, by trying to allow it to live forever, I might have killed it from the start.

As for prototypical layout operations, mainly switching, for reasons discussed below it was never very fulfilling.

3.) I wanted the use layout to help me earn my NMRA Master Model Railroader award
This definitely did happen. The track plan and wiring were designed, built, and photographed from the very beginning work on my Electrical and Civil certificates. Along the way I built and included things to satisfy certain requirements that I otherwise didn't want (ex: a turntable and a section of super-elevated curves). But, it was definitely worth it to get those certificates.

And, the skills learned in scratchbuilding structures for my layout translated into earning my Cars and Structures certificates too. And I finally earned my award, MMR #776. None of my previous layouts have ever had enough scenery and detailing to qualify for the Scenery certificate, and this one won't either.  

4.) I wanted it to keep me busy
I have discovered I have more fun researching and building stuff for my layout than actually running it. That is true for a lot of modelers. Having spent several hundred hours working on it so far, it certainly has done that. I enjoyed all of the research involved in planning it, starting with reading books and scouring online websites for information on industries. Then, I went out to take measurements and pictures of existing buildings or search for older pictures of now-gone structures. I draw up scale drawings and sketched maps of how various elements in each Layout Design Element fit together. And this was before I cut a single piece of styrene or laid a piece of track. 


5.) I wanted to build a focused HO scale roster.
I have way more HO scale engines and cars than could ever fit on the layout but I enjoy putting together kits and detailing/weathering models. Whether it was enginesboxcarsTOFC flat carscovered hoppers or cabooses, if it fit my era I wanted it. But, it is depressing to know that I can't see most of them because they are in storage. I remedied that for my engines with a display case, which helped somewhat. But running a 12-car train on my layout is a stretch, and nice long trains with multiple engines are just too much work to dig everything out, set it up, run it (and hope it didn't derail), and then put it all away. Also, since my roster contained just about everything I wanted, I stopped buying stuff.


So what went wrong?

I planned on building four sections representing the Capital District area of NY where the D&H ran. It was an ambitious project as I had never attempted scale modeling of actual prototypes before, but I jumped right in. 

My first section, the North Albany Yard, was almost complete. I just needed to add a few backline details like telephone poles and trees, but that never happened. Mostly because the money I could spend for detail parts which would just sit there would be better spent on raw materials to construct the next parts of the layout. Finish detailing is usually the last step in the lifespan of a layout, and I never got there. 

The problem was that the first section of the layout wasn't fun to operate as it just acted as a staging yard (on the operational tracks) and a demonstration of a yard being deconstructed (on the non-operational scenic tracks). I liked building it because it was so different from what I had done in the past, but once it was finished I didn't know what to do with it. Using the yard lead to make up and break down trains wasn't enjoyable because it was on a curve and hidden behind a hill, besides the yard could hold at most a dozen or so cars. And, you don't really need a staging yard if you rarely run trains!


My second section, Menands, was about 70% done. I needed to add a few more trees and details like telephone poles, as well as vehicles and figures. But I was pretty close to calling it complete. However, I had attempted to compress too much into the 7' length of this scene and that led to some visual and operational problems. My structures were too close together and prototypically operating them didn't work out as I expected. 

The track leading to Agway has a bend in it that prevented freight cars from actually reaching the modeled loading door. The spur to Colony Liquor just barely clears a 50' boxcar but it is hard to see when spotting one at the door. The third, Southworth Machinery, stopped receiving rail service in 1981 and I later learned that the boxcar spotted at the loading ramp (which I had assumed meant it still received rail service) was only used for storage. 

In conclusion, this section is a scenic feature that would be nice in a museum but not very functional to operate as a train layout. It was especially heartbreaking because I spent the most time building the structures on it and it was the very first part of the layout I designed at my old apartment. All that work for zero operational gain.


The third section was for Norlite and Keis Beverages. I never started it because to get there I had to model a road crossing on the corner section between this area and Menands. I was excited about adding operating crossing gates and sound, but even as I was researching it I realized my layout was doomed. 

Besides, Keis never actually received rail service during the time I model (or anytime at all, so I have been told) and I didn't have enough space to model the extensive Norlite quarry facility effectively. So, again both would have been fun to build but they wouldn't have made the layout any more fun to operate. Sigh.


The fourth section, which I already removed and stored in my garage after a redesign in September 2023, was going to represent the Cohoes' Mohawk Paper plant. Due to a sharp incline to reach the siding, I already had to rebuild it once to lessen the grade. The section was essential for any semblance of operation as it had the only passing siding on my entire layout. But, it too didn't add much operationally. 

The Mohawk Paper plant was allocated a tiny corner on the front of the layout, and most of the plant (like nearly every other one of my buildings) fell into the aisle. The scenery on this section would have been awesome though. A highway crossed the railroad tracks at grade, with a wall of trees behind it, and lots of residential houses along the backdrop. At least that was the plan. I realized it would not have fit into the scene only 2' deep and 7' long. So this section had to go. I never figured out what I would have replaced it with.

In sum... my four layout sections all provided me with interesting structure and scenery building opportunities but were not good as implemented for switching or prototypical operation. Running trains in circles was fun when it worked, but keeping the layout for that reason alone turned out to be a waste of space. Once I removed the Mohawk Paper section and eliminated the option for just letting trains run around and around, the layout ceased to serve any meaningful purpose.


So What's Next?

An old 2011 post by Trevor Marshall on his blog perfectly captured the state of where I was. To stop work on my layout would be to admit it was a failure, which it wasn't. But I haven't worked on it during the past two years except to trash parts of it. I can't blame it on lack of time. It is due to lack of interest. I don't want to press on with building a layout that isn't fun to operate, and the only way to save it would be to redesign all four sections again. One option I considered was to build two new sections (to complete the circle again) and perhaps model something besides the D&H on them (a farm scene? a station?). But that is just diluting what I have, and likely wouldn't satisfy me long-term.


My problem was I tried to stuff too much prototype main line into too small a space. I didn't know at the time that it would be a problem, but it was. 

So, on the tenth anniversary of my blog, I am declaring my layout finished. This isn't a decision I am making lightly, and it isn't impulsive. I have mulled it over for a long time. But it is the right decision. 

I am thinking about turning my North Albany section into a Fremo module, because I am really pleased with how it turned out. I may try and save the structures from my Menands section too.

I have been planning my next layout since 2020, and hinted at it for the past several years. It is a three-rail O scale railroad and features scale size (1:48) trains running through realistic but generic New England scenery. This allows me to build whatever I want and run whatever I want, and the larger size lets me focus more on detailing structures and scenes which I enjoy. A blog for for my the New England Northern Railway went live last fall.


This blog will continue as a catch-all for my various train interests. And, if I find more interesting D&H stuff I will definitely put it here. Only my O scale adventures will go on my new blog, so this one will live on. And who knows, I may someday return to model the D&H Colonie Main.

Friday, May 9, 2025

White Balance issues with my photographs

I have been trying to improve my photography skills when building my models, mostly because I am writing more articles for publication and I need clean, well-lit shots. To that end, I built a simple photo booth of sorts made from three pieces of inexpensive white foamboard taped together into a bottom/side/back arrangement. This provides plain white background, though the joints are sometimes visible. 

To keep it clean, especially when I am painting or weathering my models (which makes a permanent mess sometimes) I set a piece of white posterboard on the bottom piece of foamboard. I have several pieces of posterboard that I rotate, with one dedicated for oil paint washes. When they get grungy, I ditch them and buy a new one. This keeps my background prestine.

However, I have recently struggled with lighting. I need lots of clean, white light. When my regular desk light broke I replaced it with a color-adjustable LED desk lamp. This worked okay, but I couldn't always confirm that the light color was set at 3500k. It had no marked settings, and if I unplugged it then they reset. Also, I bought an inexpensive LED handheld spotlight to augment my desk lamp and I couldn't always guarantee that I had it set at 3500k either. Sometimes my pictures would come out yellowish or pinkish. Not good.

For shots of my layout, which rely on my ceiling's 3500k bulbs and the small handheld spotlight, they also came out yellow.

Even though software can fix this, such as the free online BeFunky photo editor that I use a lot for adjusting the light setting on my scanned slides, I wanted to correct the problem from the start.

So, I bought new inexpensive spotlights and special 3500k bulbs and set them up over my workbench. Now, everything was guaranteed to be 3500k.  And yet the pictures turned more yellow than ever. Grr. I knew it was a white balancing issue but didn't know how to fix it. 

Finally, I read my camera's manual and found the white balance adjustment setting. Then, I set about taking a series of identical pictures of a model (my son's police car which was on my bench for repair) using all the different light setting to see what I liked best. Here are the results.

Auto select:


Sunny (outdoor):

Cloudy (outdoor):

Tungsten:

Fluorescent:

Fluorescent H:

I like the Tungsten setting best, followed by the Fluorescent (which is just leaning slightly into yellow). Everything else is much too yellow. 

I know this is basic level photography stuff but for some reason it only hit me now. At least I figured it out and can take better pictures.