
 |
| Photo: Warren Dodgson (September 1994) |
 But, at least I was building it in HO scale, where many of those details would be lost. I couldn't locate a suitable commercial source of the c-channel for the door tracks, so I cut down some that was oversize into two pieces and then attached those L-shaped pieces at the top and bottom. Wheels were thin slices of styrene rod, joined with tiny pieces of styrene strip. By chance, I had some 0.020" rod that worked perfectly for the vertical supports. The cross braces and hinges are more slices of thin styrene. The underside of the door track is studded with tiny bits of styrene. And, the locking mechanism is a fabrication round and square styrene parts. It isn't perfect, it is the best I could do.
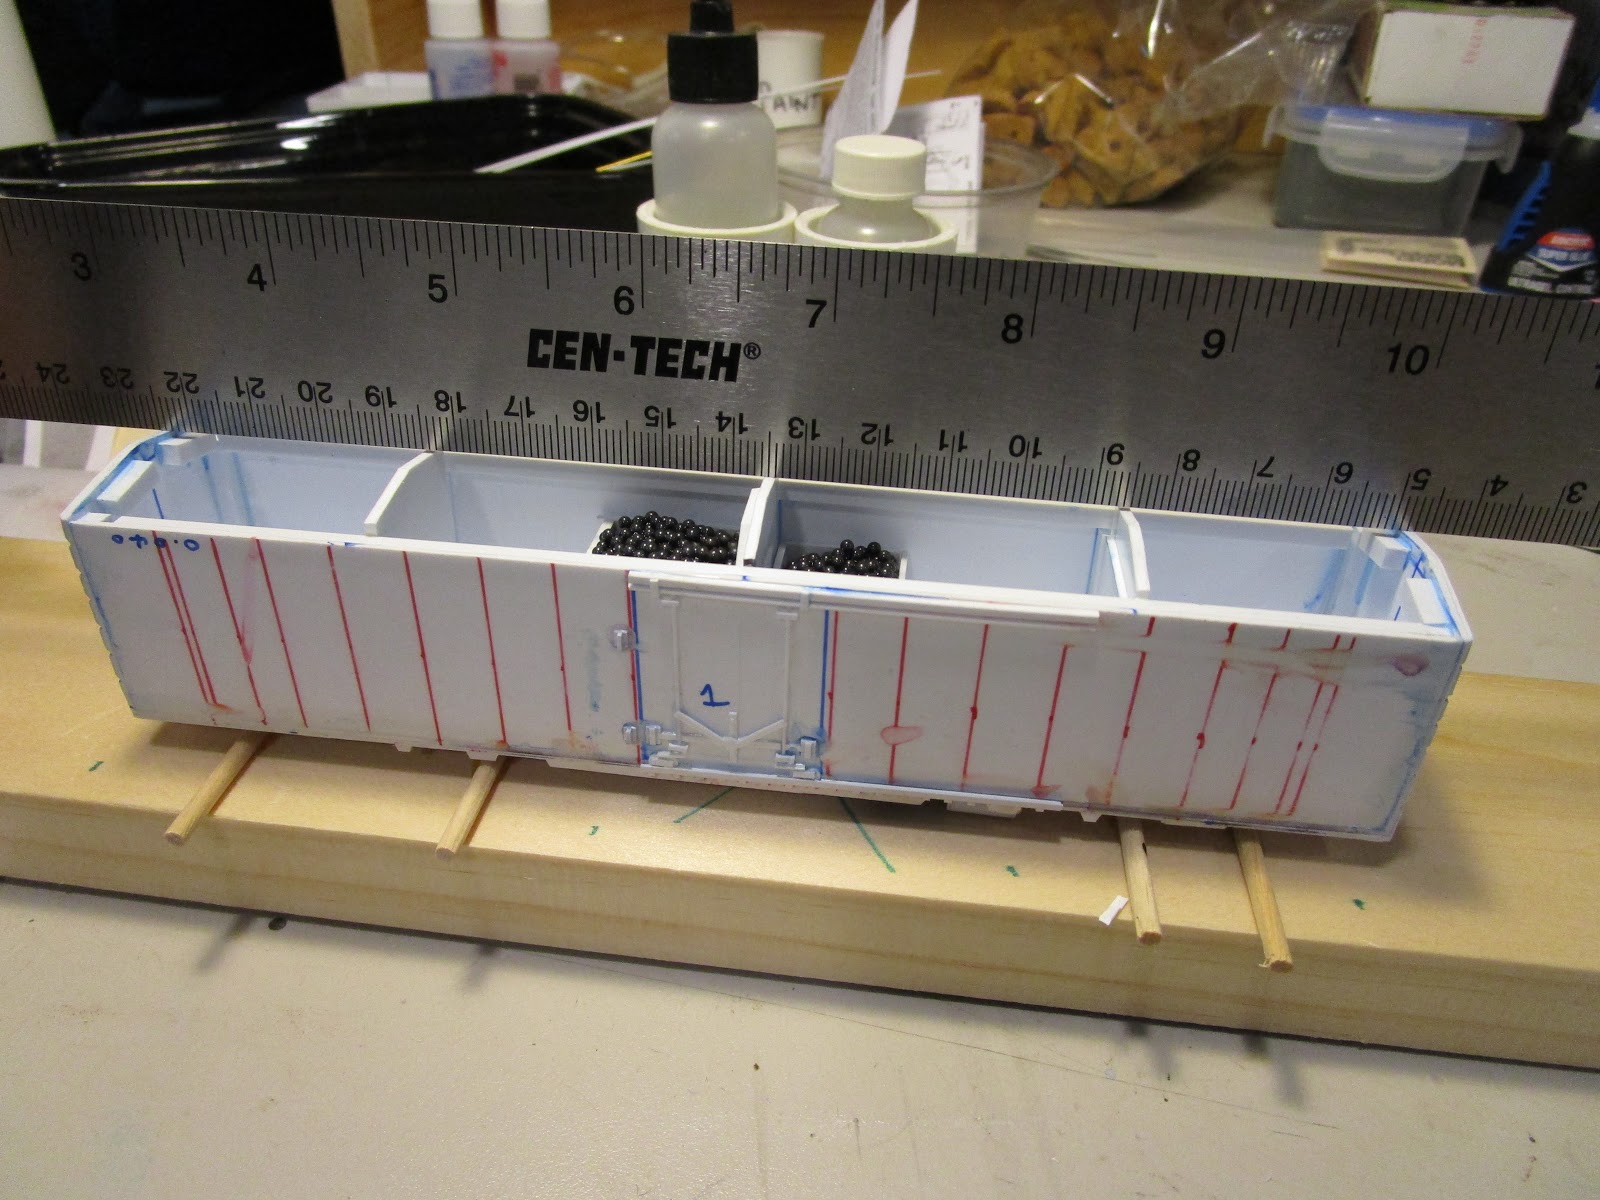 It was at this time that I realized I had painted myself into a corner. More accurately, into a boxcar. When I built large scale freight cars I always attached the roof to the body first, and then mated them with the frame. That way, the roof could be secured properly and also bracing underneath was a breeze. Here, I forgot the wisdom of that until it was too late. So, now I had a dilemma of trying to add a complex roof to the edges of the body without sagging or huge gaps. First, I added some intermediate bracing cut at the same pitch as the ends. I used a steel ruler to make sure that all the braces were in alignment before the glue cured. A couple of passes with a file after corrected any errors.
 The roof panels had to be as close to identical as possible, and I needed a lot of them (over twenty). Luckily, I had some 0.020" thick styrene strips the exact width necessary so it was just a process of cutting each one to length and then profile. Easier said then done. My NWSL chopper came in handy for the easy first part. Then, I lined them all up against the straight edge and taped the the ends. After some measuring and marking with a pen, I had a pile of pieces that needed to be trimmed to shape. I used my favorite tool, the Xacto #18 wide chisel blade, to get the job done. It went quickly while listening to a movie, a good strategy for dealing with tedious tasks.
 Then, one by one the roof panels were attached. First I lined up the wider end and glued it down, leaving the thinner end hanging in the air. I also skipped every-other panel to start so that my clumsy fingers didn't bump them while the glue was curing. After that, the thinner ends were glued by bending them down gently and holding it in position with the sides of a wooden toothpick (which prevented leaving prints in the soft styrene). One side was completed and left to cure, then the other side was done. You may notice that it is balanced on some wooden dowels, which are actually glued to the board. Those, and the markings on the board, allow me to support the car by its underside without damaging any of the delicate brake detail underneath.
I have Archer rivet decals in the mail, and there are plenty of grab irons to work on next.
No comments:
Post a Comment