

But, there are few opportunities to model a big red barn on my D&H layout. I have one on a small N scale layout I built for my wife, but wanted to do something more. So, for one of my scratchbuilt buildings I decided to make a big, red barn. And while I wanted something with character, I didn't mind if it wasn't super detailed. It could be a caricature, if you will.

I saw lots of plans in Model Railroader magazine for farm structures, but not exactly a red barn with white trim that I was picturing. So, I looked online for model kits that looked like what I wanted and found the American Model Builders' kit #119 "Country Barn". (Picture of their kit below) It was exactly what I was imagining in my head. Large enough to have a certain presence, with lots of white trim and neat windows and dormers, and several doors to let people see inside. I wrote A.M.B. telling them of my desire to scratchbuild a model based on their kit and asking if they would just sell me the plans for it, but they refused. So, time for Plan B.

Instead, I drew up my own plans. I went online to a barn manufacturer that listed the angles for the roof pitch lines, and then I sketched up a barn with dimensions similar to the A.M.B. model. I also acquired the necessary Tichy window castings (#8010, #8067). For the walls I ordered a large (12"x24") piece of Evergreen v-groove styrene (#14100) because I didn't want to deal with splice joints in the middle of the wall.

However, when I compared the window castings to the walls I had drawn the windows appeared too small. Perhaps A.M.B. also sold window castings that were larger, but as drawn my barn was too big for the window castings I had. So, I shrunk my plans by 90% and it was perfectly proportioned. With those new dimensions (in red on the drawing), I laid out the walls on the styrene.

It was a simple matter to draw the lines on with pencil, confirm them, and go over them with a marker. Along the way I made adjustments, and then I cut everything. My wife, when she saw what I was building, exclaimed "Aww, that is so cute." Perfect!

The sides were done the same way. As a side note, that neon colored eraser on my desk is something I purchased from the school bookstore in 5th grade. I keep it for sentimental reasons, and it lasts so long because I rarely make mistakes...

The walls were heavily braced with 1/4" square styrene and assembled up.

The ends were also braced, as well as the edges where the roof panels will be glued onto.

The ends threatened to bow in, so they were weighted overnight while the MEK set.

All told, it went together pretty quick. I planned to add a modest interior so I didn't want lots of non-scale bracing to be visible, but I also didn't want my barn to warp (despite, perhaps, looking very realistic). Only the doors on one end will be modeled open to control view points, so the opposite end's doors weren't cut out. I also omitted the hay loft doors and windows on the back wall as my wife said not all barns had them on both ends.

I added roof beams to support the roof.

The beam right above the hay loft doors is visible through the doors, so to minimize its bulk I thinned it down at the front joint. Once the roof itself is glued on it will be plenty strong.

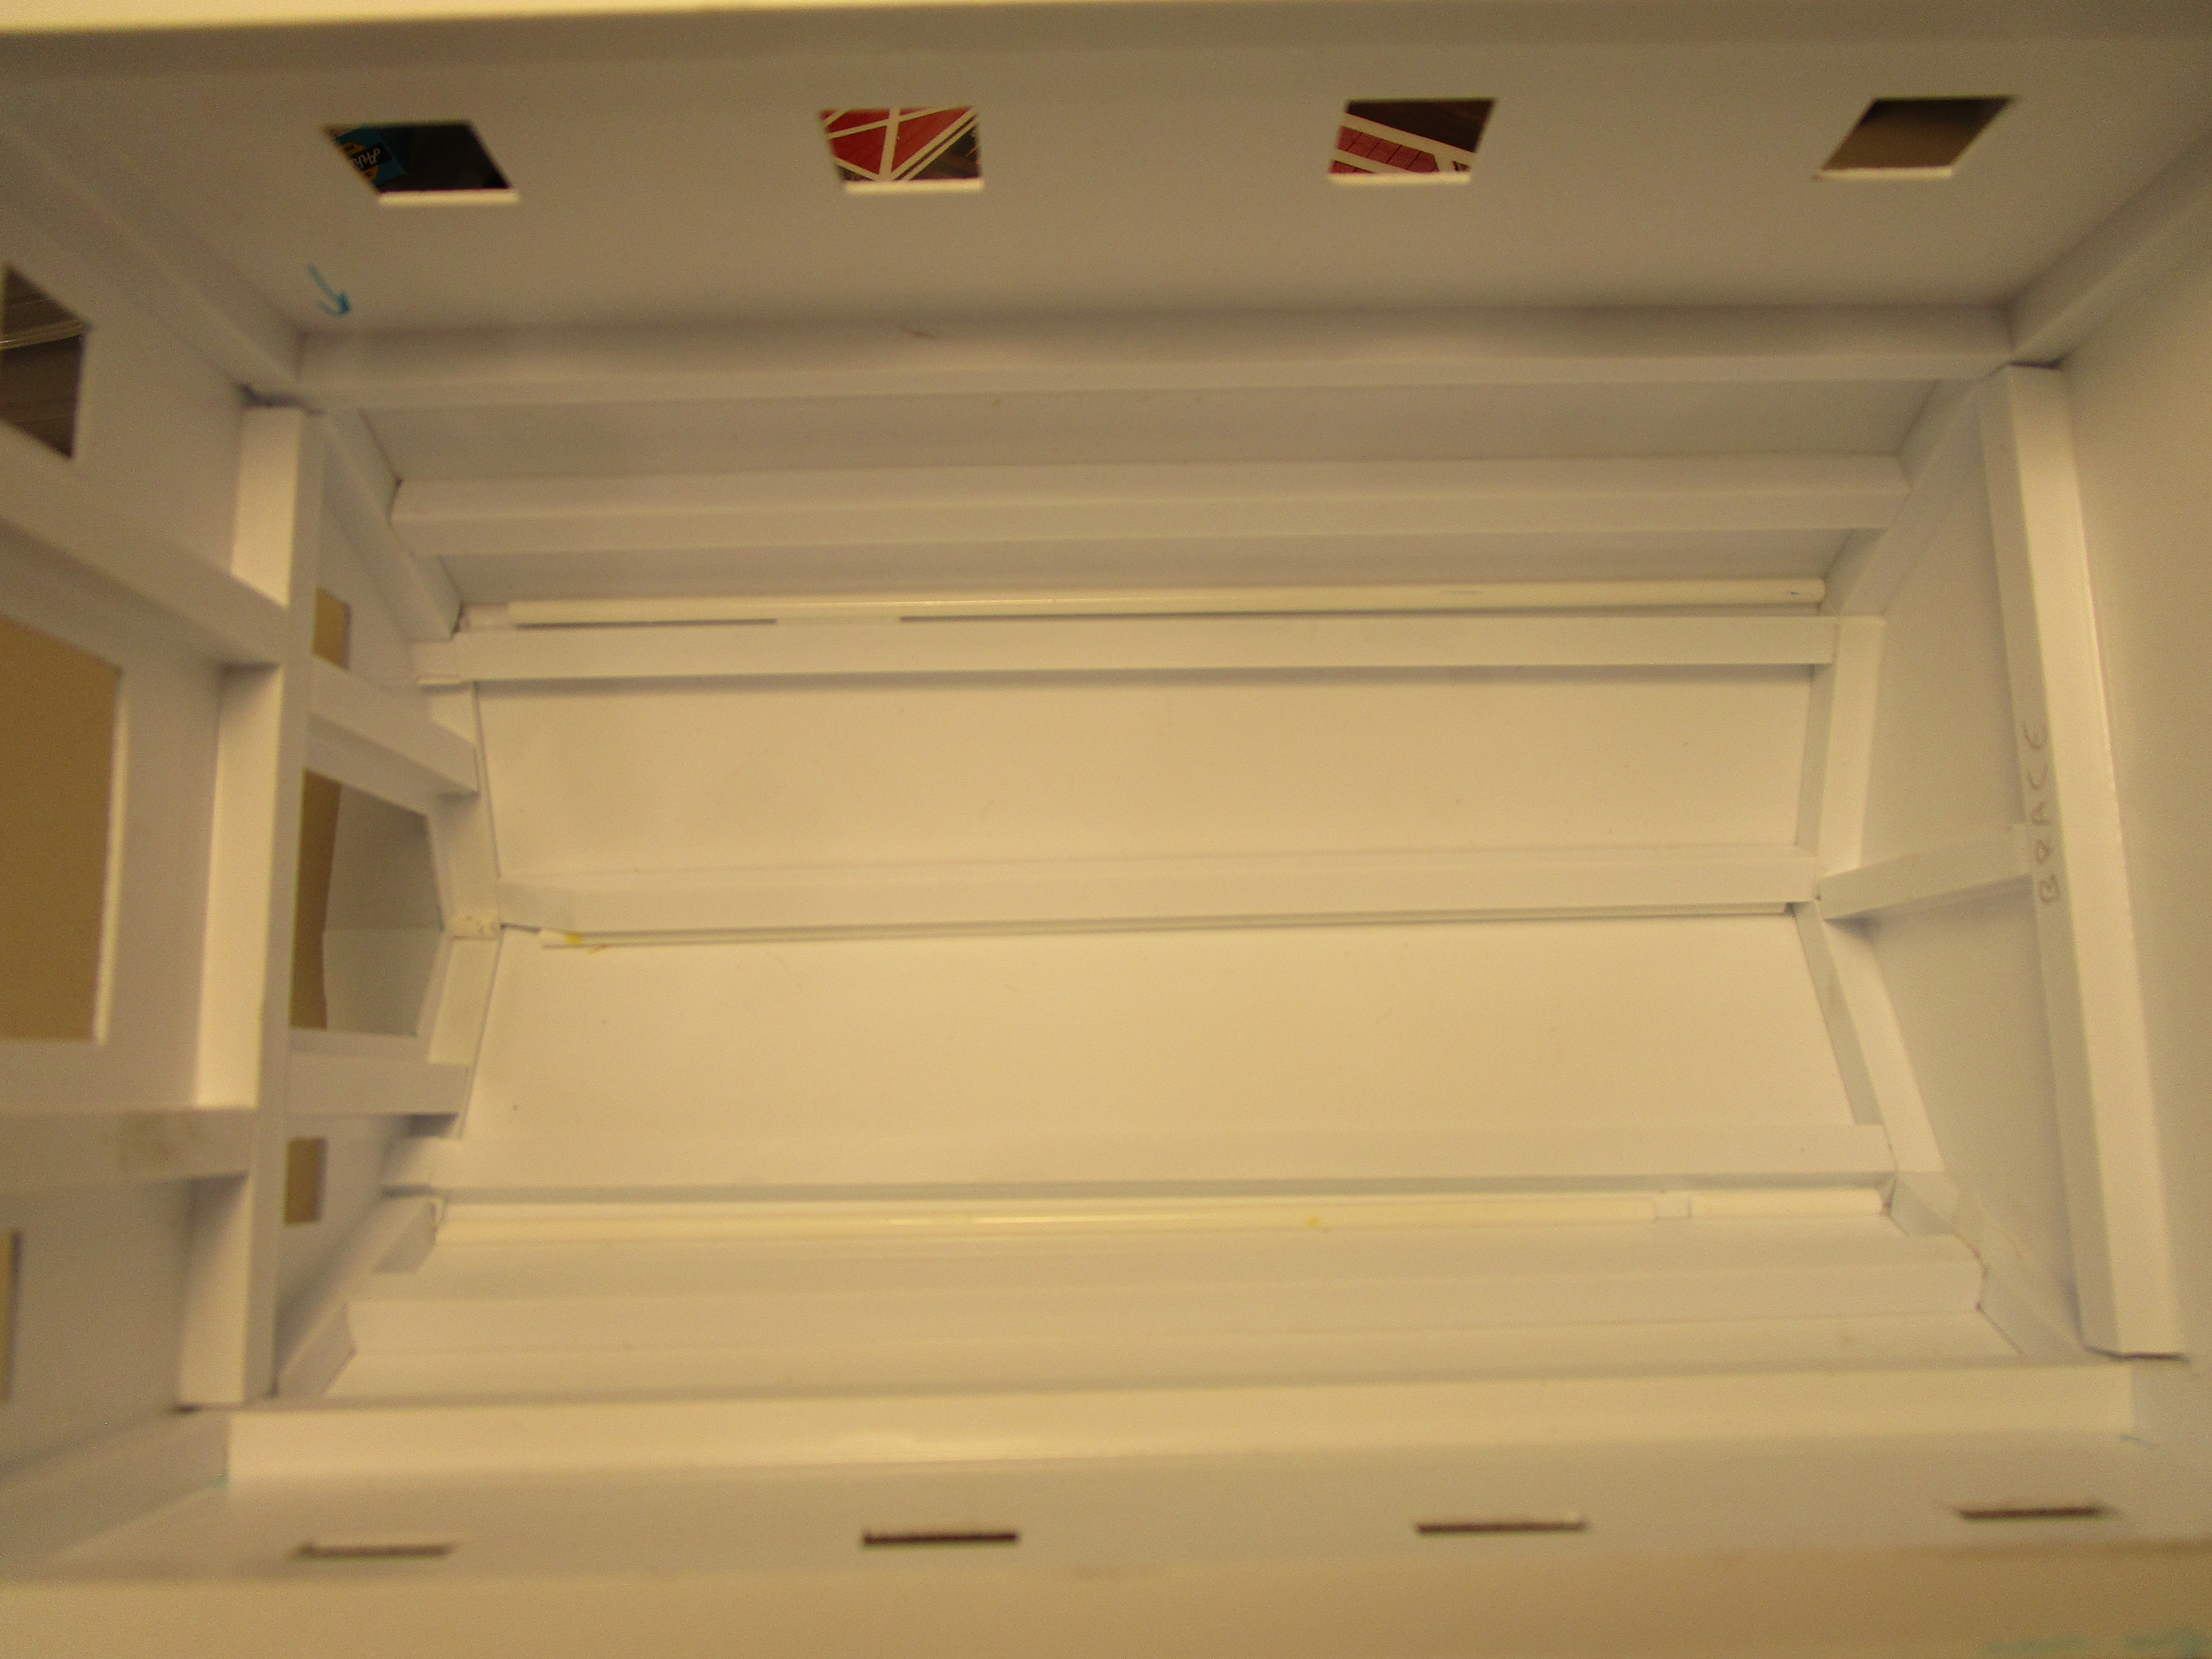
The roof rafters limited interior access, so I stopped here and thought through the next steps. I quickly realized that the interior of the barn had to be completely built and attached to the wooden plaque base before the barn is secured over it. That meant the interior had to be designed from the beginning so that it wouldn't interfere with the barn slipping over it. I started with sheet styrene, framed it on the edges, and then glued cheap wooden craft sticks down for floor boards. They are a scale 16" wide, but that is okay. They won't be very visible and I didn't want to buy more scale lumber.

I test fit the barn over it to check for clearances. It was fine.

I then stained it with alcohol stain. Here, I didn't want the wood too dark and my weak India ink and alcohol solutions were perfect.

I then built the hayloft. I used scale lumber on the end that is visible through the open doors, and the framing is 12x12 lumber.

Based on a picture I found online, I built the loft supports from stripwood including angled pieces at all of the joints. It is a little crude but won't easily be seen through the doors so I didn't want to go to town on it. A N.W.S.L. "Chopper" helped with all the 45-degree cuts.

Another test fit in the barn to make sure it all worked out.

The rest of the upper level which isn't easily seen was planked with more cheap craft sticks. I used scale lumber on the bottom level to create some stalls, which my wife identified as prominent in horse barns. I weathered everything with weak alcohol/ink stains to look like dirty wood.

The floor of the barn was then covered in real sawdust and "hay" that I cut from cheap chip paint brushes. It looked great. I soaked everything in alcohol and matte medium and went to bed a happy guy. I woke up to disaster. All the wood floor boards had warped, swelled and buckled, and I had to remove some to get the others to lay flat. Now I remember why I hate wood. None of it is really visible, so no real harm done, but my perfect barn now is a "rustic" barn.

Various details that came out of my scrap box- pigs, a Life Like tractor tire, Preiser pallets, Walthers' crates, sacks, and barrels- were given a brown oil paint wash which not only made them look older but especially in the case of the pigs muddier.

The pigs' feet were too small to securely glue them to the barn stall floor, so I first heavily glued them to a small piece of clear styrene. I buried their hooves in glue, and then sprinkled more of my "hay" on top. Once dried, the excess was shaken off and the clear styrene was glued to the stall floor. It isn't obvious from the doorway.

It is important to secure the details well because once the barn is glued down over the interior framework access will be impossible. I used tacky glue and applied it heavily on the sides that were not visible from the front doors or hayloft doors. The hose is a piece of wire I painted green and coiled.

The hay loft received more hay, but this time I just brushed on full strength tacky glue and pressed in the brush bristles. I didn't want this to warp! I also added lots of detail parts from my scrapbox that I had lying around, though honestly most aren't visible once the hayloft doors are installed.

There are two types of hay bales (round, and rectangular) and according to my wife the round ones are better for cows and the rectangular ones are better for horses. It has to do with the drying time and quality of the grass. Here is a great video on how to make round hay bales, which I followed. I first cut a bunch of fine jute twine into microscopic pieces using my NWSL Chopper. It took about 20 minutes to make enough for three round bales.
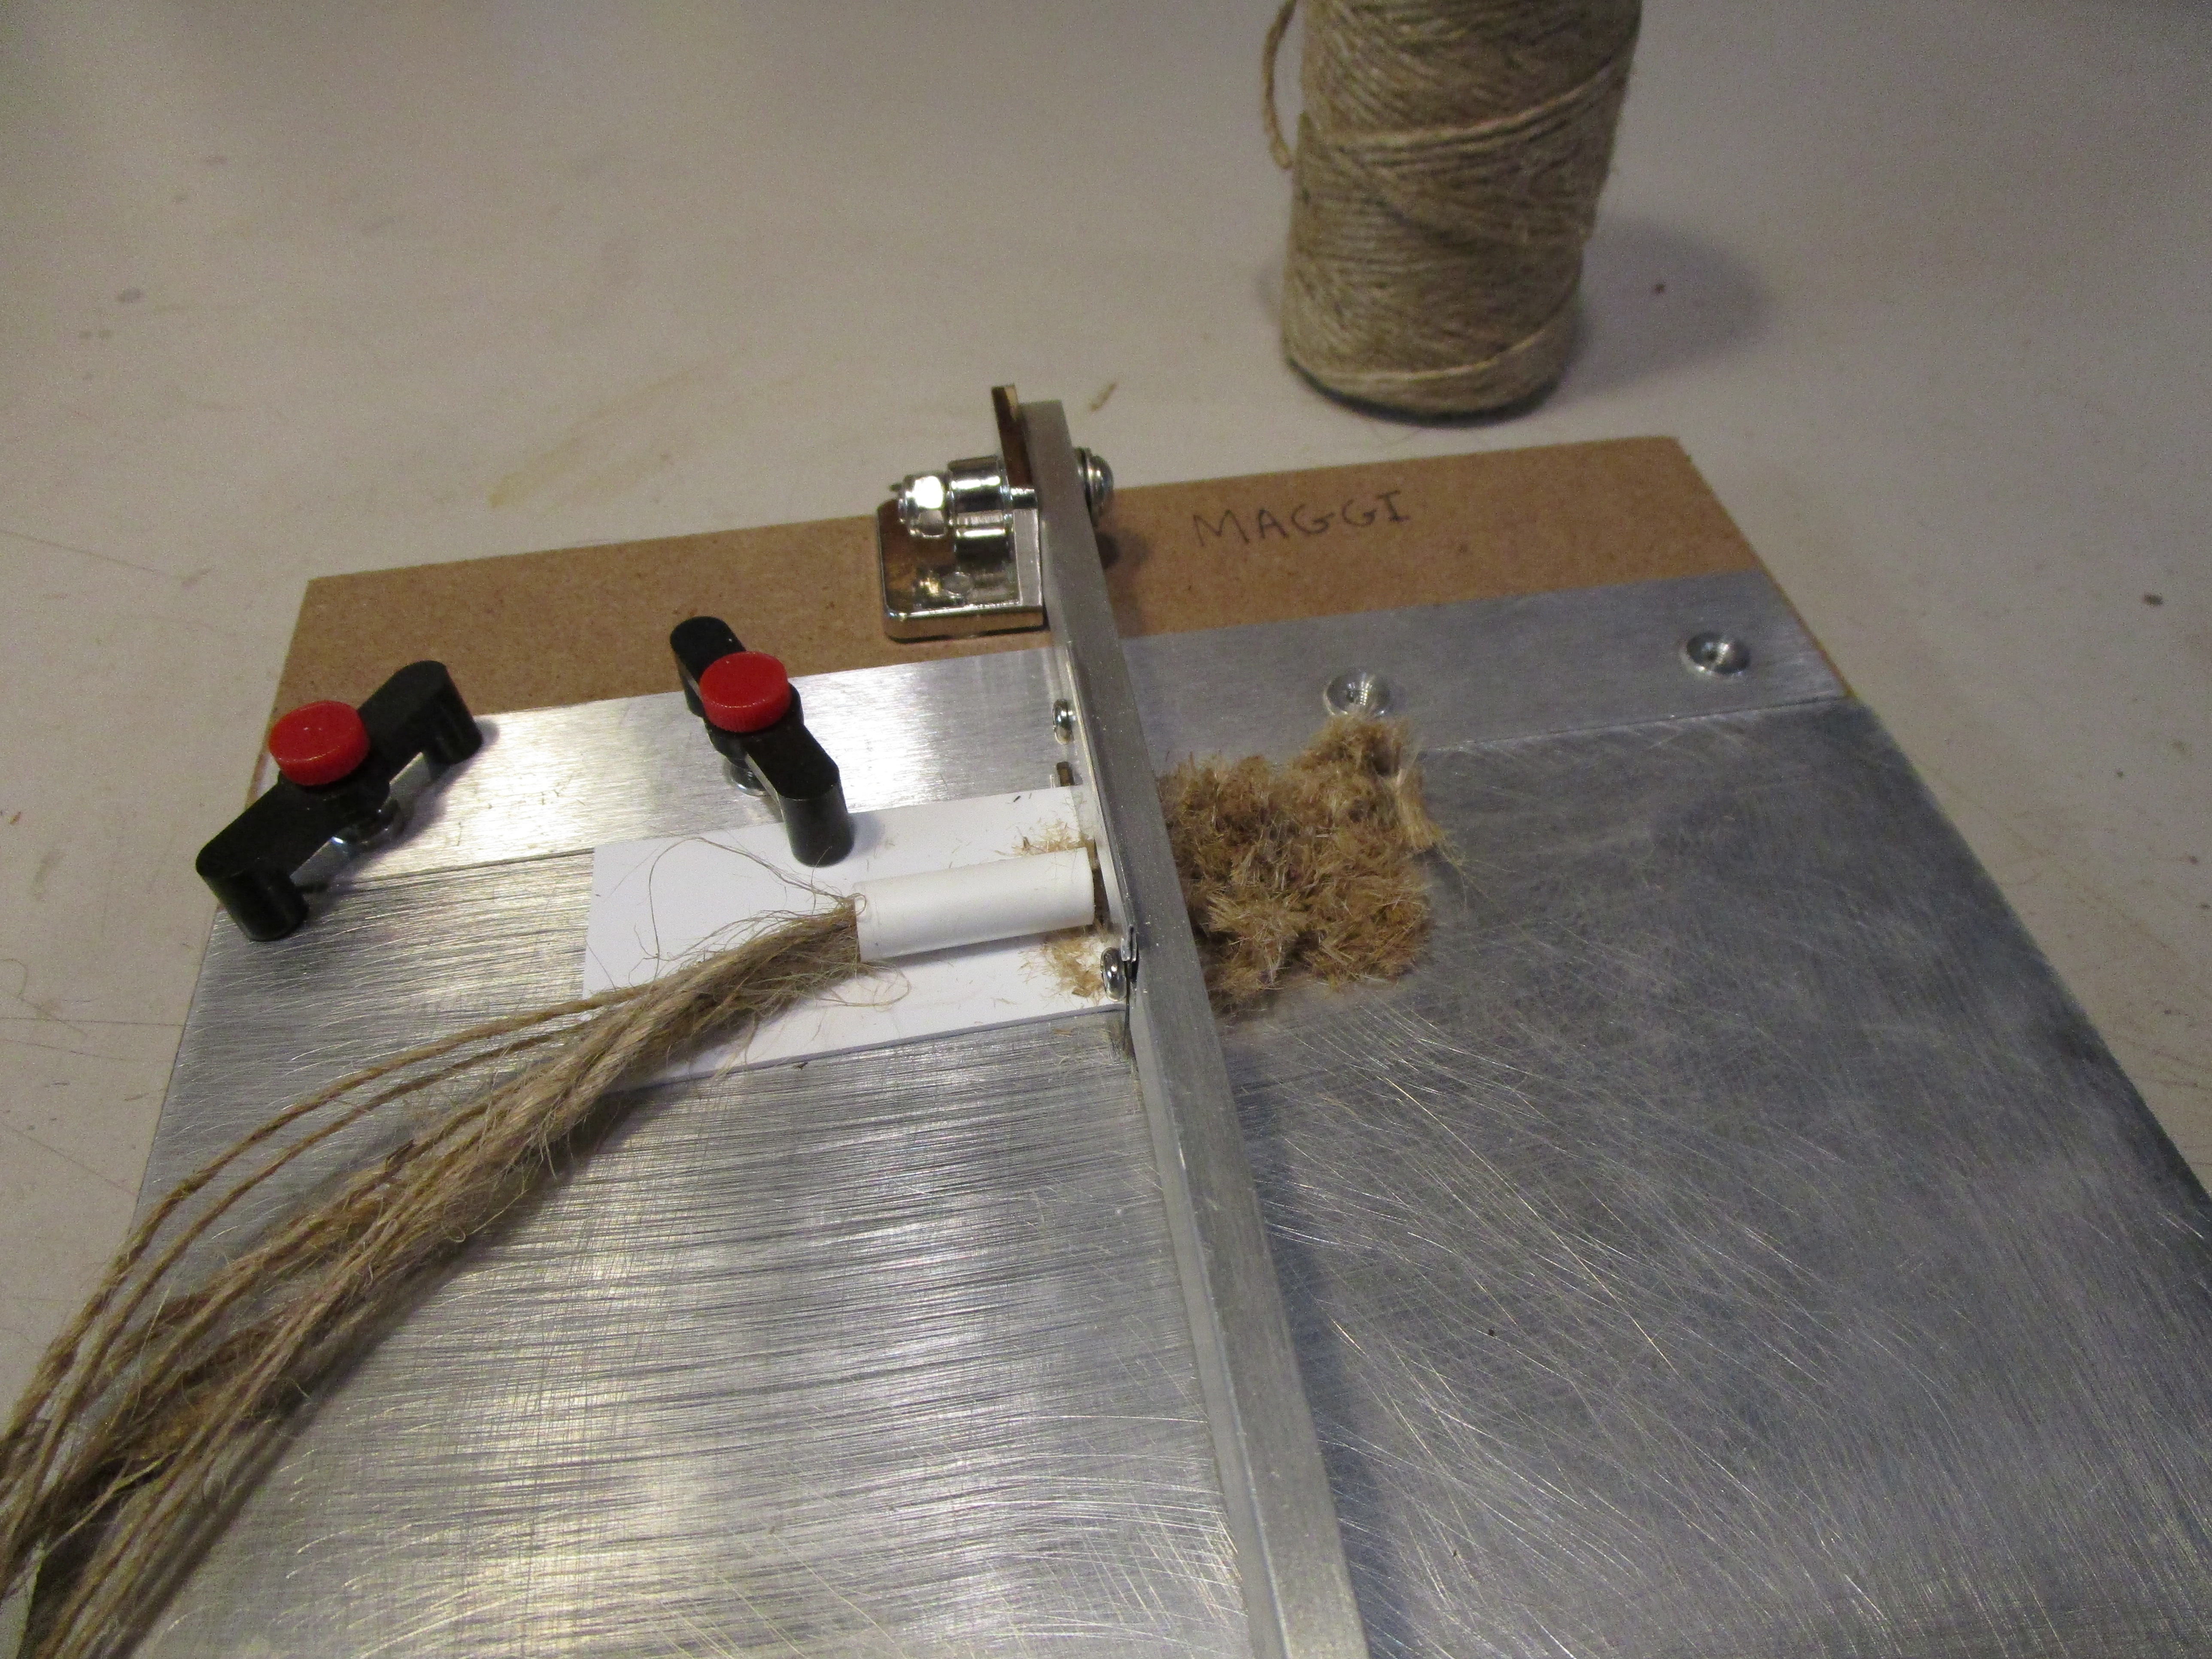
Then, it was sprinkled on regular clear tape sticky side up and rolled up. I made two, and they looked okay but I wasn't happy with them. I changed course and instead glued up some wood pieces to make some rectangular bales. They were spread with wood glue and rolled in the hay, which I pressed on with my fingers. I know I read about this in a Model Railroader article years ago and I filed it away in my head until now. I liked these much better, and the cut twine went a lot farther so it was easier.

They were then glued into my hay loft. I don't know if a farm would have both, but mine does.

I needed HO scale horses, and surprisingly Woodland Scenics has at least two sets of horses and riders (#A1889) with the people painted different colors but sharing the same item number. I picked the set that looked less garish, and the guy with the blue shirt looks like my father-in-law.

One of the Woodland Scenics' horses wanted to keep tipping over so I propped it in place until the glue set. Perhaps the hay was making him sick?

Turning my attention back to the barn itself, I roughed up the scribed styrene boards with sandpaper to add some woodgrain. It might not be visible once it is painted, but at least I tried.

The roof panels are plain 0.040" styrene (I wish I had more scribed styrene, but I sadly was out) that I glued to the ends and roof supports.

The roof over one end extends out and provides additional protection for the hayloft and main doors. I wanted to mock it up first to see if it looked good before cutting up styrene, so I made a test roof from an old manila folder.

I liked what I saw, so I then made it from styrene.

To brace the long roof joints further, I tipped the barn upside down and dropped pieces of small diameter styrene rod into the joints. Then I flooded it with MEK and let it cure.
I washed the barn inside and out with soap and water and then let it dry. I then painted the outside with multiple light coats of white primer. After struggling to hold it from the inside while painting it, by the third coat I came upon the idea to drill some holes in the roof and string a wire through it. Then, I could easily paint it and hang it to dry. The holes are impossible to see from the inside, and covered with shingles on the outside. Sometimes I'm so smart it scary...
I then started painting the barn red. I chose Krylon Colormax "Pimento Red" paint because the color was nice and bright, and because Krylon's spray nozzles were wonderful to use. They put out a nice, thin even layer unlike Rustoleum spray nozzles. I would spray a coat and then hang the barn from a ceiling rafter to cure. Several light coats were applied this way to prevent buildup from one heavy coat.

I wanted to paint the interior of the barn a brownish color, and I was hoping for a yellowish-brown that would match the wood I used for the interior. I didn't want to attach individual boards to the insides of the walls (too much work for not enough payoff), so I went to Hobby Lobby and found a small bottle of paint with a color name of "wood." It was perfect. Here it is after one coat. It was blotchy so I added another coat.

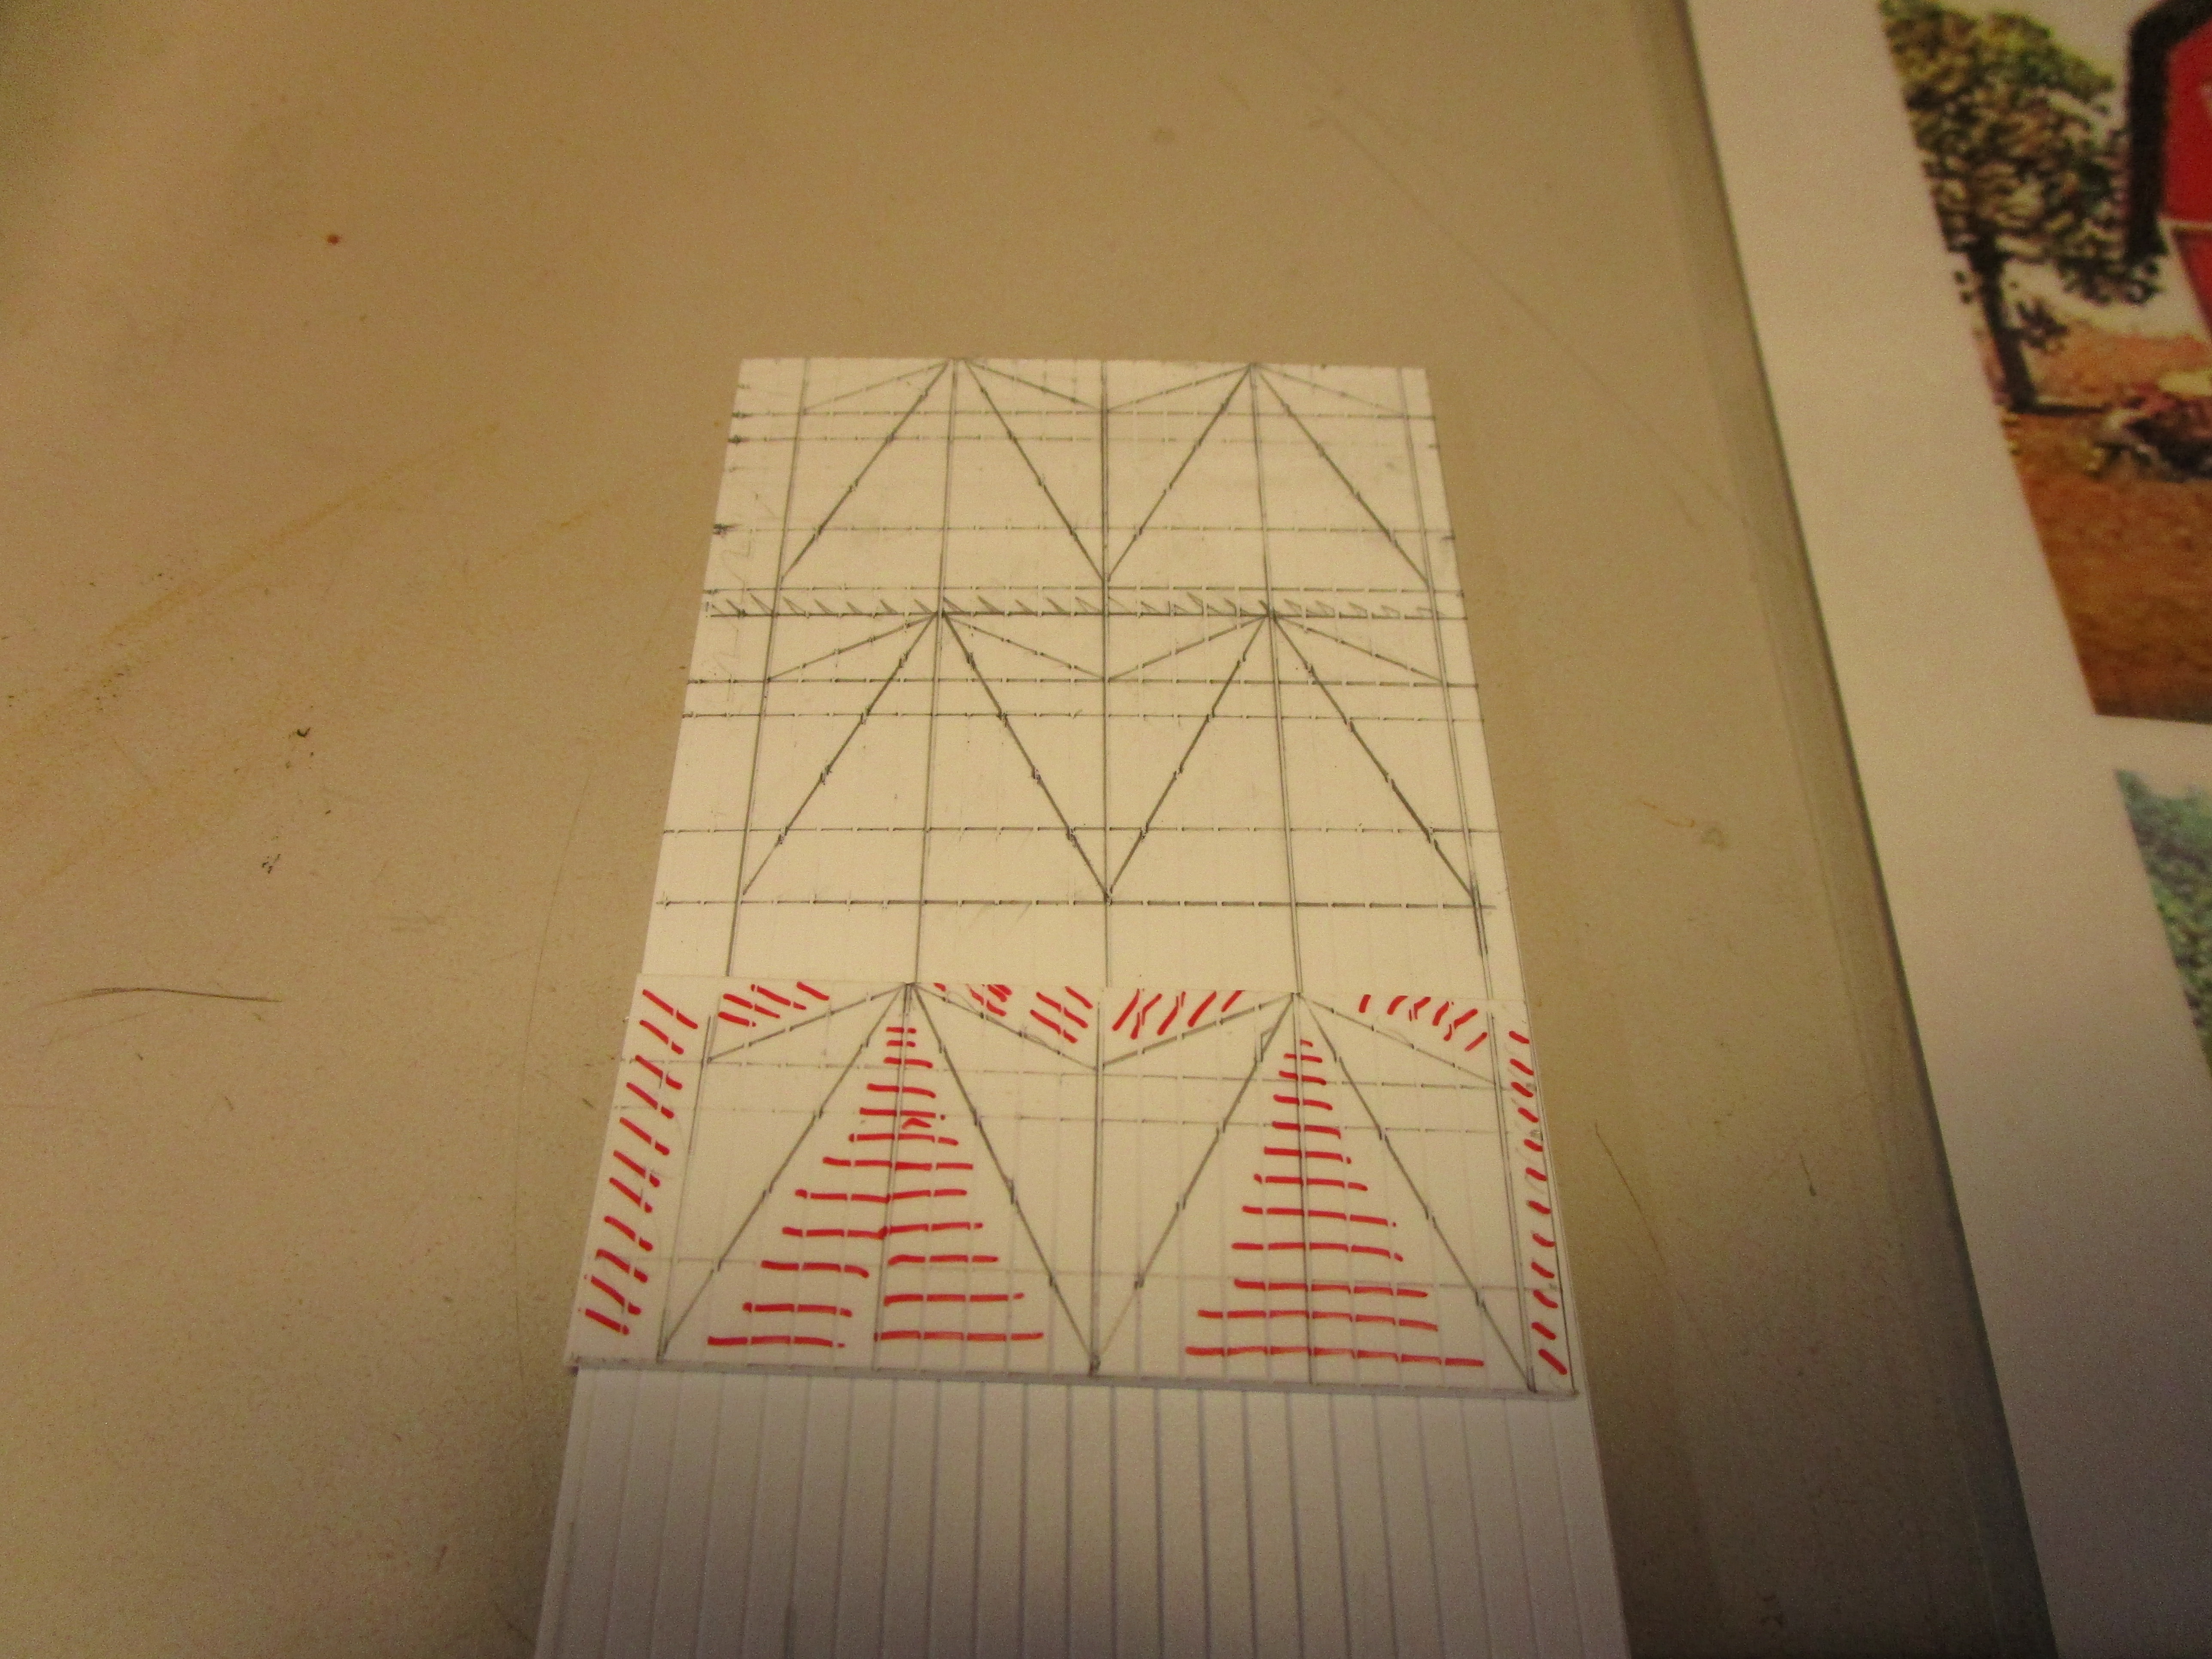
The locations of the dormers were based in part on pictures and in part on the spacing of the paper shingles I had purchased. If you look close you can see my dimensions are in inches and metric. I mix and match both freely, though I really prefer metric for small work.

Thinking ahead, I also scribed some ghost registration marks on the roof to help me in aligning the shingles down the road. I can use them to visualize the rows when installing them. It is much easier to draw the lines now before the dormers are in place.

I drew up full-size drawings for the dormers so that I could visualize what I needed to cut, then transferred the dimensions to the scribed styrene.

When I broke it down into simple steps... one line at a time... it wasn't so bad. A lot of styrene was wasted, but I wasn't in the mood to overlap parts and maximize my use of the scribed styrene sheet. I still have a ton of it left.
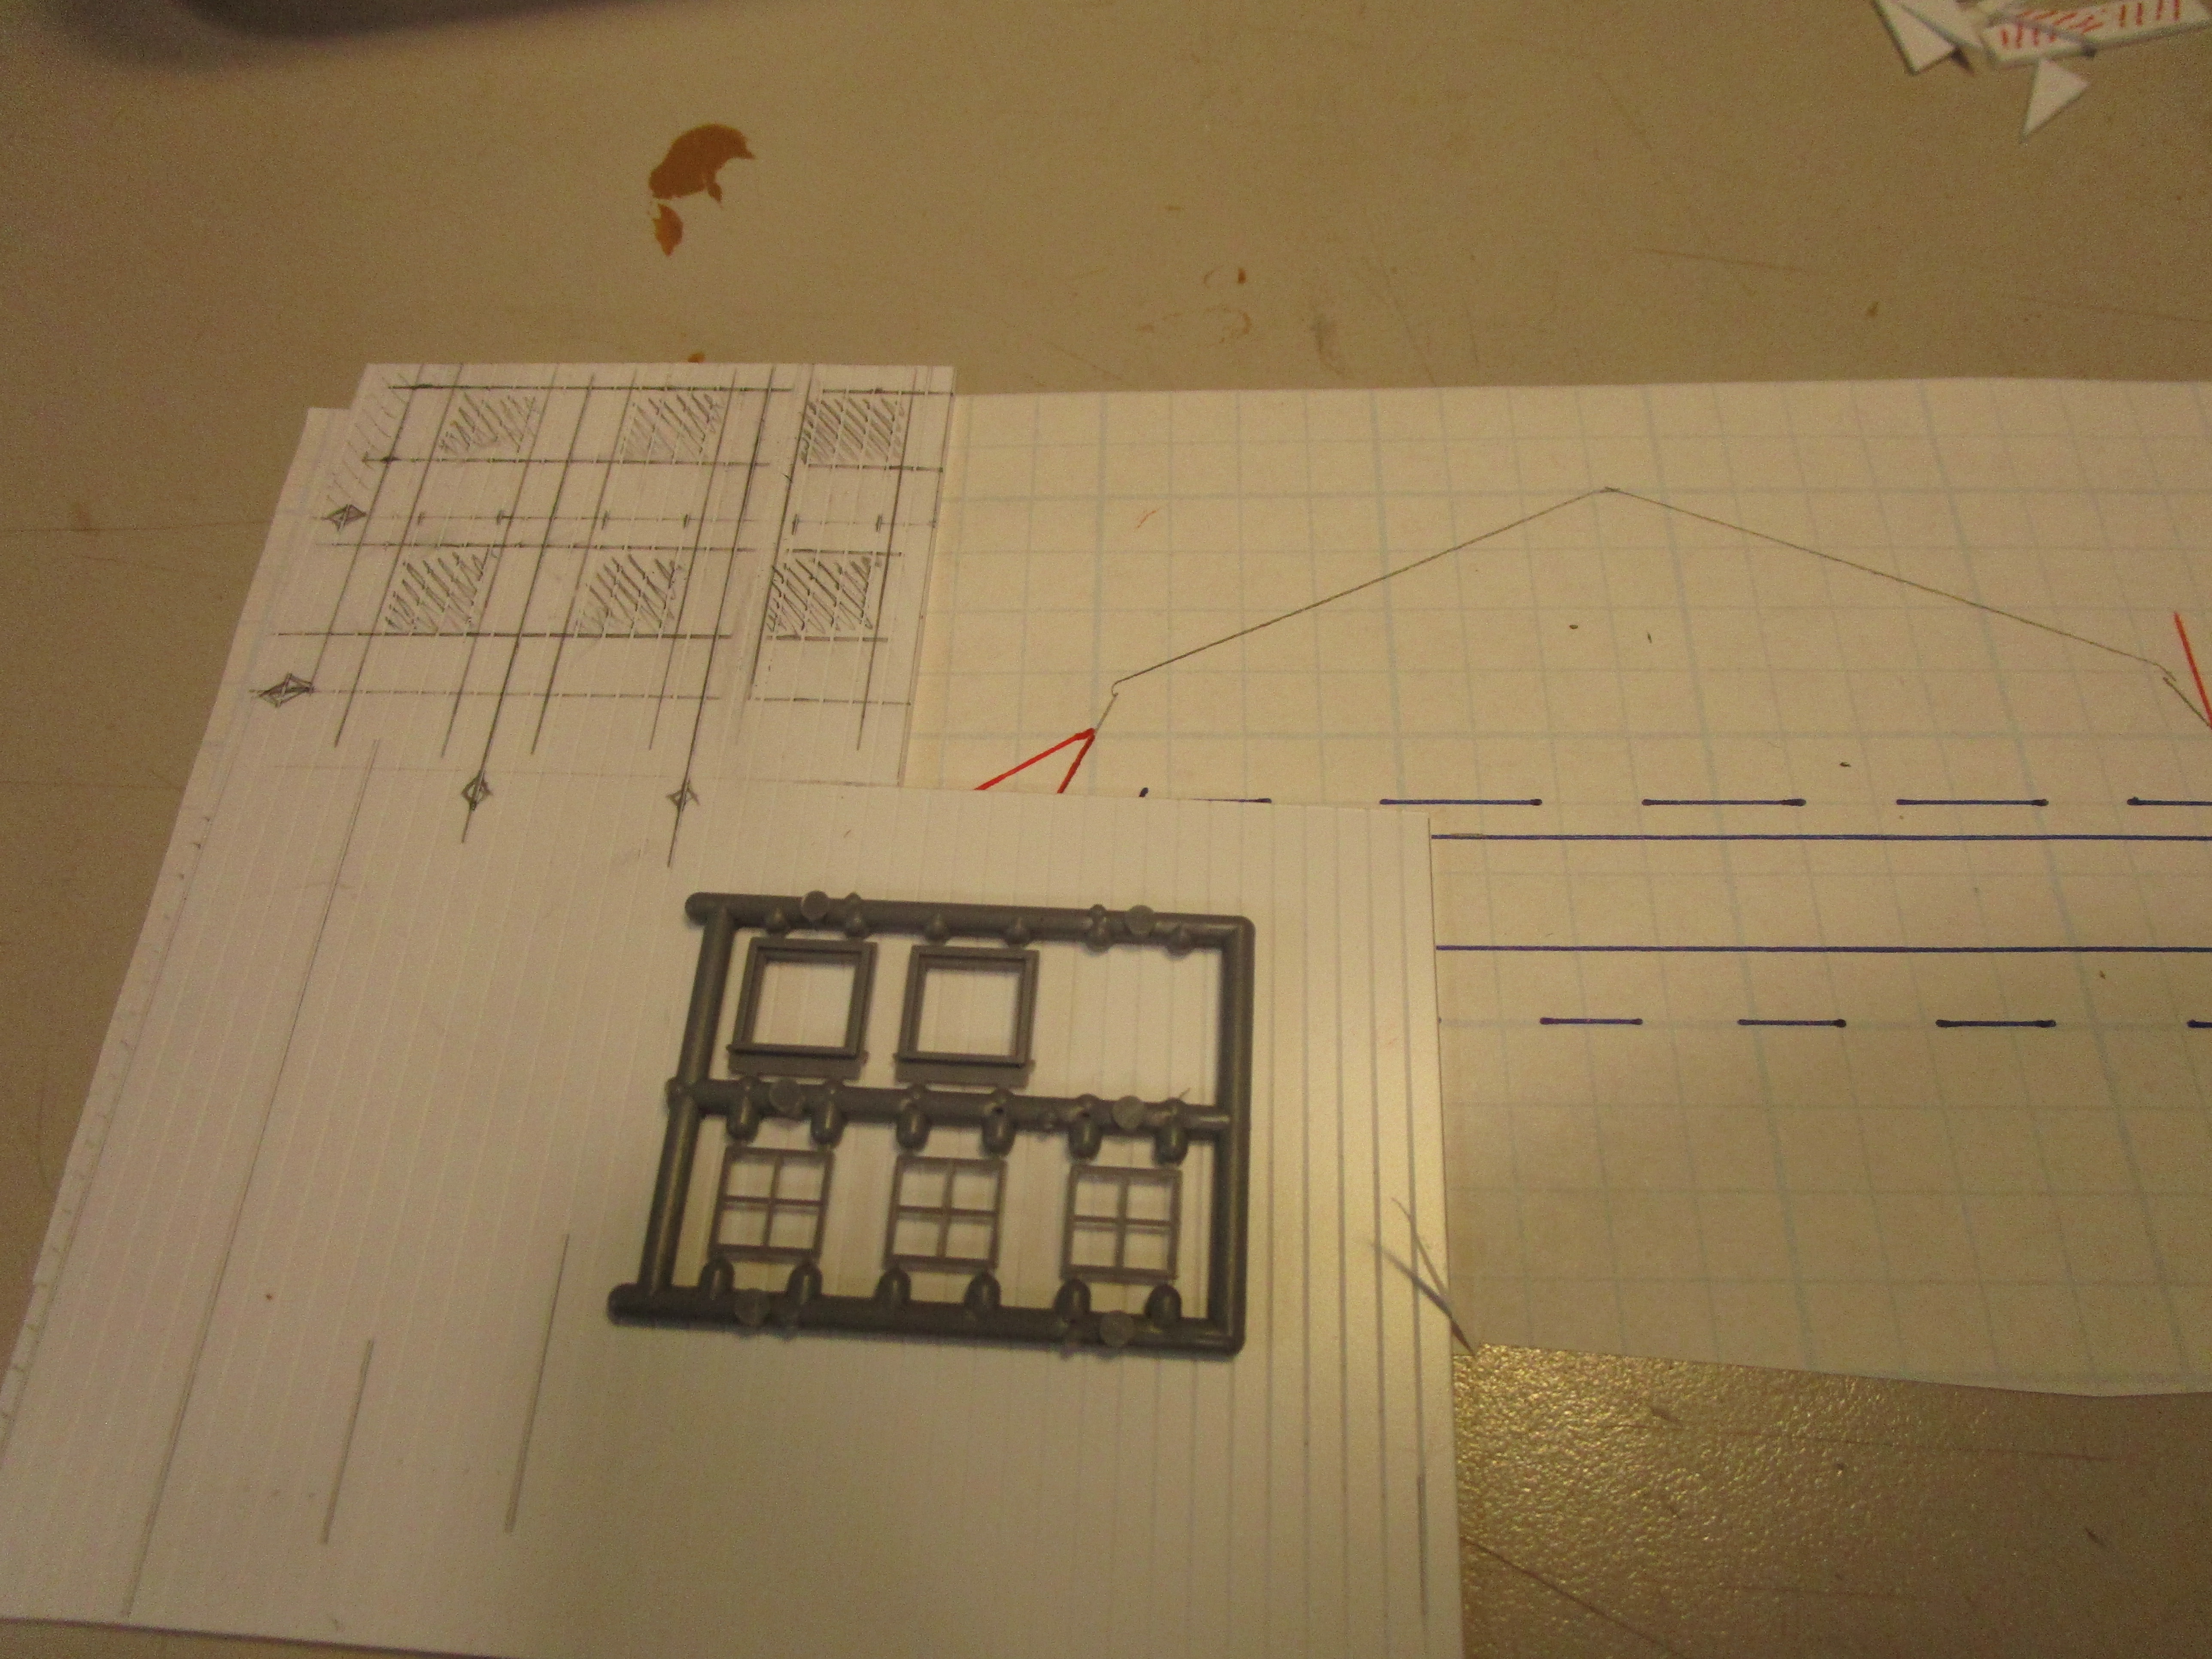
The front dormer walls were done next. I had to lay out the window locations too, and then used a chisel blade to open them up.
They were glued up, and I braced the inside joints with small pieces of styrene. The 1-2-3 metal blocks are a great asset for 90-degree corners, weighing down glue joints, and assisting with other projects. They are cheap (under $20) but come covered in machine oil to prevent rust and I had to give them a bath in lacquer thinner to wash all the oil off.

The dormers were primed white and then painted red. The window castings for the barn were painted white.

I glued in the window castings with superglue and let it cure overnight. Then, I cut pieces of clear acyrlic (there was no way I was going to try and cut real glass this small) and secured them with canopy glue. I couldn't use superglue because it would fog the clear plastic.

The dormers were then glued on with MEK and allowed to cure.

I painted the roof behind the dormers black to hide the fact that there was no open hay loft visible through the windows. In retrospect, it would have been easier to slip pieces of paper painted black in the slot instead of trying to finagle a paintbrush back there without getting paint on the window.

The end Tichy window castings were also glued in. I then framed the corners with Evergreen #294 styrene L-angle.

Some of the castings didn't want to sit flat, and my 1-2-3 blocks were perfect weights for this while the superglue gel cured.

I took the time to paint the undersides of the roof and around the dormers gray to match the shingles. The side window castings went in pretty easy.

Smaller pieces of Evergreen #292 styrene L-angle were then cut and applied around the front corners of the dormers. Each piece required four different angle cuts. But, they really dress up the dormers. I then added roof pieces of styrene painted red all over, and later touched up on the top with gray where the shingles will go.

Barns have lots of red and white trim work. I didn't want to paint the entire barn red and have to pick out all the trim in white, as that would lead to sloppy edges. So, everything on the barn that is white was painted separately and then attached. I started off with the doors.

Piece by piece, they were built up. Each contains five pieces of white styrene, and the joints were filled with superglue gel and then the top surface of the white styrene (which had already been spray painted flat white) was further touched up with brush applied white paint.

The sliding door upper tracks are Evergreen styrene 1/8" c-channel (#264) which seemed the perfect size for what I was doing. The "hinges" are pieces of styrene mounted on the top of the door, and the door handles are more thin slices of the c-channel. I thought they looked better than bent wire handles.

I glued a sliver of styrene on the backs of the doors so that they would sit a little proud of the barn walls. Otherwise, they leaned in at the bottom because they were resting inside the C-channel. The doors on the front of the barn were modeled open. Don't worry about the gap beneath the doors on each end, as when the barn is planted into the ground the dirt will form a ramp into the barn.

The barn was then given a spray of Dullcote in preparation for weathering. I wanted the barn to look dirty, but not old or neglected. So, a thin wash of Raw Umber oil point and mineral spirits was applied all over with a little more left to pool around the white door trim and hardware. The effect is subtle.

The hayloft doors were the next thing I worked on, but they were framed up just like the other doors. The picture below makes them look tapered from top to bottom but they are in fact parallel.

After agonizing how to install the barn doors securely but allow them to be positioned open, I realized the simplest method is the best. I glued some styrene pieces behind the doorway that stick out a little to act as a ledge. I then painted them black to hide them.

The doors were then superglued into place. I left them open enough that you could peek inside and see that something was in there, but not so open that you could see the lack of roof trusses, wall planking, etc.

I made the door hinges from thin styrene that I cut to shape, painted black, and glued on. No attempt to model the hardware was made.

I discovered that Model Master "Insignia Red" paint is a near match for the Krylon "Pimento Redo" spray paint I had used. I bet you can't see where I had to touch up some areas.

The roof shingles are from Rail Scale Models and I went with their "Siding Style" profile, which looked a bit nicer than standard 3-tab shingles. I purchased ones with adhesive on the back which will save me the step of gluing them down. I then weathered them with random applications of three concentrations of ink and alcohol washes. They look terrible now, but the effect is really nice once dried.

The shingles were started by installing some painted gray cardstock under the first row of shingles. I used scrap from the carrier sheet that the shingles were punched from, though the company sells starter strips. Then, I started working up. It was tedious clipping the rows of shingles, and then measuring them to length and trimming them before installation. I went back and forth between jobs to avoid burnout.

The edges required lots of trimming and fitting around the dormers.

Shingling between the dormers was worse, as gaps would be visible. For the first two dormers I measured and cut each strip individually, a big time killer.

Eventually I got wise and produced batches of similar staggered shingle strips (say that fast) to use. When I helped a friend redo his roof last year, he called these pre-measured strips the "Three Little Pigs" (because for his 3-tab shingles he needed three different length row starters).

I was nearing the top so I halted to lay out where I wanted the cupola to go. I learned my lesson from the Church- build and install the cupola before shingling over the area. Actually, I had to stop... I ran out of shingles! Three packages got me this far, but it looked like I need a fourth package.

The cupola was built much the same way as the rest of the barn. I laid it out on scribed siding styrene, and opened up the window openings with a chisel blade. I much prefer this to scribing a line with a knife, as a chisel blade's downward action is less likely to go astray or too far compared with dragging a knife blade in a straight line.

I glued it all up and framed the inside joints with strip styrene. If you look at the outside corners, you can see that I folded up the cupola from one long piece into a square (instead of cutting it into four pieces and then gluing them up). It was delicate but I figured this would give me four perfectly square joints. They would be hidden by the L-angle trim anyway.

It was painted red, and then corner L-angle molding glued on. The window castings were installed, the roof was painted gray, and it was nearly done. I test fit it on the roof and it was perfect.

The cupola was glazed with more acrylic, and then I used tacky glue to secure the cupola to the barn roof. The last rows of shingles were added, and I was able to call it finished. Almost, random shingles would pop up where the adhesive on the back had failed, and I tried to glue them back down. It was especially problematic on the roof joints where they were bent over. I used metal props to hold them down while the glue dried.

Horse farms need fences to keep the prized ponies safe and secure, and driving through the country there are usually bright white fences. I wanted to model that, so I dug into my stripwood scrap box (which didn't exist 3 months ago) and found some 1x6" for the fence boards and some 8x10" for the fence posts. They had been heavily stained because they were left over from my B&M bridge, but I liked their look. The fence was built on graph paper to keep it all square.

There are likely many easy ways to build a 90-degree fence corner, but I chose the difficult one.

The fence was brush painted and spray painted white. I now realize using non-weathered wood would have been smarter. As a result, I am going to weather the fence so that it doesn't look so pristine.

The fence was then planted in a base of ground goop, and sprinkled with real sifted dirt and ground foam. The area surrounding the barn was left open for now.

The barn was then glued down and any gaps were sceniced. Some farm animals were squished into the mud and left to dry. Sadly, after this picture was taken I lost the horse rider on the right. I hope I find him.

And with that, I am calling my barn complete. Lots more details could be added, but for now I am satisfied with my project.

This was an ambitious structure, at least for me, but I had a lot of fun with it. However, for my next one I am hoping for something a little smaller and simpler to rest my brain a bit. We shall see.

Update: I had to make a few revisions to earn enough points for my merit award.
Very very cool. You ought to be proud of that one!
ReplyDeleteExcellent looking project. Harrison (above) is right...you should be proud of your work on that.
ReplyDeleteJim @ the JSSX
Thank you both for your kind words.
ReplyDelete